What is street snap? Tips on how to take photos and the difference between street snap and portrait photography
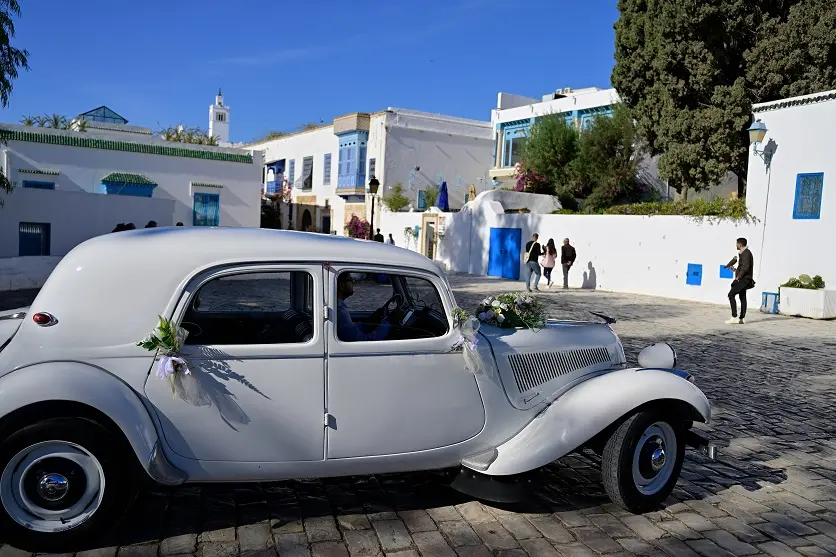
When you’re walking down the street, have you ever come across a fascinating moment that makes you stop in your tracks? “Street snap” is a form of photography that captures such moments from everyday life. In this article, we’ll explain the different types of street snap, shooting techniques, and how it differs from portraiture. This article is a great reference for those who aren’t good at taking snapshots.
What is Street Snap?
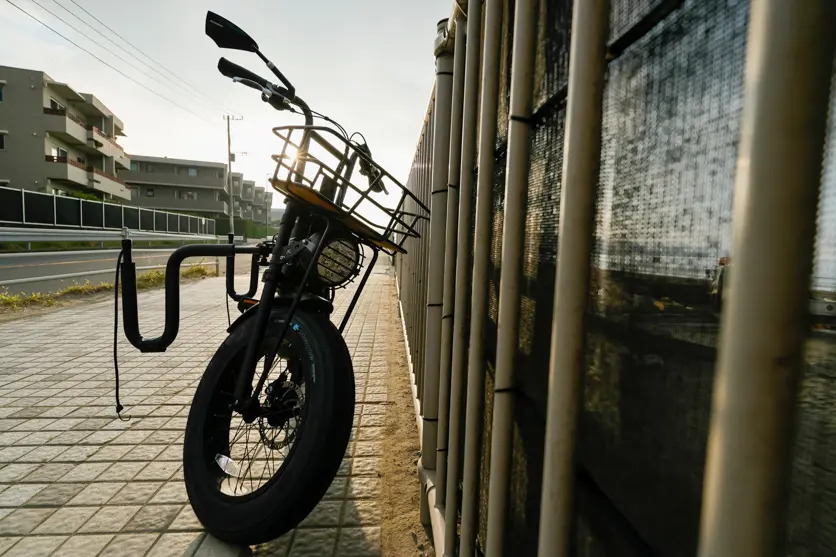 TAMRON 11-20mm F2.8 (Model B060) Focal length: 11mm Exposure: F3.2 Shutter Speed: 1/2500sec ISO: 200
Differences from portraits

TAMRON 20-40mm F2.8 (Model A062) Focal length: 21mm Exposure: F2.8 Shutter Speed: 1/40sec ISO: 2000
Street snaps are often confused with portraits, as they often feature people. Of course, there are similarities, but their nature is very different.
In general, portraits are often shot in advance with a meeting with the model to decide on poses, expressions, and costumes. On the other hand, street snaps are basically shot without preparing a model or pose, and are shot in the moment. Therefore, it can be said that there is a high degree of improvisation and emphasis is placed on capturing natural moments.
In addition, while communication is important in portraits to bring out attractive expressions from the subject, in street snaps the emphasis is on capturing the environment as it is. The natural behavior and expressions of people on the street, who are not conscious of the camera, are what make street snaps so appealing.
Representative subjects
Street corners and streets
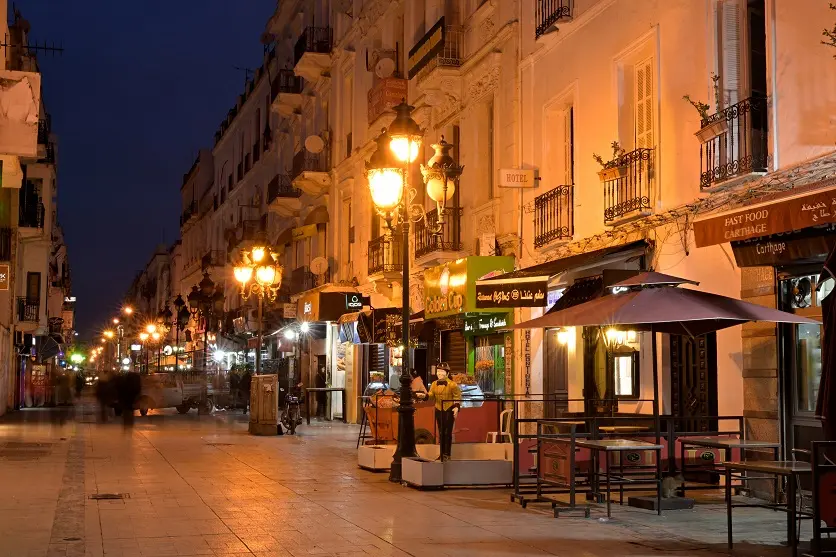
TAMRON 28-75mm F2.8 G2 (Model A063) Focal length: 48mm Exposure: F22 Shutter Speed: 10sec ISO: 64
Portrait
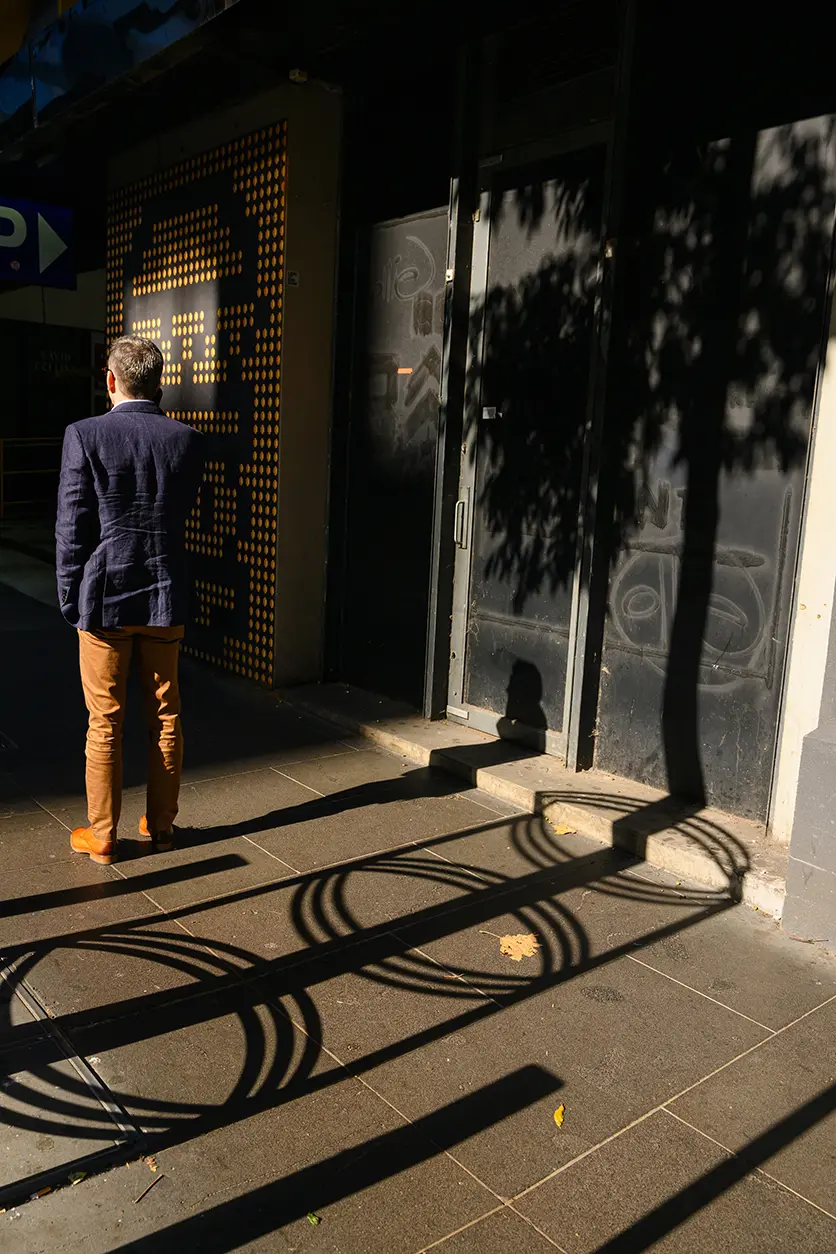
TAMRON 28-75mm F2.8 G2 (Model A063) Focal length: 28mm Exposure: F5.6 Shutter Speed: 1/1250sec ISO: 400
Fashion
TAMRON 70-300mm F4.5-6.3 (Model A047) Focal length: 300mm Exposure: F6.3 Shutter Speed: 1/320sec ISO: 100
Buildings and structures
TAMRON 11-20mm F2.8 (Model B060) Focal length: 11mm Exposure: F2.8 Shutter Speed: 1/8000sec ISO: 200
Vehicle
TAMRON 11-20mm F2.8 (Model B060) Focal length: 12.8mm Exposure: F2.8 Shutter Speed: 1/2000sec ISO: 320
Tips for taking great street photos
Observe the scenery and subject carefully
Discover the best moment
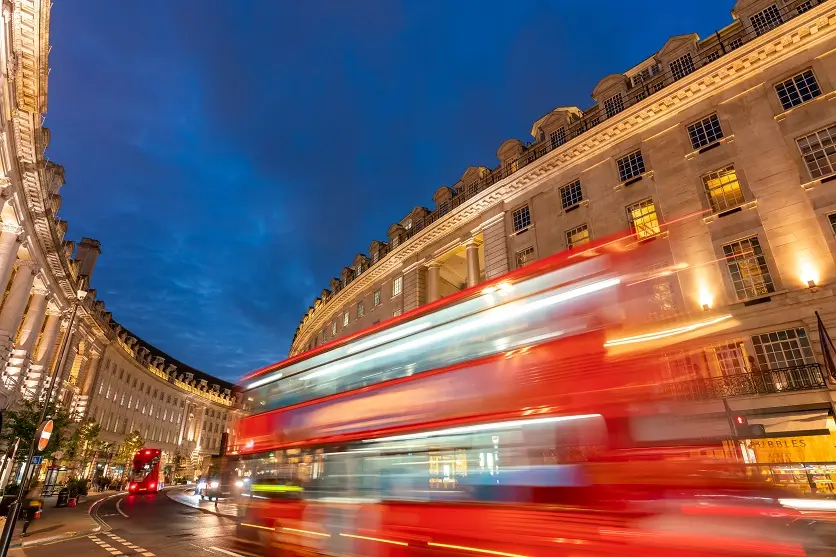
TAMRON 20-40mm F2.8 (Model A062) Focal length: 20mm Exposure: F6.3 Shutter Speed: 1/5sec ISO: 1000
Picture the composition
Keep your camera ready
Change the angle or position
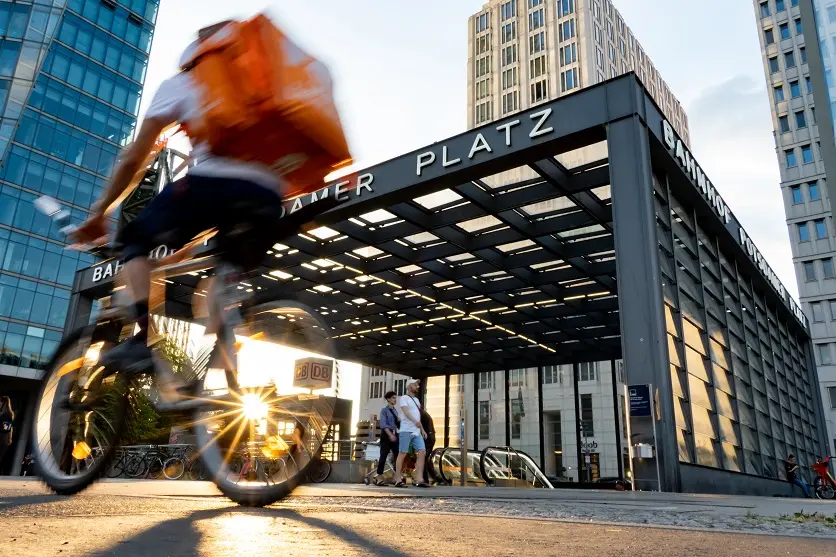
TAMRON 18-300mm F3.5-6.3 (Model B061) Focal length: 18mm Exposure: F22 Shutter Speed: 1/40sec ISO: 1250
In street snaps, you can encounter unique perspectives by shooting from a variety of angles and positions, not just at eye level. For example, you can effectively convey the size and power of your subject by shooting from a low angle close to the ground, or you can capture an unexpected shape by getting closer to one part. You can also get creative with your framing by shooting from behind a wall or pillar, or by isolating a specific subject from a crowd.
Creating contrast with light and dark
Exposure setting tips
Here, let’s check the exposure settings to capture the subject clearly. The appropriate exposure will vary depending on the image you want to capture, but it’s a good idea to have a basic understanding of the exposure settings and be able to adjust them flexibly as the situation demands.Shooting Mode
For street snaps, it’s a good idea to use aperture priority mode or shutter speed priority mode. Aperture priority mode is suitable when you want to prioritize bokeh, and is recommended when you want to emphasize the subject against a blurred background. On the other hand, shutter speed priority mode is useful when you want to freeze a moving subject. For example, it is often used when photographing a moving car or bicycle, or when you want to express a sense of speed with a panning shot. Switch between modes depending on the subject you want to shoot and the atmosphere you want to express.F-number (aperture value)
If you want to capture the entire landscape sharply, we recommend narrowing the aperture slightly to around F8 to F11. The same goes for capturing buildings and cityscapes sharply. On the other hand, if you want to make the most of the blurred background to make the subject stand out, try setting an F-number close to maximum aperture, around F2.8 to F4. Also, when shooting in dark places, opening the aperture will allow more light to enter, making it easier to ensure exposure even with a faster shutter speed.Shutter Speed
When photographing a moving subject, you will need a shutter speed of 1/250 seconds or faster to prevent blurring. In other cases, start with around 1/125 seconds and adjust while checking the brightness and blurring. On the other hand, when taking panning shots, 1/60 seconds is a good guideline. A slower shutter speed will create a more dynamic feel, but it will be more difficult, so be careful. The optimal shutter speed will vary depending on the speed at which the subject moves and the shooting distance, so we recommend trying out various settings.ISO Sensitivity
Generally, there is no problem with setting the ISO sensitivity to auto, but in dark places, it is a good idea to set the upper limit to around ISO 3200 to ISO 6400. If the ISO sensitivity is too high, noise may become noticeable, so care must be taken. Also, when shooting in bright places during the day, setting the ISO sensitivity to a low level (around ISO 100 to ISO 400) will make it easier to obtain a clear image. If the image becomes too dark, adjust the ISO sensitivity by raising it appropriately.Adjusting the White Balance
Basically, it’s a good idea to shoot with auto white balance and then change it to suit your taste. For example, “Sunny” emphasizes red tones, giving an overall warm impression. On the other hand, “Light bulb” emphasizes blue tones, giving a cool, calm impression. This is useful when you want to express an urban landscape or a futuristic atmosphere. For serious photography, shooting in RAW+JPEG allows you to flexibly adjust the white balance later when developing. Try various settings to see how changing the color tone changes the impression of the photo, and you’ll get closer to your preferred expression.How to choose the best lenses for street photography
Here we will introduce the characteristics of lenses suitable for street snaps and how to choose them.Lightweight and compact
Street photography involves long periods of shooting and a lot of moving around, so if you choose a lightweight lens, you won’t get tired easily and you can enjoy shooting for longer. Compact lenses also have the advantage of being easy to handle and less likely to miss a photo opportunity. It’s a good idea to use lens mobility as one of your criteria.Lens focal length
The focal length of a lens is directly related to the angle of view, so choose a lens with an appropriate focal length according to the image you want to capture. Wide-angle lenses with a focal length of approximately 35mm or less have a wide angle of view, making it easy to capture the entire landscape and emphasize perspective. They are recommended when you want to shoot buildings and cityscapes with a powerful composition. Standard lenses with a focal length of approximately 50mm can shoot with an angle of view close to the effective field of view of the human eye, resulting in natural-looking street snapshots. This focal length is also often used for street snapshots. On the other hand, telephoto lenses with a focal length of approximately 85mm or more can capture distant subjects in a large size. The angle of view is also narrow, making them useful for cutting out part of a landscape or shooting while observing from a distance.Maximum aperture
Lenses with an aperture of F2.8 or more can capture more light, making it easier to take brighter photos in low-light environments such as at dusk or indoors. Also, lenses with a small aperture value create more background blur, allowing you to emphasize the subject against a beautiful blur.High image quality
Lenses with high resolution and sharp depiction capabilities can clearly depict the fine details of buildings and people’s expressions. Being able to depict fine textures and textures expands the range of expression, so a lens with high resolution is recommended. Check the sample images to see if you can achieve the depiction you imagine.Autofocus (AF) performance
In street photography, it’s important to focus on the subject quickly so as not to miss a split-second shutter opportunity. For that reason, choose a lens with smooth and fast AF. If you often shoot moving subjects, you’ll also want to check the motion tracking performance.In-lens image stabilization mechanism
Lenses with in-lens image stabilization mechanisms make it easy to take clear photos even with slow shutter speeds, so they are useful when shooting handheld in dark places or with telephoto lenses. Also, lenses that allow you to adjust the amount of image stabilization can be used to take advantage of camera shake, broadening the scope of expression.Street snaps start with observing the subject
The key to street snap photography is “observation.” Take a good look at the situation and look for interesting scenes and viewpoints. To do this, you need to walk around and find unique subjects and compositions, and wait patiently for the scene you want to capture. Also, when taking photos, be sure to consider both the minimum standards of law and etiquette before enjoying your shoot. While keeping in mind the tips introduced in this article, try your hand at street snap photography using your intuition. TAMRON
Facebook Instagram TikTok
View More
TAMRON
Facebook Instagram TikTok
View More
Lens Featured in this Impression
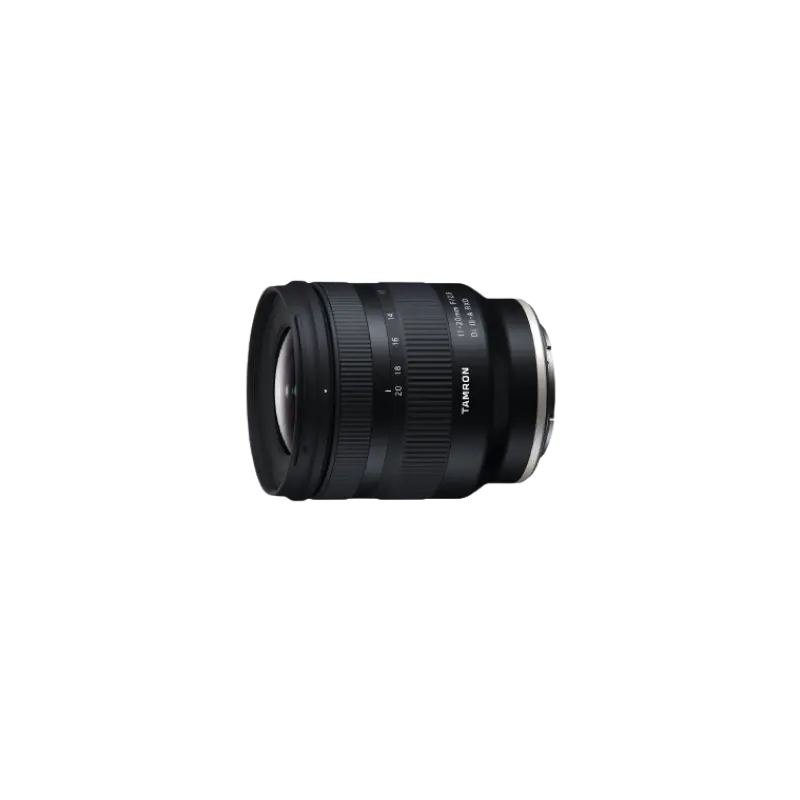 11-20mm F/2.8 Di III-A RXD (Model B060)
 is the world’s first compact, lightweight F2.8 ultra wide-angle zoom lens for Sony E-mount APS-C mirrorless cameras. Can be a great choice for video shooting.
Learn more
11-20mm F/2.8 Di III-A RXD (Model B060)
11-20mm F/2.8 Di III-A RXD (Model B060) is the world’s first compact, lightweight F2.8 ultra wide-angle zoom lens for Sony E-mount APS-C mirrorless cameras. Can be a great choice for video shooting.
Learn more
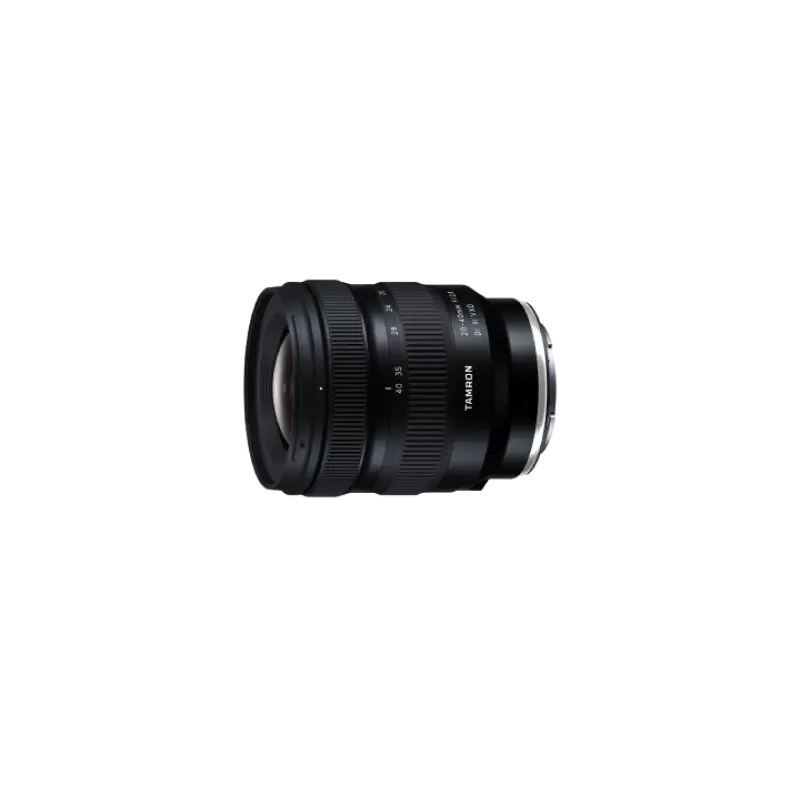
20-40mm F/2.8 Di III VXD (Model A062)
The 20-40mm F/2.8 Di III VXD (Model A062) is a new large-aperture standard zoom lens that thoroughly pursues portability. While covering the range from the ultra-wide angle of 20mm to the standard range of 40mm, it is the smallest and lightest in its class. It also offers high image quality throughout the entire zoom range, making it useful not only for still image shooting but also for video recording such as vlogging. The VXD, which is quiet and agile, achieves high-speed, high-precision autofocusing. It is a new, unprecedented large-aperture standard zoom lens that allows users to easily enjoy taking out and shooting both still and video. Learn more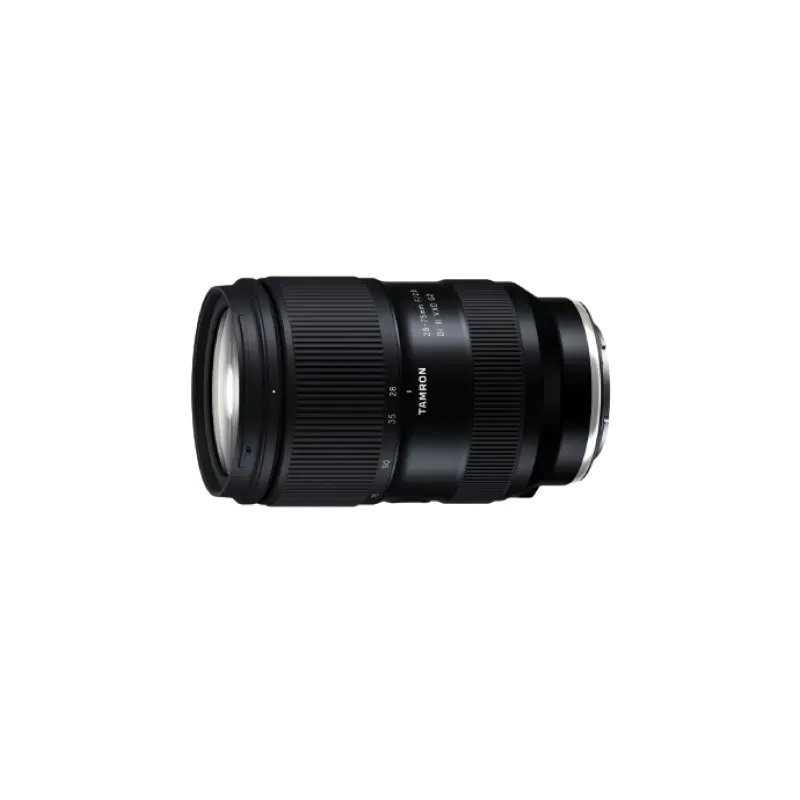
28-75mm F/2.8 Di III VXD G2 (Model A063)
28-75mm F/2.8 Di III VXD G2 (Model A063) is the second-generation fast-aperture standard zoom lens for Sony and Nikon full-frame mirrorless cameras, offering significantly improved optical and autofocus performance and new function customization. Learn more