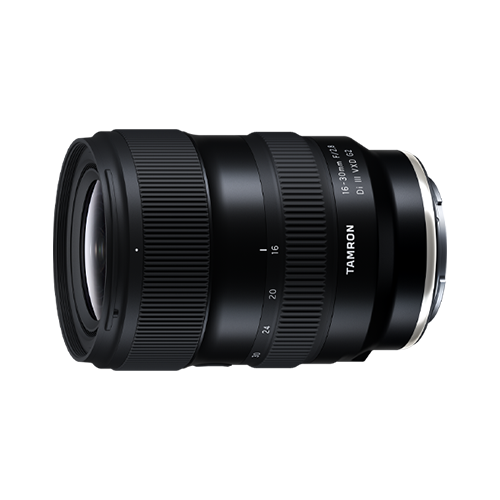
Lens Flare and Ghosting: 7 Essential Tips for Better Photos
Have you ever taken a photo and noticed a hazy glow across the image, strange rings around a light source, or unwanted bright patterns that were not visible when you took the shot?
These effects are often caused by lens flare and ghosting. They occur when strong light interacts with the optical elements inside a camera lens.
While lens flare and ghosting can reduce contrast and image quality, they are not always unwanted. With the right technique, photographers can minimize these effects—or even use them creatively to add atmosphere and character to an image.
In this guide, we’ll explain what causes lens flare and ghosting, how to prevent them, and how you can use them creatively.

What Is Lens Flare?
Lens flare occurs when strong light enters the lens and is reflected or scattered by the optical elements inside it.
The result can be a hazy or washed-out appearance across part or all of the image. Contrast may be reduced, colors can appear less vivid, and details may look softer.
Lens flare is particularly common when photographing toward the sun or another strong light source. However, it can occur with any lens when bright light enters the optical system under certain conditions.
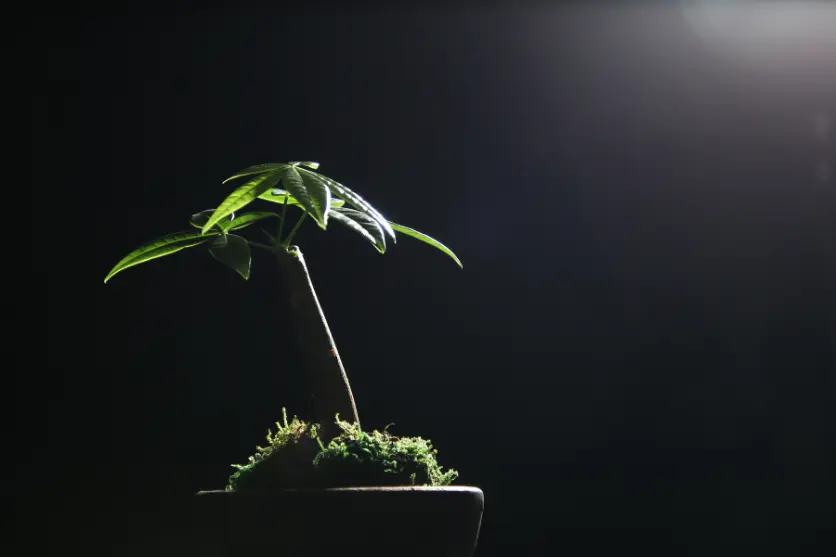
What Causes Lens Flare?
Strong light sources are the most common cause of lens flare.
Camera lenses contain multiple optical elements. When intense light enters the lens, some of that light can be reflected or scattered between these elements before reaching the camera sensor.
The effect can become more noticeable when:
- The sun or another strong light source is directly in or near the frame
- The camera is pointed toward a bright light source
- The front element of the lens is dirty or has fingerprints
- The scene contains strong reflections
- Additional filters create more reflective surfaces
The optical design and coatings of a lens also influence how much flare it produces.
How to Prevent Lens Flare
There are several simple ways to reduce lens flare when shooting.
Use a Lens Hood
A lens hood helps block stray light from entering the front of the lens from outside the image frame.
It is particularly useful when shooting outdoors under strong sunlight.
Change Your Shooting Angle
Even a small change in your camera position can make a significant difference.
Try moving slightly to the left or right, changing your shooting height, or adjusting the angle of the lens. You may be able to keep the light source out of the most problematic position.
Keep the Lens Clean
Dust, fingerprints, and smudges on the front element can scatter incoming light and make flare more noticeable.
Before shooting, check the front element and clean it with appropriate lens-cleaning equipment when necessary.
Choose Lenses With Effective Coatings
Lens coatings help reduce unwanted reflections within the optical system.
Modern lenses use advanced anti-reflective coatings designed to improve light transmission and reduce unwanted flare and ghosting.
What Is Ghosting in Photography?
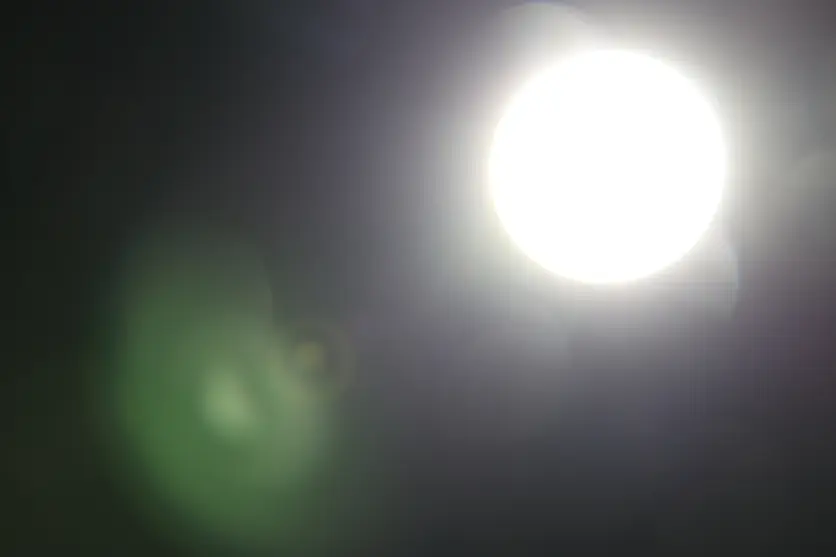
Ghosting is a type of optical effect that appears as distinct shapes or patterns of light within an image.
Unlike flare, which often appears as a general haze or loss of contrast, ghosting usually appears as visible rings, circles, polygons, or other repeated shapes.
Ghosting is often seen when photographing strong light sources such as the sun, street lights, or other bright points of light.
The shape of the ghost can be influenced by the optical design of the lens and the shape of its aperture.
What Causes Lens Ghosting?
Ghosting is primarily caused by reflections between the multiple optical surfaces inside a lens.
A modern camera lens contains several elements, and light can reflect between their front and rear surfaces. These reflections can create visible patterns that appear at different positions within the image.
The number and arrangement of lens elements can influence the appearance of ghosting.
The camera’s aperture shape can also affect the shape of the ghost. A more rounded aperture can produce rounded patterns, while an aperture with a more polygonal shape may produce polygonal patterns.
Filters can also contribute to ghosting because they introduce additional optical surfaces. Stacking multiple filters can increase the number of surfaces where reflections may occur.
How to Prevent Ghosting
The techniques used to reduce lens flare can also help minimize ghosting.
Change the Angle of the Camera
If a bright light source is causing ghosting, slightly changing your shooting angle may move the ghost out of the subject or frame.
Sometimes a small adjustment is enough to significantly reduce the effect.
Use a Lens Hood
A lens hood can help block stray light from entering the lens and may reduce unwanted optical effects.
Remove Unnecessary Filters
If you notice ghosting while using a filter, try removing it and taking another photograph.
Using fewer optical surfaces can sometimes reduce unwanted reflections.
Use a Lens With Advanced Coatings
Anti-reflective lens coatings are designed to reduce internal reflections and improve light transmission.
When selecting a lens for challenging lighting conditions, optical coatings are one of the factors that can influence flare and ghosting performance.
Lens Flare and Ghosting: What’s the Difference?
Although lens flare and ghosting have similar causes, they usually appear differently in photographs.
Lens flare often appears as:
- A hazy or washed-out area
- Reduced contrast
- Lower color saturation
- A bright veil across the image
Ghosting is more likely to appear as:
- Rings or circles
- Polygonal shapes
- Repeated reflections
- Bright patterns near or opposite a strong light source
Both effects are caused by unwanted reflections or scattering of light within the optical system.
Can Lens Flare and Ghosting Be Used Creatively?
Yes. Lens flare and ghosting are not necessarily defects.
When used intentionally, they can add atmosphere, warmth, or a dreamlike quality to a photograph.
Portrait Photography
Backlighting a subject with the sun can create a soft and atmospheric look.
A small amount of flare can reduce contrast and create a warm, dreamy appearance, particularly during sunrise or sunset.
You can experiment by placing the sun near the edge of the frame or partially hiding it behind your subject.

Landscape Photography
Lens flare can add a sense of brightness and atmosphere to landscape photographs.
For example, shooting toward the sun during golden hour can create a strong sense of light and depth.
If you want more control, try changing your position until the flare appears where you want it rather than allowing it to cover important details.

Street and Snapshot Photography
Strong sunlight, illuminated signs, and street lights can create interesting flare and ghosting effects in everyday scenes.
These effects can add a nostalgic or cinematic quality to photographs.
Instead of always trying to eliminate them, experiment with different angles and compositions to see how they affect the mood of the image.

What Are Blown-Out Highlights?
Not every bright area in a photograph is caused by lens flare.
Blown-out highlights occur when parts of an image are so bright that the camera sensor cannot record additional tonal information. These areas appear completely white and may lose detail.
Blown highlights are particularly common when photographing under strong sunlight or scenes containing very bright light sources.
Once highlight detail is completely clipped, it can be difficult or impossible to recover it during editing.

How to Reduce Blown-Out Highlights
You can reduce the risk of blown highlights by:
- Using negative exposure compensation when appropriate
- Checking the histogram
- Using highlight warnings when available
- Adjusting your exposure for important bright areas
- Shooting RAW for greater editing flexibility
However, RAW cannot restore detail that was never recorded by the sensor.
What Are Crushed Shadows?
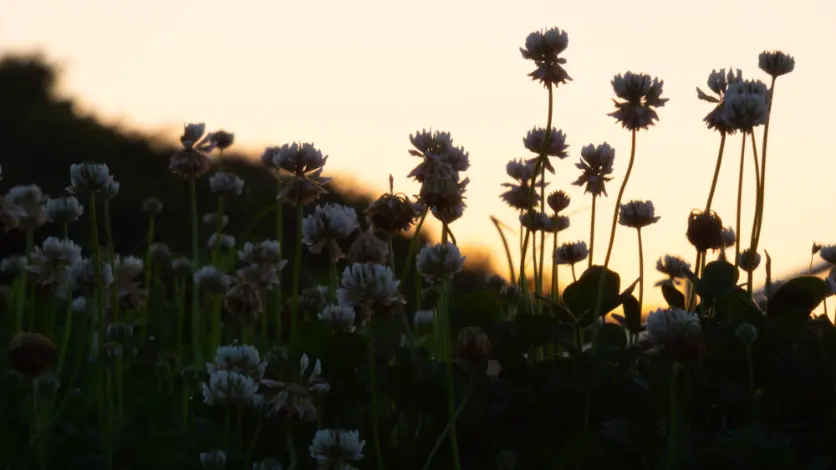
Crushed shadows occur when dark areas become so underexposed that they lose visible detail and appear almost completely black.
This can happen in scenes with strong contrast, low-light conditions, or deep shadows.
Crushed shadows can be difficult to recover during post-processing because very little usable information may have been recorded.
How to Reduce Crushed Shadows
You can help preserve shadow detail by:
- Increasing exposure when appropriate
- Using exposure compensation
- Adding fill light or a reflector
- Using a tripod when a slower shutter speed is possible
- Shooting RAW when you expect to make significant adjustments later
In some situations, however, deliberately allowing shadows to become black can be an effective creative choice.
What Causes Noise in Photos?
Image noise appears as unwanted grain or color variations, particularly in darker areas of photographs.
Noise can become more noticeable when using high ISO settings or when significantly brightening underexposed areas during post-processing.
When photographing in low light, you can reduce noise by using an appropriate ISO, allowing more light to reach the sensor, or using a tripod to enable a slower shutter speed when the subject is stationary.
Modern cameras can perform very well at high ISO settings, so the best ISO setting depends on your camera, lighting conditions, subject, and desired result.
What Is Vignetting?
Vignetting occurs when the corners or edges of an image appear darker than the center.
It can occur naturally because of the optical characteristics of a lens, particularly with wide-angle lenses, but it can also be caused by accessories such as lens hoods or filters.
For example, stacking multiple thick filters can partially obstruct the lens’s field of view and create dark corners.
How to Prevent Unwanted Vignetting
Make sure the lens hood is attached correctly and use filters that are appropriate for your lens.
When using wide-angle lenses, thin filters can help reduce the risk of mechanical vignetting.
Many cameras and image-editing applications can also apply lens corrections to reduce optical vignetting.
7 Practical Tips for Better Image Quality
Understanding common optical and exposure-related issues can help you make better decisions while shooting.
1. Use a lens hood.
A lens hood can reduce stray light and help minimize unwanted flare.
2. Watch your shooting angle.
A small change in position can reduce flare and ghosting when photographing strong light sources.
3. Keep your lens clean.
Fingerprints and dirt on the front element can make unwanted light effects more noticeable.
4. Avoid unnecessary filter stacking.
Additional optical surfaces can increase reflections and contribute to ghosting or vignetting.
5. Monitor your exposure.
Use your histogram and highlight warnings when available to help avoid losing important detail.
6. Shoot RAW when you need more flexibility.
RAW files provide greater flexibility when adjusting exposure, highlights, and shadows during post-processing.
7. Experiment with optical effects.
Flare, ghosting, and vignetting do not always have to be eliminated. Try incorporating them intentionally to create a specific mood or visual style.
Conclusion
Lens flare and ghosting are common optical phenomena that occur when strong light interacts with the elements inside a camera lens. While they can sometimes reduce contrast or introduce unwanted patterns, they can also become useful creative tools.
Using a lens hood, changing your shooting angle, keeping the lens clean, and avoiding unnecessary filters can help reduce unwanted effects. Understanding exposure can also help you manage blown highlights, crushed shadows, noise, and other image-quality issues.
Most importantly, don’t feel that every optical effect has to be eliminated. Once you understand how lens flare and ghosting work, you can decide whether to prevent them—or use them deliberately to create more expressive photographs.
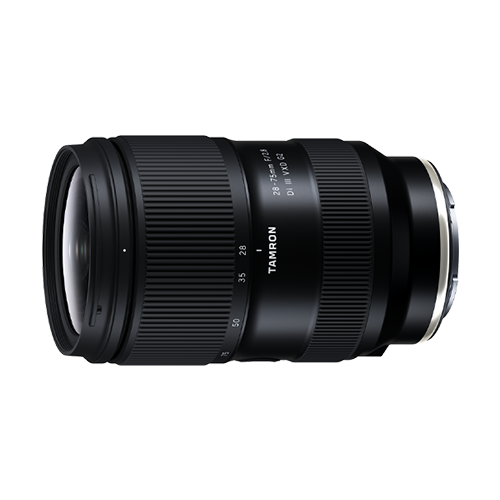
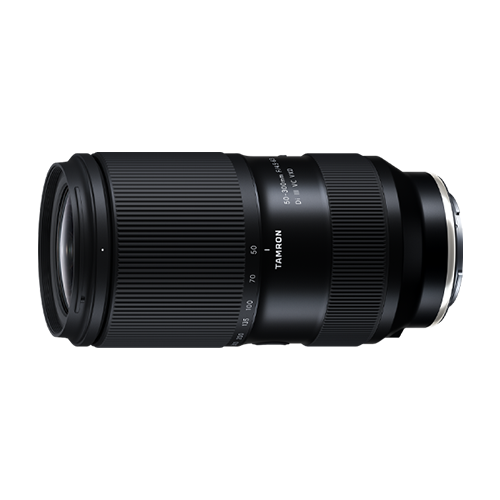
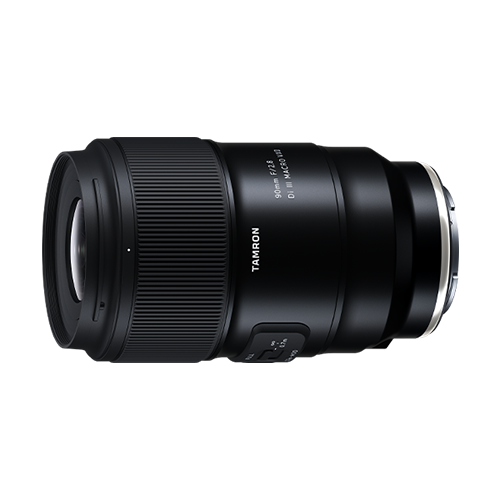
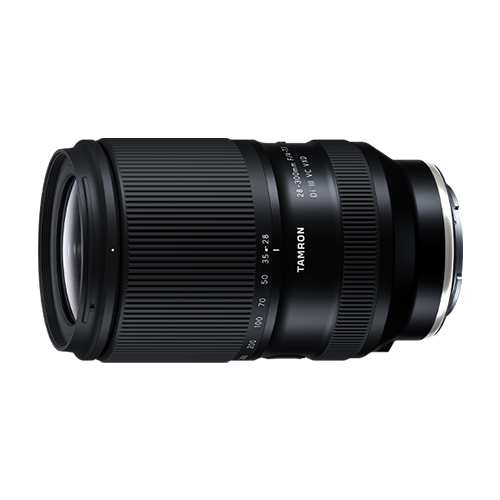
TAMRON products mentioned in this article