Ocean Photography: 9 Essential Tips for Better Photos
The ocean is constantly changing. Light, waves, clouds, weather, and the movement of the water can create completely different scenes throughout the day.
Ocean photography is about capturing these changing expressions while conveying the scale, movement, and atmosphere of the sea. From expansive seascapes and crashing waves to portraits, sunsets, and starry skies, there are countless ways to photograph the ocean.
In this guide, we’ll introduce practical ocean photography tips, including how to choose a lens, compose your images, adjust exposure settings, and capture different types of seascapes.
What Makes Ocean Photography Special?
The ocean provides a combination of scale, movement, texture, and changing light that makes every scene different.
A wide-angle lens can emphasize the vastness of the sea, while a telephoto lens can isolate distant waves, boats, or islands. You can also use different shutter speeds to freeze the movement of waves or create a smooth, flowing effect.
The time of day makes an equally important difference. Morning, sunset, and twilight can transform the color and mood of the ocean.
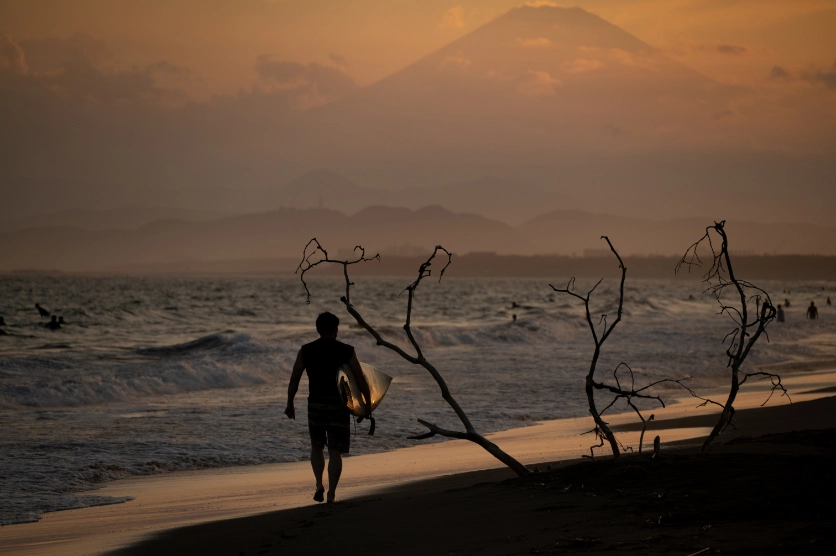
The key is to look beyond the sea itself. Rocks, sand, footprints, boats, people, and other foreground elements can add depth and help tell a story.
How to Compose Better Ocean Photos
Composition plays an important role in showing the scale and character of the ocean.
Keep the Horizon Straight
A tilted horizon can make even a beautiful seascape feel unbalanced.
Use your camera’s grid lines or electronic level to keep the horizon straight. You can also experiment with where you place the horizon within the frame.
Placing the horizon lower in the frame can emphasize the sky, while placing it higher can give more attention to the ocean and foreground.
Use the Rule of Thirds
The rule of thirds is a simple way to create a balanced composition.
Try placing the horizon approximately one-third from the top or bottom of the frame, depending on whether the sky or ocean is more important to the image.
Use Leading Lines
Coastlines, waves, and patterns in the sand can naturally guide the viewer’s eye through the photograph.
Try positioning the shoreline diagonally across the frame to create a stronger sense of depth and movement.
Include Foreground Elements
Adding rocks, driftwood, seashells, footprints, or patterns in the sand can make an ocean photograph feel more three-dimensional.
A foreground element also gives the viewer a sense of scale and creates a visual path toward the horizon.
Choose the Right Lens for Ocean Photography
The best lens depends on the type of ocean photograph you want to create.
Wide-Angle and Ultra-Wide-Angle Lenses
Wide-angle lenses are ideal for capturing expansive seascapes.
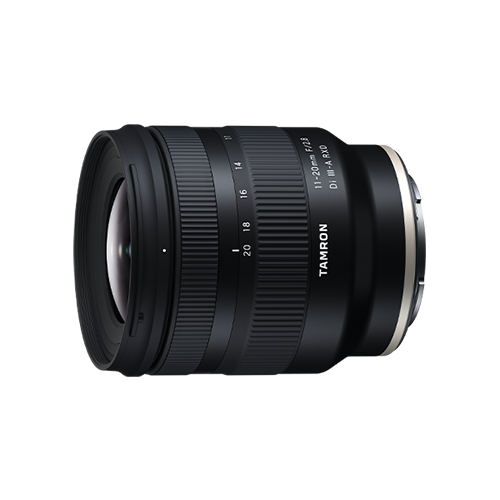
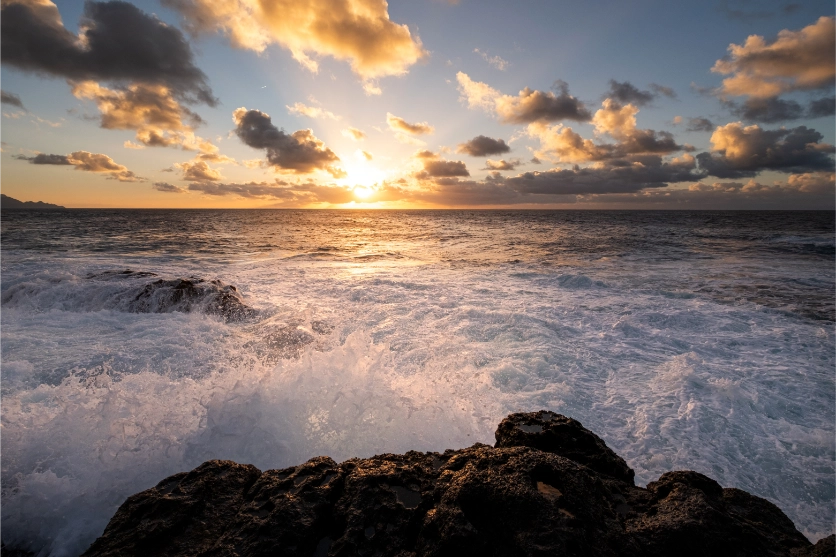
An ultra-wide-angle lens can include the foreground, ocean, and sky in a single frame while emphasizing the sense of space.
These lenses are particularly useful when you want the viewer to feel as though they are standing directly within the scene.
Standard and Medium Telephoto Lenses
A standard or medium telephoto lens can be useful when photographing people with the ocean as a background.
A wider aperture can separate the subject from the background while still retaining enough of the ocean to establish the setting.
Telephoto Lenses
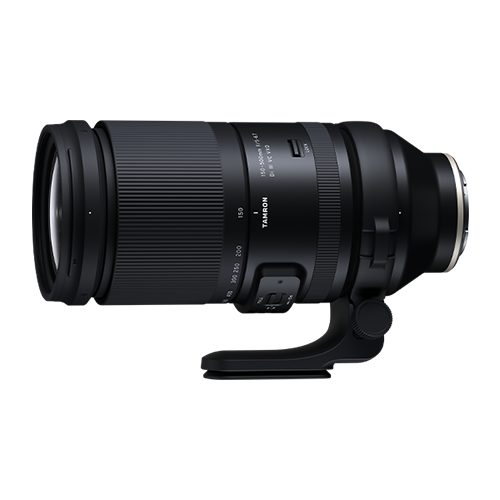
Telephoto lenses allow you to isolate distant subjects such as boats, islands, surfers, or individual waves.
They can also compress the apparent distance between elements, creating a completely different perspective from a wide-angle lens.
How to Photograph Waves
Waves are one of the most dynamic subjects in ocean photography.
The shutter speed you choose will determine how their movement appears.
Freeze Wave Action
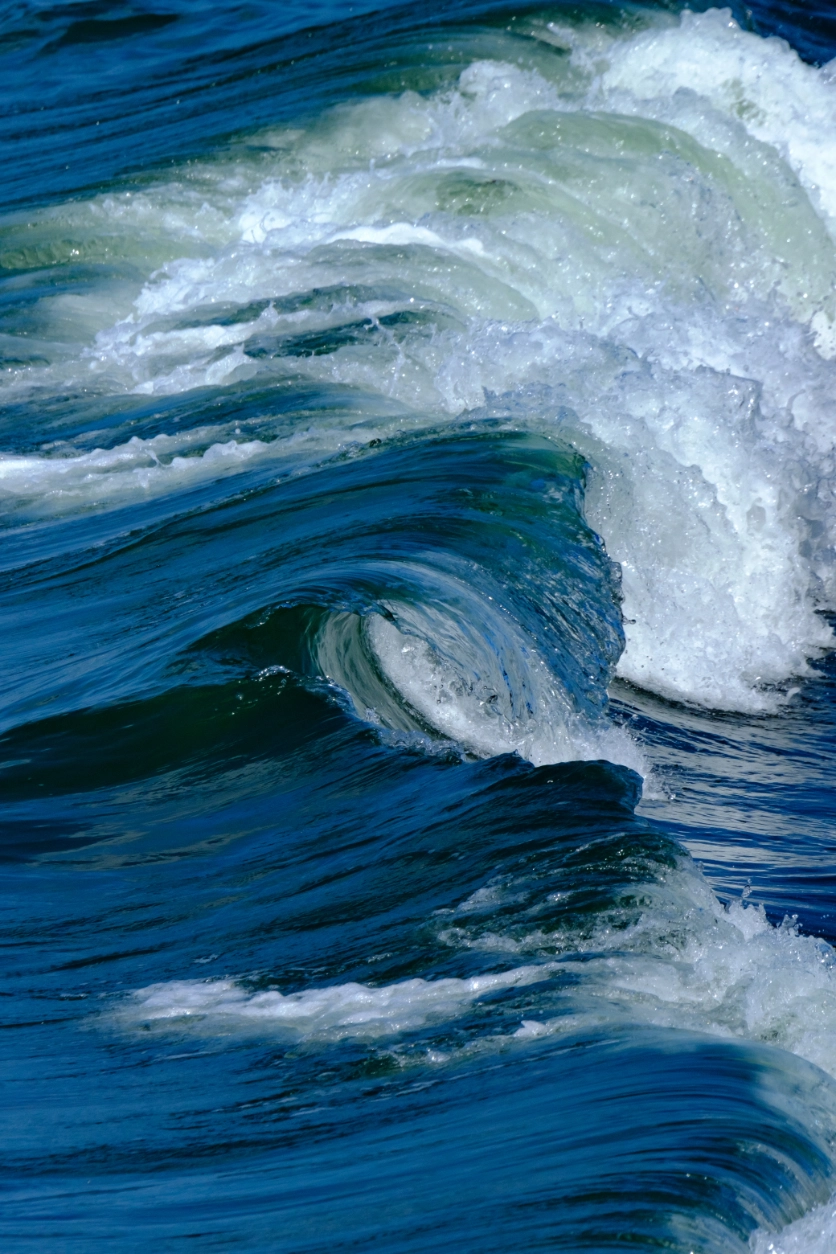
To capture individual waves, splashes, and droplets, use a fast shutter speed.
A shutter speed of around 1/250 second or faster can help freeze movement, although the ideal setting depends on the speed and size of the waves.
A telephoto lens can also help isolate interesting wave shapes from a safe distance.
Create Smooth Water
For a softer, more flowing appearance, try a slower shutter speed.
Shutter speeds from around 1 to 4 seconds can blur moving water and create a smooth, mist-like effect.
A tripod is useful for longer exposures because it keeps the camera steady while the water moves.
The best shutter speed depends on how quickly the water is moving and the effect you want to create.
Use Light to Change the Mood
The direction and quality of light can dramatically change the appearance of the ocean.
Front Lighting
When the light comes from behind the camera, the surface of the ocean can appear bright and colorful.
This can be a good starting point for photographers who want to clearly capture the colors and details of the sea.
Backlighting
Backlighting can create sparkling reflections on the water and dramatic silhouettes.
Try photographing toward the sun when it is lower in the sky, particularly around sunrise or sunset.
Side Lighting
Light coming from the side can emphasize the texture of waves, rocks, and the surface of the water.
The resulting shadows can add depth and make the scene appear more three-dimensional.
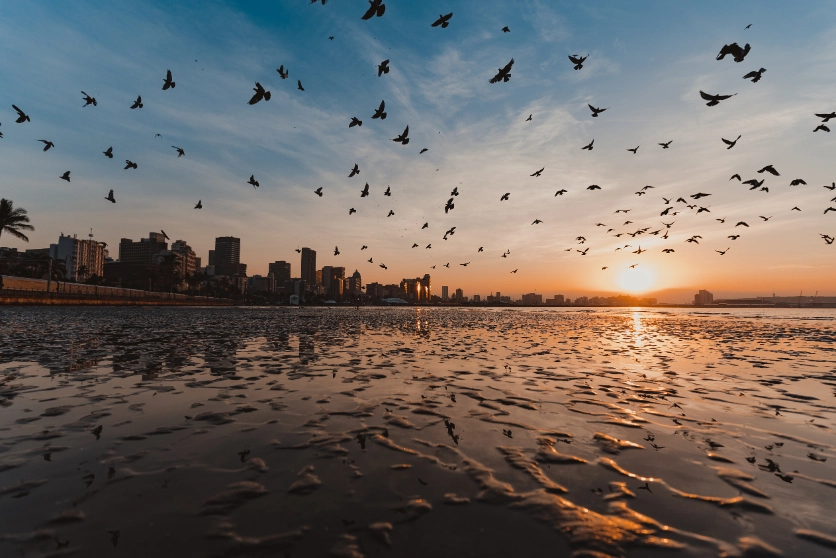
Photograph the Ocean at Different Times of Day
The ocean can look completely different depending on when you photograph it.
Sunrise
Early morning light can produce soft colors and a calm atmosphere.
The period around sunrise can also provide beautiful reflections and subtle gradients across the sky and water.
Daytime
During the day, stronger sunlight can reveal the blue tones and texture of the ocean.
Bright conditions are also useful for freezing wave movement with fast shutter speeds.
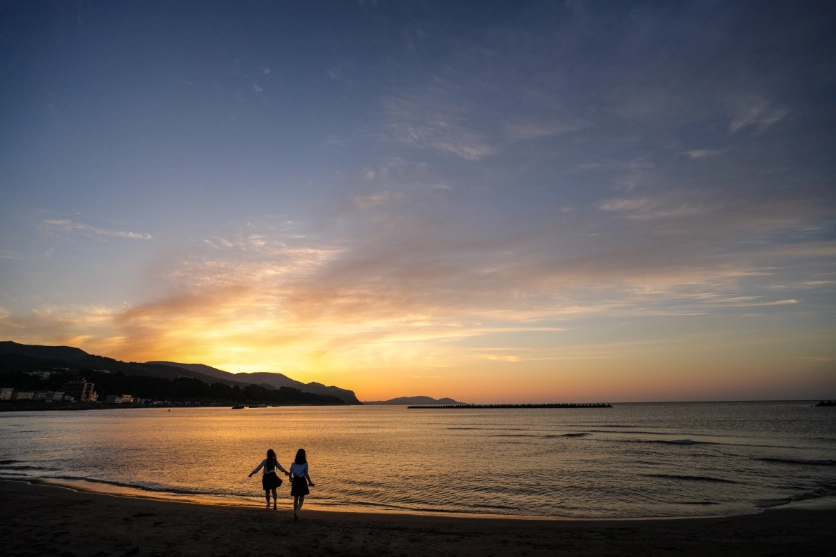
Sunset and Magic Hour
Sunset creates warmer colors and dramatic changes in the sky.
The period around sunset can be especially effective for silhouettes, reflections, and atmospheric seascapes.
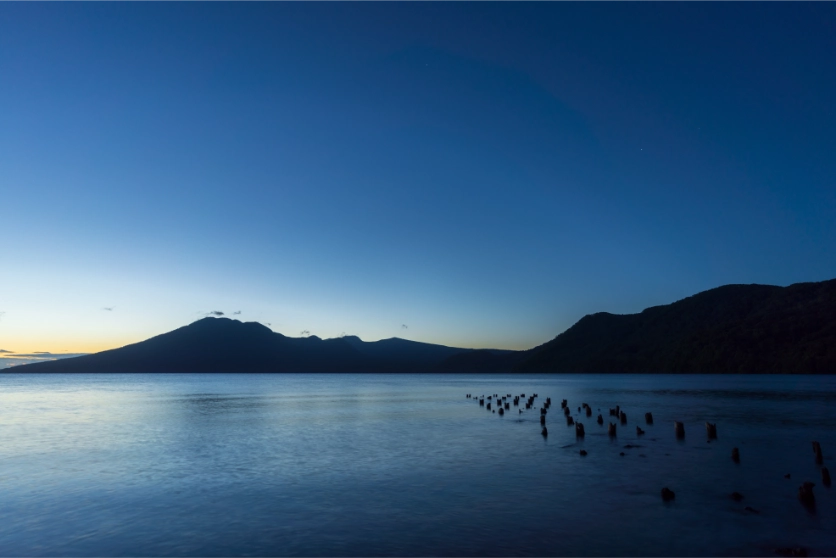
Blue Hour and Twilight
After sunset, the remaining ambient light can create deep blue tones.
This can be an excellent time to photograph the coastline, lights, and reflections before the sky becomes completely dark.
Night
The combination of the ocean and a starry sky can create a dramatic nighttime scene.
Use a sturdy tripod and a wide-angle lens to capture both the stars and the coastline.
Ocean Photography Exposure Settings
There is no single exposure setting that works for every ocean photograph.
The ideal settings depend on the light, movement of the water, and the effect you want to create.
Aperture
For a landscape where you want both foreground and distant elements in focus, an aperture around F8 to F11 can be a useful starting point.
For portraits with the ocean in the background, a wider aperture can create background blur and make the subject stand out.
Shutter Speed
Use a fast shutter speed when you want to freeze waves, splashes, or moving subjects.
Use a slower shutter speed when you want to create smooth movement in the water.
ISO
In bright daylight, a low ISO such as ISO 100–200 is often suitable.
In cloudy conditions, twilight, or other low-light situations, a higher ISO may be necessary to maintain an appropriate shutter speed.
Auto ISO can also be useful when lighting conditions change quickly.
Exposure Compensation
Bright reflections from the ocean and white sand can sometimes cause the camera to overexpose parts of the image.
If important highlights are too bright, try using negative exposure compensation.
When photographing a backlit subject, positive exposure compensation may help brighten the subject if it becomes too dark.
9 Practical Tips for Better Ocean Photography
1. Keep your horizon straight.
Use grid lines or your camera’s electronic level to maintain a balanced horizon.
2. Include a foreground element.
Rocks, shells, footprints, and driftwood can add depth and scale.
3. Try different focal lengths.
Use wide-angle lenses for expansive scenes and telephoto lenses for distant details.
4. Experiment with shutter speed.
Freeze waves with a fast shutter speed or create smooth water with a longer exposure.
5. Watch your highlights.
Bright reflections from water and sand can easily become overexposed.
6. Shoot at different times of day.
Sunrise, sunset, magic hour, and nighttime each offer a different atmosphere.
7. Change your camera position.
Try shooting from low and high angles rather than photographing every scene from eye level.
8. Protect your equipment.
Keep your camera and lens away from unnecessary splashes, sand, and saltwater, and clean your equipment appropriately after shooting.
9. Look beyond the ocean.
People, boats, rocks, wildlife, buildings, and other elements can turn a simple seascape into a more compelling photograph.
Conclusion
Ocean photography offers almost endless opportunities for creative expression. The same coastline can look completely different depending on the lens, composition, weather, time of day, and exposure settings you choose.
Start by keeping the horizon straight and building depth with foreground elements. Then experiment with focal lengths, shutter speeds, and different directions of light to discover how they change the appearance of the sea.
Whether you’re photographing expansive seascapes, crashing waves, portraits, pets, sunsets, or starry skies, the most important thing is to observe how the ocean changes and use those changes to create your own image.
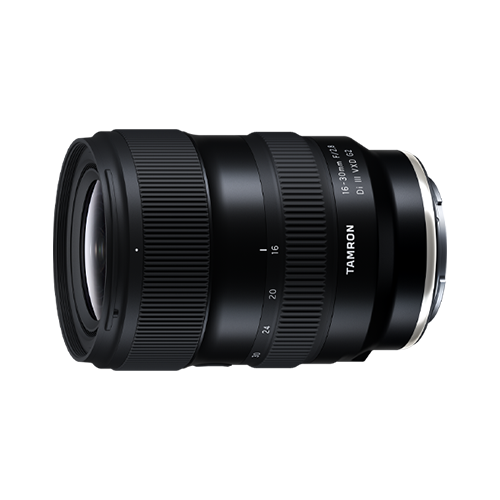
TAMRON products mentioned in this article