What Is a Panning Shot? Settings & Tips for Motion Blur
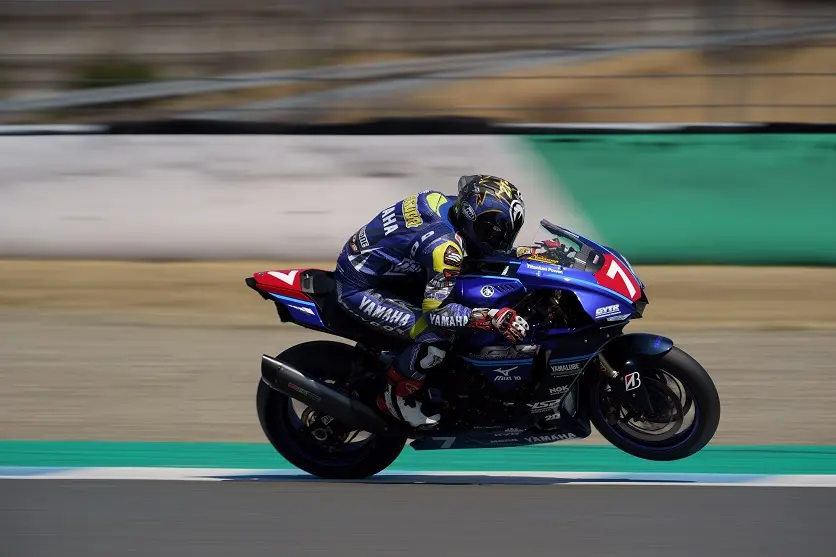
A panning shot is a photography technique that captures a moving subject sharply while creating motion blur in the background. By moving your camera in the same direction and at roughly the same speed as your subject, you can create a strong sense of movement and speed.
Panning photography is often used for cars, motorcycles, cyclists, runners, trains, sports, and animals. Although it takes some practice, the right camera settings and smooth technique can make it much easier to capture successful panning shots.
In this guide, you’ll learn what a panning shot is, how to take a panning shot, the best panning shot settings, and techniques for getting sharper subjects and more dynamic motion blur.

What Is a Panning Shot?
A panning shot is created by following a moving subject with your camera while using a relatively slow shutter speed.
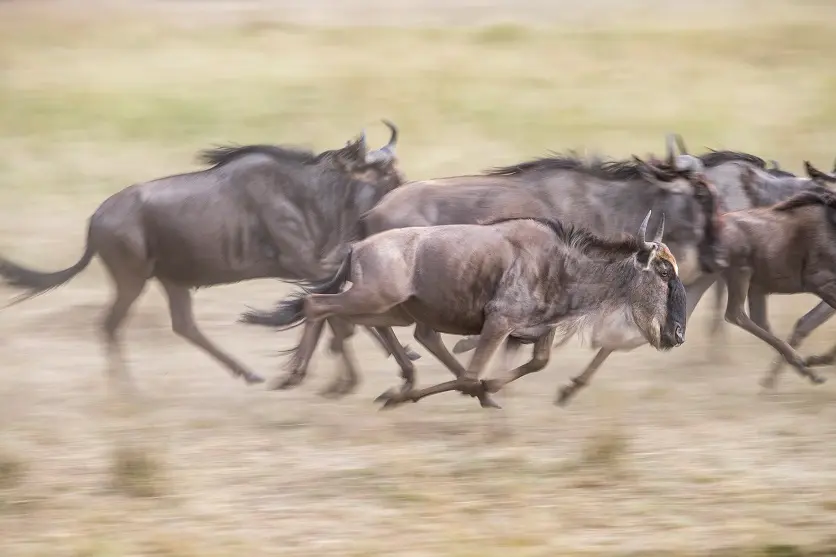
As you move the camera along with the subject, the subject can remain relatively sharp while the background becomes blurred into horizontal streaks. This creates the impression of speed and movement.
Unlike simply photographing a moving subject with a slow shutter speed, panning requires you to move the camera with the subject during the exposure.
Panning works especially well when your subject is moving in a predictable direction, such as:
- Cars and motorcycles
- Cyclists and runners
- Trains
- Athletes
- Horses and other animals
- Children riding bicycles or playing on swings
The more consistent the subject’s movement, the easier it is to maintain a smooth panning motion.
How Does Panning Photography Work?
The key to a successful panning shot is balancing shutter speed and camera movement.
A fast shutter speed can freeze both your subject and the background, reducing the sense of motion. A slower shutter speed introduces motion blur, while moving the camera with the subject helps keep the subject relatively sharp.
The goal is to keep the subject in approximately the same position within the frame as you press the shutter.
This creates the characteristic sharp subject and blurred background associated with panning photography.
Best Panning Shot Settings
There is no single shutter speed that works for every situation. The ideal setting depends on the speed of your subject, its distance from the camera, your focal length, and the amount of motion blur you want.
However, the following settings are a useful starting point.
Shutter Speed: Start at 1/60 to 1/125 Second
Shutter speed is the most important camera setting for panning.
If you’re new to the technique, start around 1/60 to 1/125 second.
Once you become more comfortable, try slower shutter speeds such as:
- 1/125 sec. – easier starting point for faster subjects
- 1/60 sec. – good starting point for noticeable background blur
- 1/30 sec. – stronger motion blur
- 1/15 sec. – dramatic background streaks, but more difficult to master
A slower shutter speed creates more background blur, but it also makes it harder to keep your subject sharp.
Start with a relatively manageable shutter speed and gradually slow it down as your panning technique improves.
Shooting Mode: Shutter Priority or Manual
For beginners, Shutter Priority mode is a convenient choice because you can set the shutter speed while the camera automatically adjusts the aperture.
As you become more comfortable with panning, Manual mode gives you greater control over shutter speed, aperture, and ISO.
Aperture and ISO
When using Shutter Priority, the camera automatically selects the aperture based on the available light.
As a general starting point, an aperture around F8 to F11 can provide a useful balance between exposure and depth of field.
For ISO, start around ISO 100 to 400 in bright conditions and increase it when necessary.
On very bright days, using a slow shutter speed can cause overexposure. An ND filter can help reduce the amount of light entering the lens, allowing you to use slower shutter speeds while maintaining a suitable exposure.
Use Continuous Autofocus
Because your subject is moving, use continuous autofocus to help maintain focus as the subject moves through the frame.
Depending on your camera, this may be called AF-C or another continuous AF mode.
For the AF area, Zone AF or Flexible Spot can be useful when you want to keep the focus area relatively controlled.
Try to place the focus point on an important part of the subject, such as a person’s face, the front of a vehicle, or another distinctive detail.
Use Continuous Shooting or Burst Mode
Panning happens quickly, so capturing multiple frames can increase your chances of getting a sharp image.
Start pressing the shutter just before the subject reaches the desired position and continue shooting as you follow the subject.
Burst shooting allows you to select the frame with the best combination of subject sharpness, composition, and background motion blur.

How to Take a Panning Shot
Getting the settings right is only part of the process. Your camera movement is just as important.
1. Find a Predictable Moving Subject
Start with a subject that moves at a relatively consistent speed and direction.
Cars, cyclists, runners, and trains are excellent subjects for beginners because their movement is easier to anticipate.
2. Stand With a Stable Posture
Stand with your feet approximately shoulder-width apart.
Keep your arms relatively close to your body and hold the camera firmly. If you’re using the viewfinder, keeping it against your face can provide another point of contact and help stabilize your camera.
3. Follow the Subject Before Pressing the Shutter
Don’t wait until the exact moment you want to take the photograph before moving the camera.
Start following the subject before pressing the shutter.
Keep the subject in the same position within your frame as smoothly as possible.
4. Rotate Your Upper Body
Avoid trying to follow the subject using only your wrists or arms.
Instead, rotate your upper body smoothly while keeping the subject framed.
Think of your body as rotating around your waist rather than quickly swinging the camera with your arms.
5. Keep Moving After Pressing the Shutter
One of the most common panning mistakes is stopping the camera immediately after pressing the shutter.
Continue following the subject after the exposure.
This follow-through helps maintain a smooth camera movement and can increase your chances of keeping the subject sharp.
6. Take Several Shots
Panning takes practice.
Even experienced photographers may capture several unsuccessful frames before getting the ideal combination of sharpness and motion blur.
Use continuous shooting and experiment with different shutter speeds. Review your results and adjust your technique based on the amount of blur and subject sharpness.
How to Choose a Lens for Panning
The best lens for panning depends on your subject, shooting distance, and desired composition.
Focal Length
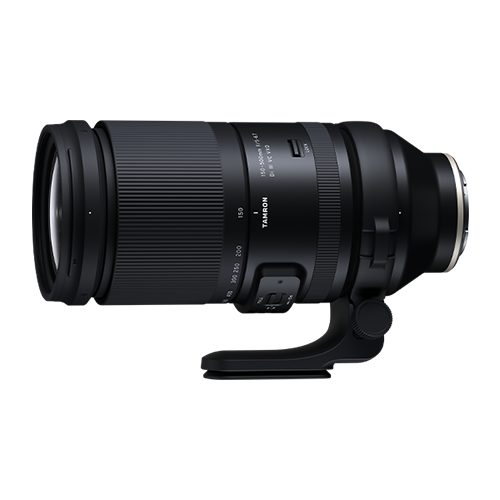
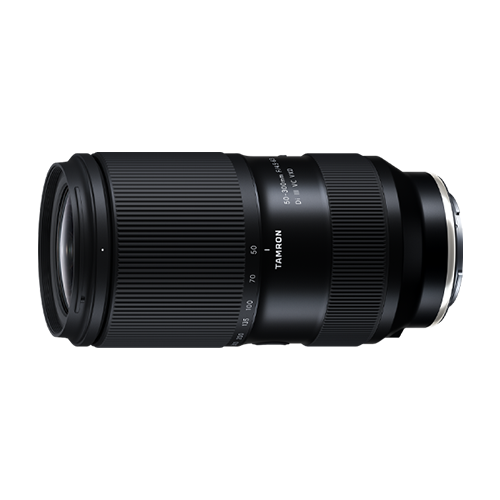
A telephoto lens can be useful for distant subjects such as motorsports and wildlife.
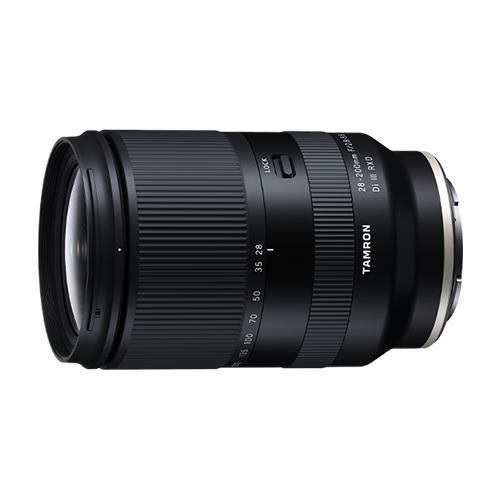
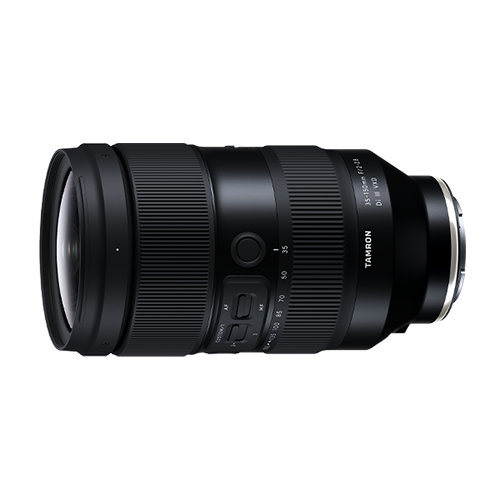
For closer subjects in urban environments, a standard zoom or moderately wide-angle lens can give you a wider field of view and allow more of the surrounding environment to appear in the photograph.
Autofocus Performance
Fast and accurate autofocus can make it easier to maintain focus on moving subjects.
When choosing a lens for sports, wildlife, or motorsports photography, responsive autofocus can help increase your chances of getting a sharp subject.
Image Stabilization
In-lens image stabilization can be useful when shooting handheld.
Some lenses and cameras also offer stabilization modes specifically designed for panning. When available, these can help reduce unwanted movement while still allowing the camera to follow the subject horizontally.
Size and Weight
Panning often involves holding and moving your camera for extended periods.
A lighter, more compact lens can make it easier to maintain smooth camera movement. Larger telephoto lenses may benefit from additional support such as a monopod.
Common Panning Mistakes
If your panning shots aren’t working, check these common problems:
The shutter speed is too fast.
The background may look almost completely sharp. Try a slower shutter speed.
The shutter speed is too slow.
Both the subject and background may become excessively blurred. Increase the shutter speed until the subject becomes more recognizable.
You’re moving only your arms.
Try rotating your upper body smoothly instead.
You stop moving when you press the shutter.
Continue following the subject after taking the shot.
You’re not using continuous autofocus.
Use continuous AF to help maintain focus on a moving subject.
The background is too plain.
Look for backgrounds with texture, patterns, colors, or lights that can create visible motion streaks.
Practice Makes Better Panning Shots
Panning photography takes practice, but it can transform an ordinary action photograph into an image that feels full of speed and movement.
Start with a shutter speed around 1/60 to 1/125 second, choose a predictable moving subject, and concentrate on keeping your camera movement smooth.
Once you become comfortable, experiment with slower shutter speeds such as 1/30 or 1/15 second to create stronger background motion blur.
The key is not simply choosing the right camera settings. Successful panning comes from combining shutter speed, autofocus, composition, camera movement, and follow-through.
Keep practicing, review your results, and gradually experiment with slower shutter speeds. With time, you’ll be able to create panning shots with a sharp subject and a much stronger sense of motion.
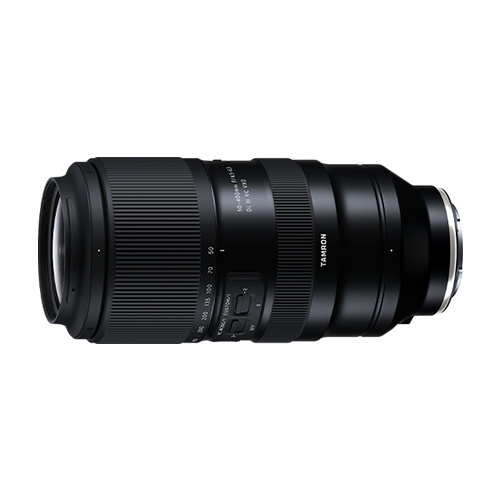
TAMRON products mentioned in this article