What Is Street Photography? Tips, Settings & Techniques
Street photography is the art of capturing everyday life, people, places, and spontaneous moments as they happen. Unlike carefully planned photography, street photography focuses on observation, timing, and the ability to recognize interesting moments in ordinary surroundings.
A related style is street snap photography, which emphasizes spontaneous, unplanned photographs taken while walking through streets, neighborhoods, markets, and other public spaces.
Whether you’re photographing people, buildings, vehicles, street fashion, or interesting light and shadows, the key is to stay observant and ready to capture the moment.
In this guide, we’ll explain what street photography is, the difference between street snap and portrait photography, the best street photography settings, composition techniques, and tips for taking better street photos.
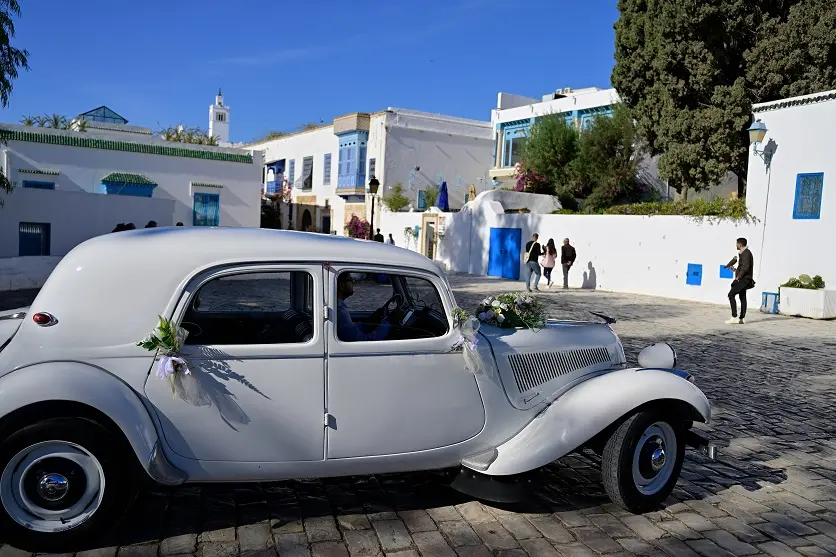
What Is Street Photography?
Street photography captures everyday life in public spaces without relying on a carefully arranged scene.
The subject can be almost anything:
- People going about their daily lives
- Buildings and architecture
- Street fashion
- Cars, motorcycles, and bicycles
- Interesting light and shadows
- Reflections
- Signs and storefronts
- Unexpected interactions
- City streets and landscapes
What makes street photography interesting is that the photographer often has little control over what happens.
Instead of creating the scene, you observe, anticipate, and react.
This is why street photography rewards patience and awareness. A familiar street can look completely different depending on the time of day, weather, light, and people passing through it.
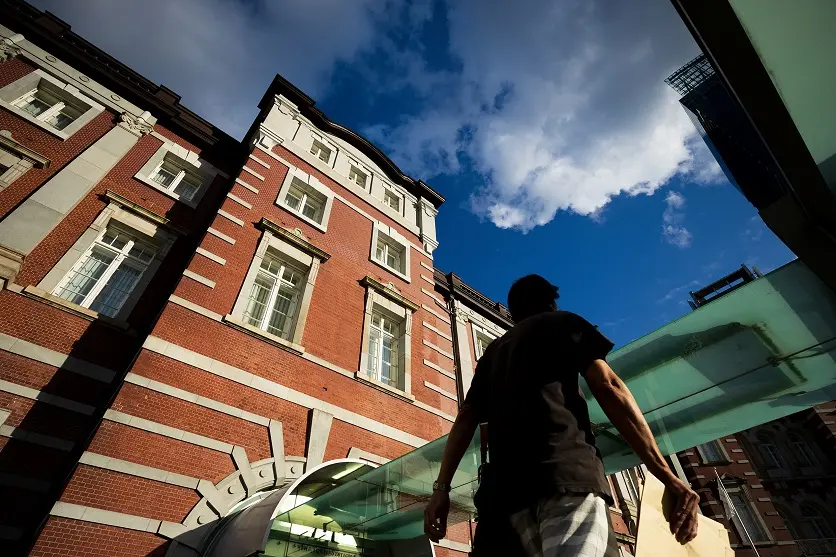
What Is Street Snap Photography?
Street snap photography is a spontaneous approach to photographing everyday scenes.
Rather than arranging a subject or planning a pose, you capture a moment as it naturally occurs.
For example, you might notice:
- Someone walking through a beam of sunlight
- A cyclist passing between buildings
- A reflection in a puddle
- A person waiting at a crossing
- Interesting shadows on a wall
- A colorful storefront
- A vehicle moving through the city
The appeal of a street snap is often the feeling that the photograph could only have happened at that particular moment.
This requires you to develop your observation skills and sense of timing.
Street Snap vs. Portrait Photography
Street snaps and portraits can look similar because both may feature people, but the way the photographs are created is different.
Street Snap Photography
Street snaps are generally:
- Spontaneous
- Unplanned
- Candid
- Influenced by the surrounding environment
- Focused on capturing a moment as it happens
The photographer reacts to something interesting rather than arranging the scene beforehand.
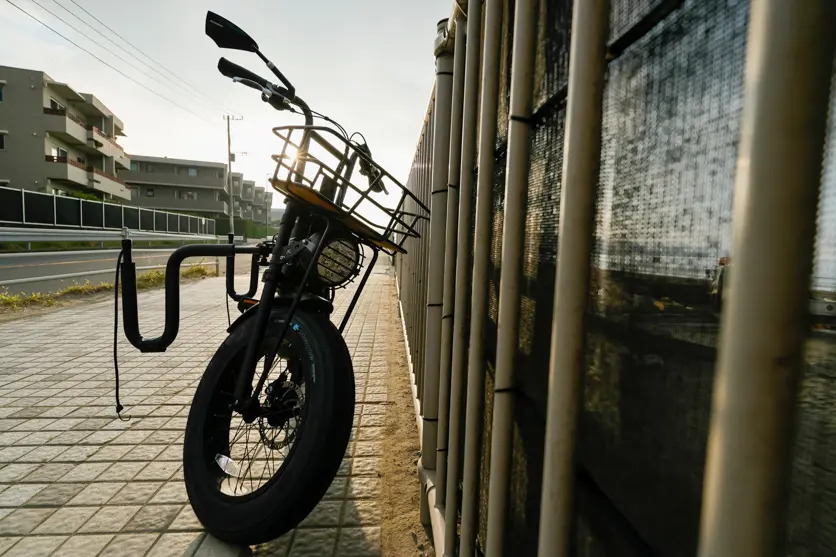
Portrait Photography
Portrait photography generally involves greater control over the subject.
The photographer may decide:
- Where the subject stands
- The pose
- Facial expression
- Lighting
- Background
- Composition
- Clothing or styling
Communication between the photographer and subject is often an important part of creating a portrait.
The distinction isn’t always absolute. Street photographers sometimes interact with their subjects and make street portraits, while portraits can also be photographed in spontaneous environments.
The main difference is whether the photograph is primarily observing an unscripted moment or deliberately directing the subject.
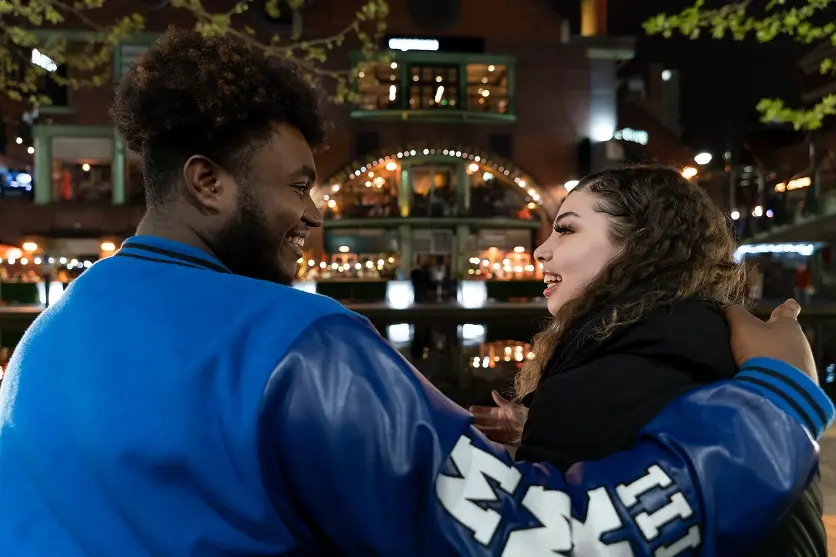
Common Subjects for Street Photography
Street photography doesn’t have to be limited to people.
Experimenting with different subjects can help you develop your own photographic style.
People
People are one of the most common subjects in street photography.
Look for natural gestures, interesting expressions, interactions, and moments that tell a story.
Instead of simply photographing someone walking down the street, consider how the person interacts with the environment.
A person walking beneath a large building, standing in a pool of sunlight, or passing a colorful wall can create a much more interesting composition.
When photographing identifiable people, always consider privacy, local laws, and photography etiquette. If someone is uncomfortable with being photographed, respect their wishes.
Street Corners and Cityscapes
Buildings, alleys, intersections, and streets can create strong compositions even when there are no people in the frame.
Look for:
- Leading lines
- Repeating patterns
- Geometric shapes
- Reflections
- Interesting architecture
- Light and shadow
Try photographing the same location at different times of day. Changes in light can completely transform the appearance of a familiar scene.
Buildings and Architecture
A wide-angle lens can emphasize the scale and perspective of large buildings.
Try photographing architecture from:
- A low angle
- Directly underneath
- Across the street
- Between other buildings
- An unusual side angle
Emphasizing vertical lines can make buildings appear taller and more dramatic.
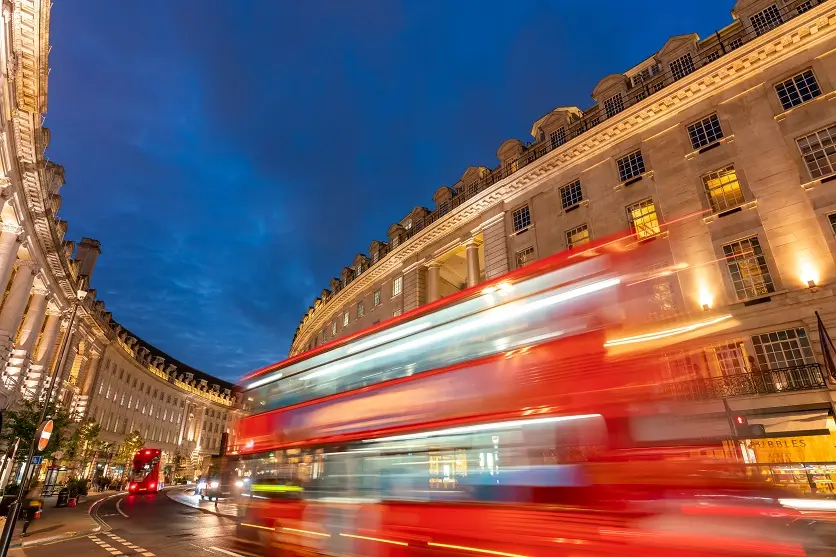
Cars, Motorcycles, and Bicycles
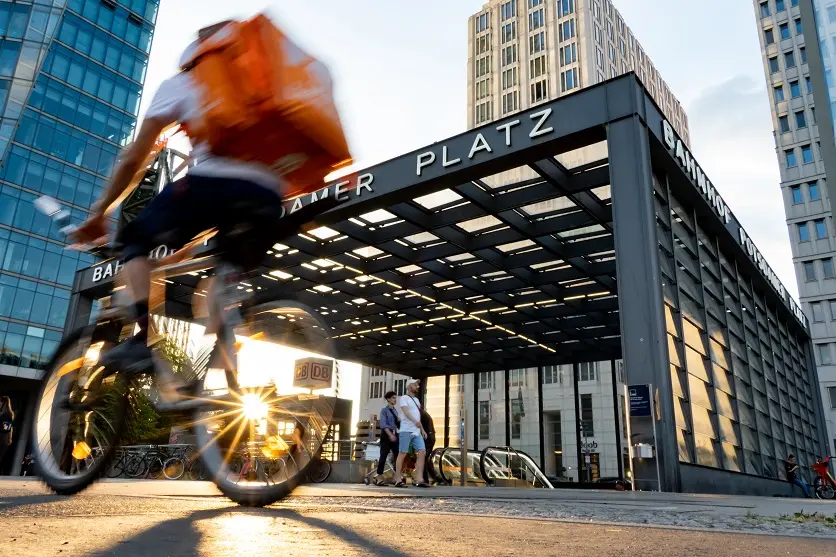
Vehicles can introduce movement and energy into street photographs.
You can freeze a moving vehicle using a fast shutter speed or experiment with panning to create motion blur.
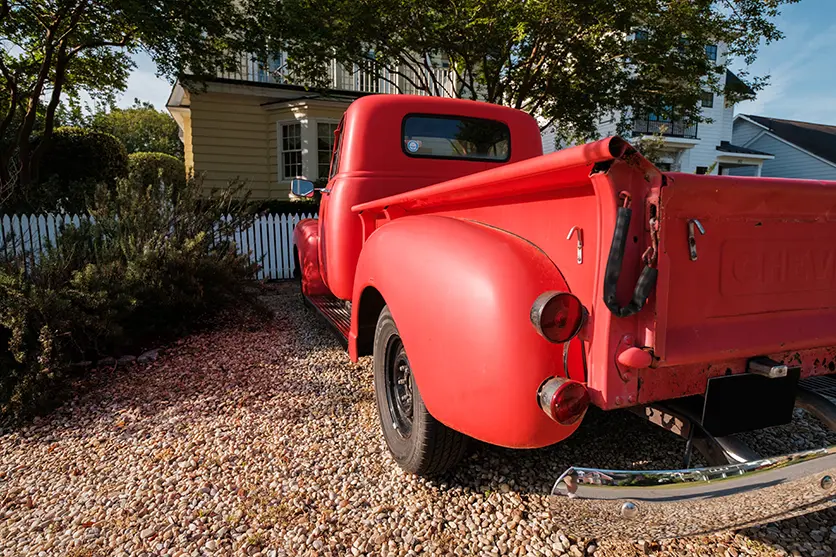
Older cars and motorcycles can also make interesting subjects when you focus on details such as paint, reflections, textures, and mechanical parts.
Best Camera Settings for Street Photography
There is no single set of street photography settings that works for every situation.
Your ideal settings depend on the subject, available light, and the effect you want to create.
However, these are useful starting points.
Shooting Mode
Aperture Priority is a convenient choice when depth of field and background blur are important.
It allows you to choose the aperture while the camera determines the shutter speed.
Shutter Priority is useful when you want greater control over motion.
For example, you can use a faster shutter speed to freeze a cyclist or vehicle, or a slower shutter speed to create motion blur.
Aperture
For street scenes and architecture where you want more of the scene in focus, try around:
F8–F11
For portraits or subjects you want to separate from the background, a wider aperture such as:
F2.8–F4
can create more background blur.
A wide aperture can also be useful in low-light conditions because it allows more light to reach the sensor.
Shutter Speed
For general handheld street photography, around:
1/125 sec.
is a useful starting point.
For moving subjects, consider:
1/250 sec. or faster
to help reduce motion blur.
For creative panning, try:
1/60 sec.
and experiment with slower speeds as your technique improves.
The ideal shutter speed depends on the speed of the subject and how much motion you want to show.
ISO
In bright daylight, an ISO between 100 and 400 can provide clean images.
In darker environments, Auto ISO can make it easier to maintain a usable shutter speed.
If you’re photographing at night or indoors, increasing ISO may be necessary to prevent unwanted motion blur.
Modern cameras can handle higher ISO settings well, but excessive ISO can still introduce visible noise.
White Balance
Auto White Balance is a good starting point for street photography because lighting can change rapidly as you move between different environments.
If you’re shooting RAW, you can also adjust white balance during post-processing.
For JPEG shooting, experiment with different white balance settings when you want to intentionally create a warmer or cooler mood.
How to Choose a Lens for Street Photography
The best lens for street photography depends on how you want to photograph.
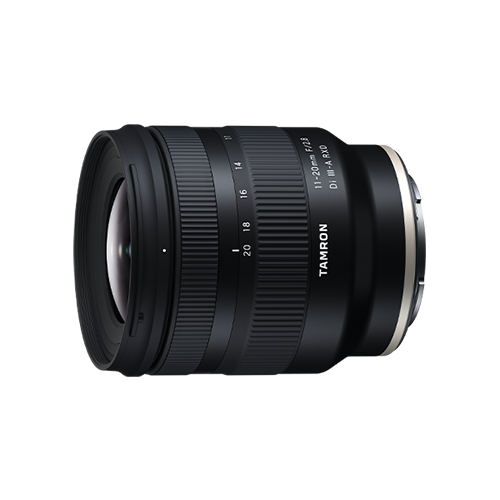
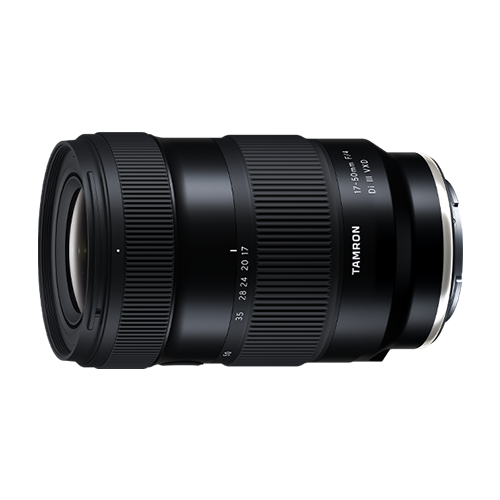
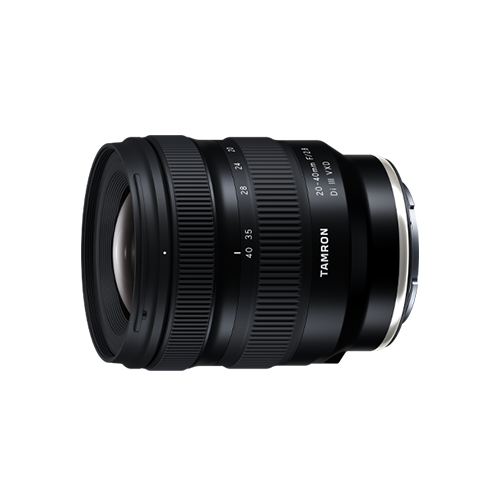
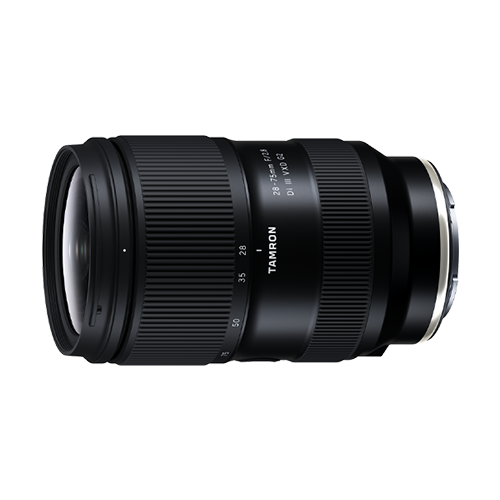
Consider size, focal length, maximum aperture, autofocus performance, and image stabilization when choosing a lens.
Choose a Lightweight Lens
Street photography often involves walking for long periods.
A lightweight and compact lens is easier to carry and makes it easier to keep your camera ready.
A smaller lens can also make you less conspicuous when photographing everyday scenes.
Choose the Right Focal Length
Different focal lengths create different perspectives.
Wide-angle lenses around 35mm or wider are useful for:
- Architecture
- Cityscapes
- Environmental portraits
- Large scenes
- Emphasizing perspective
Around 50mm provides a more natural-looking perspective and is a popular choice for everyday street photography.
85mm and longer focal lengths are useful when you want to photograph subjects from farther away or isolate a smaller part of a scene.
There isn’t one “correct” focal length for street photography. Choose the focal length that matches your preferred way of seeing.
Use a Wide Maximum Aperture
A lens with an aperture around F2.8 or wider can be useful for street photography.
A wider aperture lets you photograph in lower light while also creating background blur when desired.
This can be particularly useful during:
- Early morning
- Late afternoon
- Evening
- Indoor street scenes
- Night photography
Consider Autofocus Performance
Street photography often requires quick reactions.
Fast and accurate autofocus can help you capture moments before they disappear.
If you regularly photograph moving people, cyclists, or vehicles, autofocus tracking can also be useful.
Consider Image Stabilization
Image stabilization can help when shooting handheld at slower shutter speeds.
This is particularly useful for evening street photography or when using a telephoto lens.
However, remember that stabilization primarily helps with camera movement. It cannot completely prevent motion blur caused by a moving subject.
Street Photography Tips
Taking better street photos isn’t simply about having the right camera. The most important skill is learning how to see.
1. Observe Before You Shoot
Before immediately raising your camera, spend some time observing the environment.
Look for:
- How people move through the area
- Interesting light
- Shadows
- Reflections
- Contrasting colors
- Patterns
- Interactions between people and buildings
Sometimes the best photograph appears after you’ve spent several minutes simply watching the scene.
Street photography is often about recognizing an interesting combination of elements before it happens.
2. Look for the Decisive Moment
A strong street photograph may only exist for a fraction of a second.
Instead of simply walking around and photographing everything, try to anticipate when an interesting moment might happen.
For example, find a location where:
- Light creates an interesting shadow
- People regularly pass through
- Vehicles create movement
- Buildings create strong lines
- Different elements overlap
Then wait for the right subject to enter the scene.
This approach can produce more intentional photographs than constantly chasing subjects.
3. Keep Your Camera Ready
Street photography often happens quickly.
Prepare your basic exposure settings before you start walking so you don’t have to make several adjustments when an interesting moment appears.
Keep your camera easily accessible and ready to shoot.
You can also use a relatively simple exposure setup, such as Auto ISO with a minimum shutter speed, so you can concentrate more on composition and timing.
4. Change Your Angle and Position
Don’t photograph everything from eye level.
Try:
- Getting lower to the ground
- Shooting upward
- Moving closer
- Stepping farther away
- Photographing through objects
- Using walls or pillars as foreground elements
- Framing a subject within a doorway
Changing your position can turn an ordinary scene into a more distinctive photograph.
5. Experiment With Composition
Street photography happens quickly, so knowing basic composition techniques can help you react faster.
Try using:
- Rule of thirds
- Leading lines
- Symmetry
- Diagonal composition
- Negative space
- Framing
- Repeating patterns
Don’t become too focused on following rules, however.
Sometimes the strongest street photographs come from breaking conventional composition techniques.
Final Tips for Better Street Photography
Great street photographs often begin with something simple: pay attention.
Instead of constantly looking through your viewfinder, spend time observing the environment.
Look for interesting light, movement, colors, shadows, reflections, architecture, and interactions.
Keep your camera ready and prepare your basic settings before you start shooting.
For general street photography, start around 1/125 sec., adjusting your shutter speed depending on the subject. Use around 1/250 sec. or faster when you need to freeze movement, and experiment with 1/60 sec. or slower when you want to create motion blur.
Most importantly, don’t worry about capturing a perfect photograph every time.
Walk, observe, experiment, and take plenty of photographs.
The more you practice, the easier it becomes to recognize those brief moments that make street photography and street snaps so rewarding.
TAMRON products mentioned in this article