Video Shooting Basics: Camera Work, Movements, Effects and Lens Selection
If you’re just starting out with videography, simply pointing the camera at your subject is only the beginning. The way you position, move, and operate the camera can dramatically change how a scene looks and feels.
Understanding basic camera work techniques allows you to create more engaging footage, guide the viewer’s attention, and communicate different emotions through movement and composition.
In this guide, we’ll explore essential video shooting basics, including fixed shots, panning, tilting, tracking, dolly movements, zooming, camera angles, and more. We’ll also look at practical ways to combine these techniques and explain what to consider when choosing a lens for video shooting.
Whether you’re creating videos for social media, travel content, interviews, documentaries, or more cinematic projects, mastering these fundamentals can help you get more intentional results from your camera.
What Is Camera Work?
Camera work refers to the way the camera is positioned, operated, and moved while recording.
Even when filming the same subject, changing the camera’s position or movement can completely change the viewer’s impression.
For example, slowly moving toward a subject can increase tension or intimacy, while a high-angle shot can provide a broader view of the scene. A smooth horizontal movement can reveal the environment, while keeping the camera completely still can make the subject’s movement feel more prominent.
This is why camera work techniques are more than simply ways of operating a camera. They are tools for visual storytelling.
How Camera Work Changes the Feeling of a Video
Good camerawork should support the purpose of the scene.
Different movements can create rhythm, contrast, tension, calmness, scale, or intimacy. Using the same movement repeatedly can make footage feel predictable, while deliberately changing between still and moving shots can create a stronger sense of rhythm.
For example, a long static shot followed by a sudden camera movement can immediately attract attention to the action that follows.
Camera movement can also guide the viewer’s gaze without requiring a cut. A carefully controlled movement can reveal one subject after another or gradually introduce the environment surrounding the main subject.
Use Movement to Enhance Emotion
The speed and direction of camera movement can influence the emotional tone of a scene.
A sudden movement can communicate urgency, surprise, or tension. A slow and controlled movement can create a calmer or more intimate feeling.
Vertical movement can also influence how a subject is perceived. Moving upward can emphasize height, achievement, or grandeur, while moving downward can suggest closure, vulnerability, or a transition toward a smaller detail.
The important point is to choose movement based on what you want the audience to feel rather than moving the camera simply because movement is available.
Basic Types of Camera Work
For beginners, camera work can be organized into three broad categories:
- Keeping the camera fixed
- Moving the camera
- Using the lens to change the framing
Understanding the difference between these approaches makes it easier to choose the right technique for each scene.
Fixed Camera: The Foundation of Video Shooting
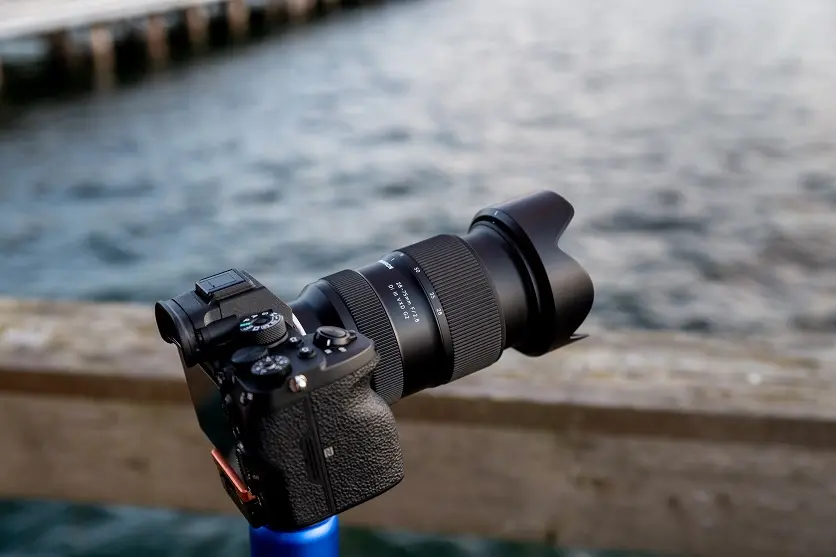
A fixed shot keeps the camera in one position, usually using a tripod or another support.
Although it may seem like the simplest option, a static camera is one of the most useful video shooting techniques to master.
Because the camera does not move, the viewer can concentrate on the subject’s actions, expressions, or changes in the environment.
A fixed shot is particularly useful for:
- Interviews
- Documentaries
- Landscapes
- Tutorials
- Long-form observations
- Scenes where composition needs to remain consistent
A static camera can also make small movements more noticeable. For example, clouds moving across the sky or trees moving in the wind can become the focus of the shot when the camera itself remains still.
Panning: Moving the Camera Horizontally
Panning is the movement of the camera from left to right or right to left while maintaining the camera’s position.
It is useful for following a moving subject or revealing a wide environment.
You might use a pan to:
- Follow someone walking or running
- Reveal a landscape
- Show the scale of a location
- Connect two subjects within a scene
- Guide the viewer’s attention across the frame
Pan Left and Pan Right
The direction of the pan can be chosen according to the movement of the subject or the visual flow of the scene.
When following a person moving from left to right, for example, a rightward pan can maintain the relationship between the subject and the camera.
The most important consideration is speed.
A pan that is too fast can make the footage difficult to follow, particularly when using a telephoto lens. For smoother results, determine the starting and ending points before recording and try to maintain a consistent speed.
A properly adjusted tripod head can also make horizontal movement much smoother.
Tilt: Moving the Camera Vertically
A tilt moves the camera upward or downward while keeping its position fixed.
It is particularly useful for showing tall subjects such as buildings, people, trees, or waterfalls.
Tilt Up
A tilt up moves from the lower part of the frame toward the top.
It can emphasize:
- Height
- Scale
- Power
- Grandeur
- Achievement
- A sense of looking upward
For example, tilting upward from the base of a tall building can make the structure feel more imposing.
Tilt Down
A tilt down moves from the upper part of the frame toward the bottom.
It can reveal details gradually or transition from a broad view to a specific subject.
It can also be used to suggest falling, closure, or a change in perspective.
As with panning, smoothness is important unless the purpose of the shot is deliberately to create instability or confusion.
Camera Movements That Follow the Subject
Some of the most engaging camera movements for video involve physically moving the camera rather than simply rotating it.
Moving the camera through space creates changes in perspective and can make footage feel more immersive.
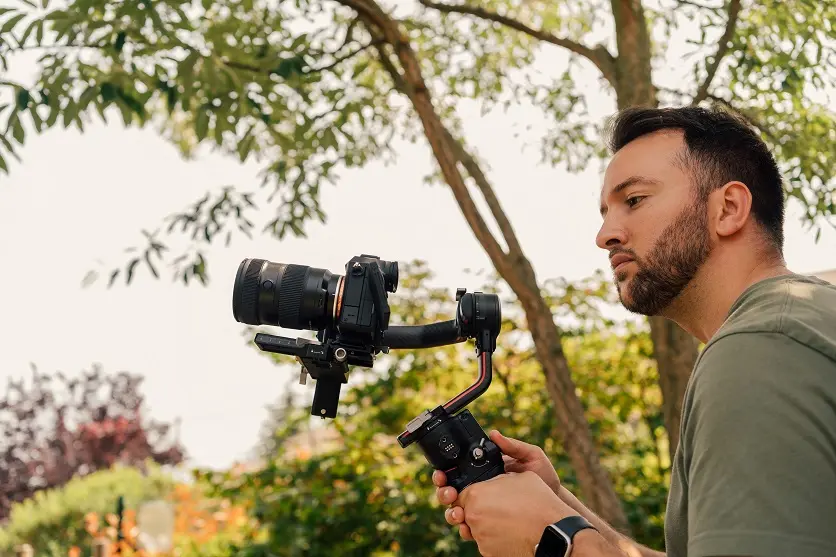
Sliders, dollies, gimbals, and stabilizers can help produce controlled movement, but beginners can also experiment with simple handheld techniques.
The equipment is useful, but the purpose of the movement should always come first.
Tracking: Following a Moving Subject
Tracking involves moving the camera while following a subject.
For example, you can move alongside someone as they walk through a city or follow an athlete as they run.
The goal is usually to maintain a relatively consistent relationship between the camera and subject while allowing the background to move through the frame.
This creates a stronger sense of motion than a static shot.
Tracking is frequently used for:
- Sports videos
- Travel videos
- Documentaries
- Music videos
- Narrative filmmaking
- Lifestyle content
A slider, rail system, gimbal, or stabilizer can help produce smoother tracking shots.
Lens Zoom: Changing the Framing Without Moving the Camera
Zooming is different from physically moving the camera.
A zoom changes the lens’s focal length while the camera remains in the same position.
This makes zooming one of the easiest techniques for beginners to try.
However, zooming can produce a flatter sense of perspective compared with physically moving the camera.
Zoom In
Zooming in gradually makes the subject appear larger in the frame.
It can be used to:
- Draw attention to a subject
- Reveal an important detail
- Increase tension
- Emphasize an expression
- Transition from a wide view to a close-up
The speed of the zoom also affects its emotional impact.
A sudden zoom can communicate surprise, shock, or urgency, while a slow zoom can create anticipation or emphasize a gradual emotional change.
Zoom Out
Zooming out gradually reveals more of the environment.
You can begin with a specific detail and then reveal the larger situation around it.
This is useful when the context of the scene is important.
For example, starting with a person’s face and slowly zooming out could reveal that they are standing in a much larger environment.
Camera Angles and Their Emotional Effect
The camera’s angle can change how a subject is perceived.
Even when the camera does not move, changing its height or orientation can influence the viewer’s impression of size, strength, vulnerability, or scale.
Low-Angle Shots
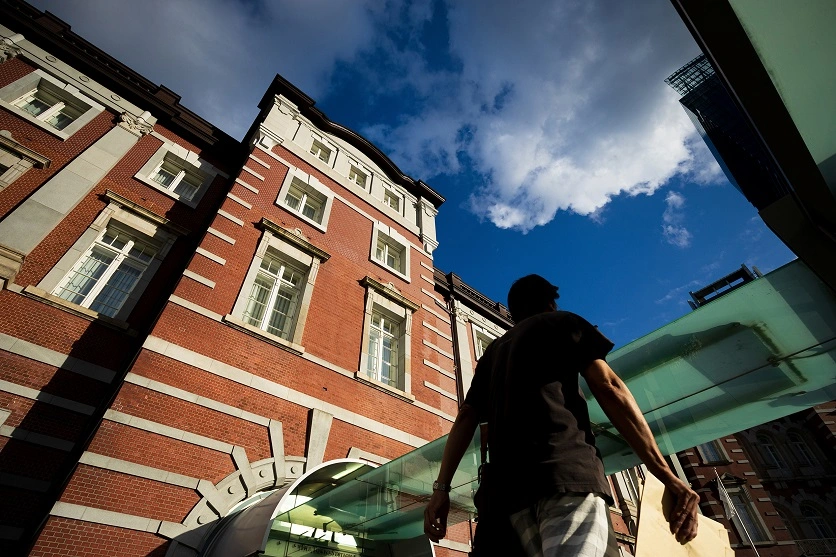
A low-angle shot positions the camera below the subject and points upward.
This can make the subject appear:
- Larger
- More powerful
- More imposing
- More authoritative
It can be particularly effective when filming buildings, architecture, or characters who need to appear dominant.
High-Angle Shots
A high-angle shot places the camera above the subject and points downward.
This can make a person appear smaller or more vulnerable.
It can also provide a useful overview of a location or group of people.
The best angle depends on the emotional or informational purpose of the shot.
Dutch Angle
A Dutch angle intentionally tilts the camera so that the horizon is no longer level.
This creates visual instability and can communicate:
- Tension
- Confusion
- Anxiety
- Danger
- Psychological instability
It is commonly associated with suspense and dramatic filmmaking.
However, because the effect is visually strong, it should be used selectively. If every shot is tilted, the effect becomes less meaningful.
Combining Camera Movements
Once you are comfortable with individual movements, you can begin combining them.
For example, you might pan across a landscape and then tilt upward to reveal a tall building.
Another technique is combining a dolly movement with a zoom to create a more dramatic change in perspective.
Complex movements can produce impressive results, but they also increase the risk of making footage difficult to follow.
When combining movements, pay attention to:
- Direction
- Speed
- Timing
- Subject movement
- Starting and ending composition
Practice the movement before recording whenever possible.
The goal is not to use as many movements as possible. The goal is to make each movement feel purposeful.
Composition Matters as Much as Camera Movement
Camera movement alone does not guarantee good footage.
The composition at the beginning and end of a movement should also be considered.
Basic principles such as the rule of thirds can help create balanced compositions, while leaving space in front of a moving subject can communicate direction.
This empty space is often called lead room or look room.
For example, if a person is running toward the right side of the frame, placing them slightly to the left and leaving more space ahead of them can make the movement feel more natural.
Composition should also be considered when connecting multiple shots.
If the position and direction of the subject change dramatically between cuts, the transition may feel confusing.
Planning the composition of each shot before recording can make editing much easier.
Shooting with Multiple Cameras
Using multiple cameras allows you to capture the same scene from different perspectives.
This can be particularly useful for:
- Interviews
- Events
- Performances
- Difficult-to-repeat scenes
- Tutorials
- Documentary production
For example, an interview could be recorded with a medium shot as the primary view while another camera captures a closer angle.
During editing, these different perspectives give you more options for controlling the rhythm of the final video.
When using multiple cameras, try to keep exposure, white balance, and color consistent. Large differences between cameras can make cuts feel distracting.
Choosing the Right Equipment for Camera Movement
Equipment can make certain camera movements for video easier and more consistent.
Gimbals
Gimbals are useful for smooth handheld movement and tracking shots.
Sliders
Sliders allow controlled linear movement and are useful for subtle product shots, interviews, and cinematic transitions.
Drones
Drones provide an aerial perspective that would otherwise be difficult to achieve.
However, expensive equipment is not a requirement for creating effective footage.
A simple tripod, handheld camera, or basic slider can produce excellent results when the movement is motivated by the story.
In some cases, intentionally retaining handheld movement can even contribute to the character and realism of a video.
Using TAMRON Lens Utility™
TAMRON Lens Utility™ allows users to customize compatible TAMRON lenses using a smartphone or computer.
For video creators, lens customization can provide additional control over functions that would otherwise require separate accessories or more complicated setups.
Depending on the compatible lens and configuration, the software can support a variety of functions designed to make shooting more convenient and expand creative possibilities.
For filmmakers who regularly work with controlled focus or customized lens functions, it can become a useful part of the shooting workflow.
Learn more about TAMRON Lens Utility™ through the TAMRON Lens Utility section of the TAMRON Philippines website.
How to Choose the Right Lens for Video Shooting
Camera movement is only one part of creating good video.
The lens you choose also influences the image’s brightness, perspective, background separation, autofocus behavior, and overall look.
When selecting a lens for video shooting, consider the following characteristics.
Maximum Aperture
The maximum aperture determines how much light the lens can collect.
A lens with a large maximum aperture, such as F2.8 or F4, can be useful when shooting in lower-light environments.
A larger aperture can also produce stronger background blur, helping separate the subject from its surroundings.
This can be particularly useful for portraits, interviews, storytelling, and scenes where you want to emphasize the subject.
Focal Length and Angle of View
Different focal lengths provide different perspectives and fields of view.
Wide-Angle Lenses
Wide-angle lenses are useful when you want to show more of the environment.
They are particularly useful for:
- Landscapes
- Architecture
- Interiors
- Travel
- Action
- Small spaces
Their wider field of view can also emphasize perspective and make camera movement feel more dynamic.
Standard Lenses
Standard focal lengths provide a relatively natural perspective and are useful for everyday scenes, interviews, documentaries, and storytelling.
They can create a familiar viewing experience without strongly exaggerating perspective.
Telephoto Lenses
Telephoto lenses allow you to frame distant subjects more tightly.
They are useful for:
- Portraits
- Sports
- Wildlife
- Interviews
- Events
They can also create stronger background compression and separation, making them useful when you want the subject to stand out against a blurred background.
Consider the Overall Look of the Lens
A lens’s “look” includes more than sharpness.
It can include:
- Color rendering
- Contrast
- Sharpness
- Bokeh
- Tonal characteristics
- Background rendering
- Overall image character
Two lenses with similar specifications can still produce noticeably different images.
Whenever possible, look at actual sample footage and images rather than choosing a lens based only on specifications.
For video creators who use multiple lenses, choosing lenses with compatible rendering can also help maintain a consistent visual style between shots.
Focus Breathing
Focus breathing occurs when the angle of view changes slightly as focus is adjusted.
In still photography, this may be less noticeable. During video recording, however, frequent focus transitions can make the effect more obvious.
If your videos rely heavily on focus pulls, check how a lens behaves during focus changes.
Sample footage and reviews can help you understand the degree of focus breathing before making a decision.
Image Quality and Zoom Performance
Image quality is another important consideration when choosing a lens for video.
Look for good resolution, contrast, and color reproduction across the focal range if you’re using a zoom lens.
When recording landscapes, for example, a lens should be able to preserve fine textures and detail without making the image look overly harsh.
For video, consistent performance throughout the zoom range can also make shooting more predictable.
Focus Ring and Overall Operability
A lens should not only produce good images—it should also be comfortable to operate.
If you frequently use manual focus, pay attention to the feel and resistance of the focus ring.
Also consider:
- AF/MF switch placement
- Focus ring movement
- Autofocus response
- Operating noise
- Ease of switching between functions
These details can become especially important during longer shooting sessions.
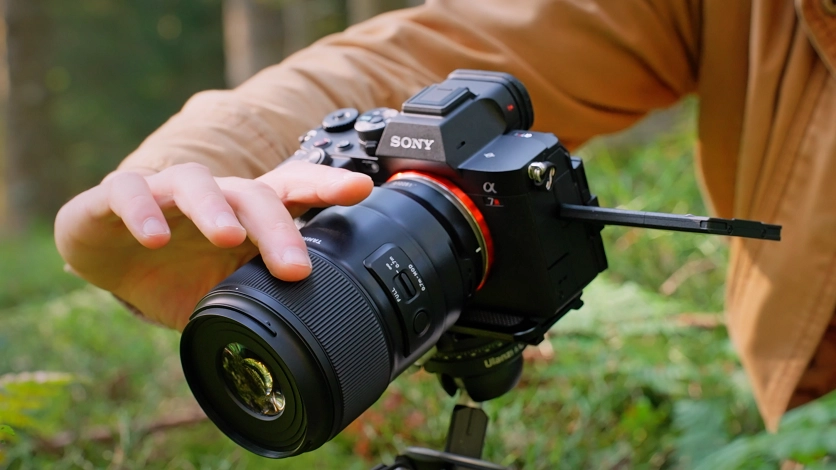
Weight and Size
The weight and size of a lens can significantly affect handheld video shooting.
A lighter lens is generally easier to hold for extended periods, particularly when using a camera without a gimbal.
Compact lenses can also be useful for:
- Travel
- Vlogging
- Documentary shooting
- Street video
- Tight interiors
When choosing a lens, consider not only what it can do optically but also whether you can comfortably carry and operate it during a real shoot.
Moisture Resistance for Outdoor Video
If you frequently shoot outdoors, a lens with moisture-resistant construction can provide additional peace of mind.
This can be useful when shooting:
- Landscapes
- Beaches
- Water features
- Outdoor events
- Travel videos
- Scenes after rain
Moisture resistance does not mean a lens is completely waterproof, so always follow the manufacturer’s guidelines for use in wet conditions.
Autofocus Performance
Autofocus performance is especially important when recording moving subjects.
For video, look for autofocus that is both accurate and smooth, with minimal distracting noise.
Strong subject-tracking performance can be particularly useful for:
- Sports
- Children
- Events
- Wildlife
- Moving subjects
A lens with quiet autofocus can also help prevent unwanted operating sounds from being recorded by the microphone.
Vibration Compensation
Camera shake is one of the most common challenges when shooting handheld.
A lens equipped with Vibration Compensation can help produce more stable footage, particularly when using longer focal lengths or shooting without a tripod.
However, stabilization settings should be chosen according to the situation.
When using a tripod or performing certain intentional camera movements such as panning, check the lens and camera manufacturer’s recommendations for stabilization settings.
Putting Camera Work and Lens Selection Together
The best video shooting techniques are not necessarily the most complicated.
A simple fixed shot can be more effective than an elaborate camera movement if the scene calls for stability.
Likewise, a slow dolly can communicate emotion more effectively than a fast tracking shot if the goal is to create intimacy.
Think about the purpose of each shot first:
What should the viewer see?
What should the viewer feel?
Where should the viewer’s attention go?
Once you can answer those questions, you can choose the appropriate camera movement, angle, composition, and lens.
Start by practicing the fundamentals:
- Fixed shots
- Panning
- Tilting
- Tracking
- Dolly movements
- Zooming
- Low and high angles
- Composition
- Focus control
Then experiment by combining them.
The more familiar you become with these basic camera work techniques, the easier it will be to develop your own visual style.
Create the Scene You Envision
Camera work is more than a collection of technical movements. It is a visual language.
A pan can reveal a location. A tilt can emphasize scale. A dolly can increase tension. A zoom can draw attention to a detail. A low angle can give a subject greater presence, while a high angle can make it appear smaller.
The lens you choose also contributes to the final result.
By understanding the relationship between camera movement, composition, lens characteristics, and the emotion you want to communicate, you can make more intentional creative decisions.
You don’t need expensive equipment to begin.
Start with the camera and lens you already have, practice the basic movements, and learn how small changes in position, speed, angle, and framing affect the image.
With practice, these video shooting basics become the foundation for more advanced and creative filmmaking.
Final Thoughts
Learning camera movements for video is one of the most useful steps a beginner can take toward creating more engaging footage.
Start with simple movements and understand what each one communicates. Then gradually combine them with composition, lens selection, focus, and lighting.
Most importantly, don’t move the camera simply because you can.
Every movement should have a purpose.
When camera work supports the story rather than distracting from it, even simple footage can become more compelling.
With a solid understanding of video shooting basics, the right lens for video shooting, and plenty of practice, you can begin creating footage that looks more intentional, expressive, and professional.
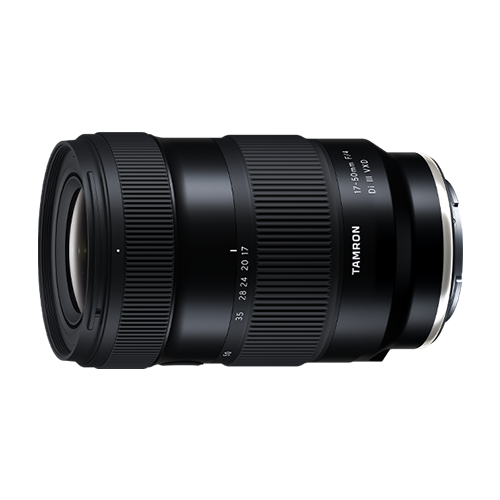
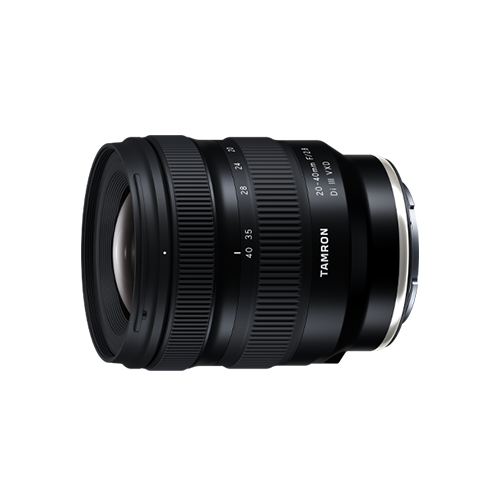
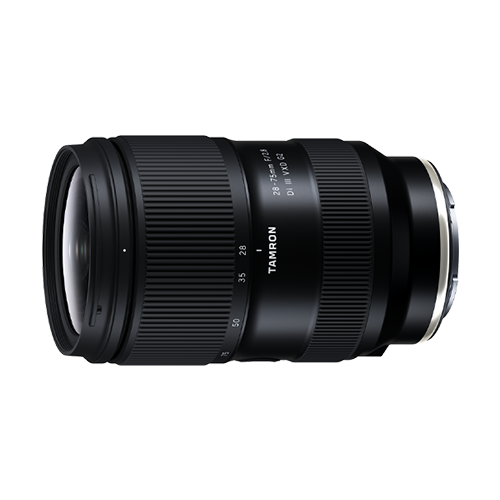
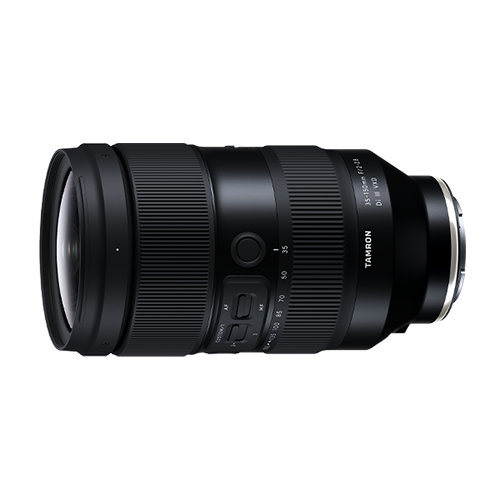
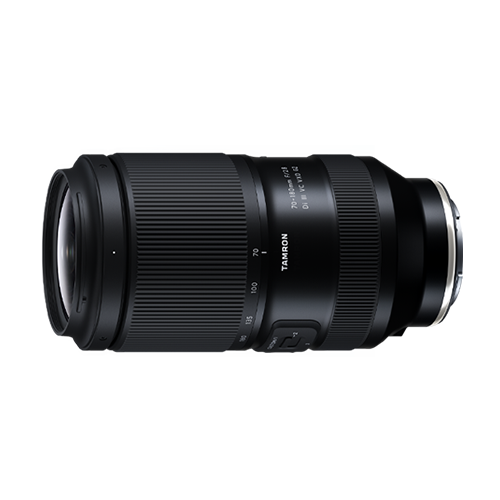
TAMRON products mentioned in this article