Night Photography Tips: How to Shoot Beautiful Nightscapes
Night photography offers a completely different way to experience familiar places. After sunset, city streets, buildings, bridges, signs, vehicles, and other illuminated subjects can take on a new character. With the right approach, ordinary scenes can become dramatic photographs filled with color, contrast, reflections, and atmosphere.
However, night photography can also be challenging. Unlike daytime photography, scenes may contain very dark areas alongside extremely bright artificial light sources. Camera shake can become more noticeable because of slower shutter speeds, while autofocus and exposure can also be more difficult in low-light conditions.
The good news is that you can overcome many of these challenges by understanding a few basic camera settings, choosing an appropriate lens, stabilizing your camera, and paying attention to composition.
In this guide, we’ll explain how to shoot night photography, including recommended equipment, exposure settings, composition techniques, handheld shooting tips, and approaches for different night scenes.

Equipment Needed for Night Photography
Before heading out to photograph a city after dark, prepare equipment that will help you capture sharp images and make the most of limited light.
Choose the Right Lens
The lens you use can significantly affect the way a night scene looks.
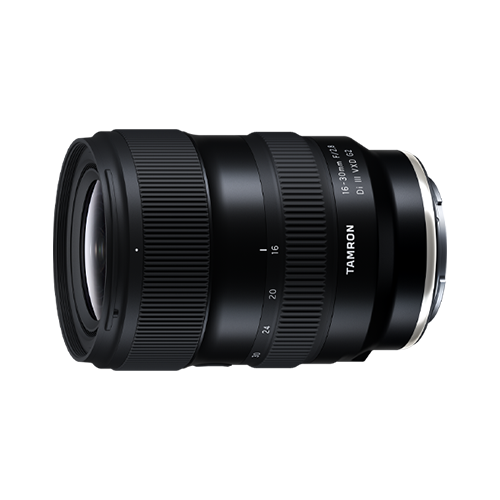
A wide-angle lens is useful when you want to capture a broad cityscape, architecture, streets, or a large area of illuminated scenery. A wider field of view allows you to include more of the surroundings and can emphasize the scale of a scene.
A telephoto lens, on the other hand, is useful for distant subjects such as airplanes, building details, ferris wheels, and illuminated structures. Telephoto lenses can also compress the apparent distance between foreground and background elements, creating more dramatic compositions.
For low-light photography, a lens with a wide maximum aperture, such as F2.8 or F4, can also be particularly useful. A wider aperture allows more light to reach the camera sensor, which can be helpful when photographing handheld or when you want to create background bokeh.
Bring a Tripod
A tripod is one of the most useful pieces of equipment for nightscape photography.
Because there is less available light after dark, you may need to use slower shutter speeds to achieve a suitable exposure. Keeping the camera stable during a long exposure helps prevent camera shake and allows you to capture sharper details.
When choosing a tripod, consider more than stability. Portability, weight, size, and ease of setup are also important, especially if you’re traveling around a city or walking to different viewpoints.
Use a Remote or Shutter Release
Even when your camera is mounted on a tripod, pressing the shutter button can introduce small vibrations.
A remote shutter release or other remote triggering method allows you to take a photograph without physically touching the camera. This can be particularly useful when using long exposures.
If a remote release is unavailable, your camera’s self-timer can also help reduce vibration caused by pressing the shutter button.
How to Shoot Night Photography
Once your equipment is ready, the next step is understanding exposure.
Night scenes can contain both extremely dark areas and bright light sources. Automatic exposure may therefore produce results that don’t match what you see or the atmosphere you want to create.
Using Aperture Priority or Manual mode gives you greater control over the final image.
Use Aperture Priority or Manual Mode
Aperture Priority mode can be useful when you want to control depth of field while allowing the camera to determine the shutter speed.
For nightscapes where you want buildings, lights, and other elements to appear sharp, try stopping down to around F8 to F11. A smaller aperture can also produce attractive starburst effects around bright light sources.
Manual mode gives you greater control when the lighting is particularly challenging or when you want consistent exposure across multiple photographs.
Manual exposure can be especially useful when photographing scenes containing changing lights, moving vehicles, or a combination of very bright and dark areas.
Aperture: Control Light and Depth of Field
Aperture affects both the amount of light entering the camera and the appearance of the photograph.
For a cityscape where you want a broad range of elements to appear sharp, a smaller aperture such as F8 or F11 can work well.
For nighttime portraits or photographs where you want illuminated signs and streetlights to become soft background bokeh, use a wider aperture.
For example, an aperture such as F2.8 can allow more light into the camera while producing a shallower depth of field. This can help separate a subject from the background and turn distant lights into attractive circles of light.
The best aperture depends on the subject and the visual effect you want to achieve.
Shutter Speed: Capture More Light
Shutter speed is particularly important in night photography.
When your camera is mounted on a tripod, slower shutter speeds allow more light to reach the sensor. Depending on the scene, a shutter speed of several seconds can produce detailed cityscapes with vivid lights.
For example, shutter speeds around 5 to 10 seconds can be useful for certain city nightscapes when the camera is securely mounted on a tripod. Longer exposures can also be used creatively to show movement in subjects such as vehicles, water, steam, and smoke.
If you’re shooting handheld, you’ll generally need a much faster shutter speed to reduce camera shake.
The exact minimum shutter speed depends on your camera, lens, focal length, subject movement, and whether image stabilization is available. Rather than relying on one fixed value, check your images at high magnification and adjust the shutter speed as needed.
ISO: Balance Brightness and Image Noise
ISO sensitivity determines how strongly the camera amplifies the captured signal.
For tripod-based night photography, starting with a relatively low ISO can help preserve cleaner image quality. ISO 100 or ISO 400 can be a useful starting point when there is enough light and you can use a slower shutter speed.
When shooting handheld, however, you may need to increase ISO to maintain a sufficiently fast shutter speed.
In darker environments, ISO 1600 to ISO 3200 may be necessary depending on the camera and shooting conditions.
The important thing is to find a balance between shutter speed, aperture, and ISO rather than treating one setting as universally correct.
If ISO is raised too far, image noise can become more noticeable, particularly in shadow areas.
Use Exposure Compensation When Necessary
Night scenes often contain bright artificial lights that can confuse automatic exposure systems.
Streetlights, illuminated signs, building windows, and decorative lighting can become overexposed even when the surrounding scene appears correctly exposed.
If you’re using an automatic exposure mode and bright areas are losing detail, try applying negative exposure compensation.
This reduces the overall exposure and can help preserve detail in bright light sources.
Review the resulting photograph on your camera’s display and adjust the exposure according to the scene.
Adjust White Balance for Night Scenes
Artificial lighting can produce different color temperatures.
Streetlights, LED signs, building interiors, and other light sources may introduce warm, cool, or mixed colors into the same photograph.
Auto White Balance can work well in many situations, but manually selecting a white balance setting can give you greater control over the mood of your image.
You can also photograph in RAW format when available, giving you greater flexibility to adjust white balance during post-processing.
The ideal white balance ultimately depends on the atmosphere you want to create. A warmer appearance can emphasize the inviting feeling of city lights, while a cooler balance can produce a more modern or atmospheric appearance.
Find a Composition That Enhances Perspective
Good night photography isn’t only about exposure. Composition plays an equally important role.
Look for ways to create depth and perspective within the frame.
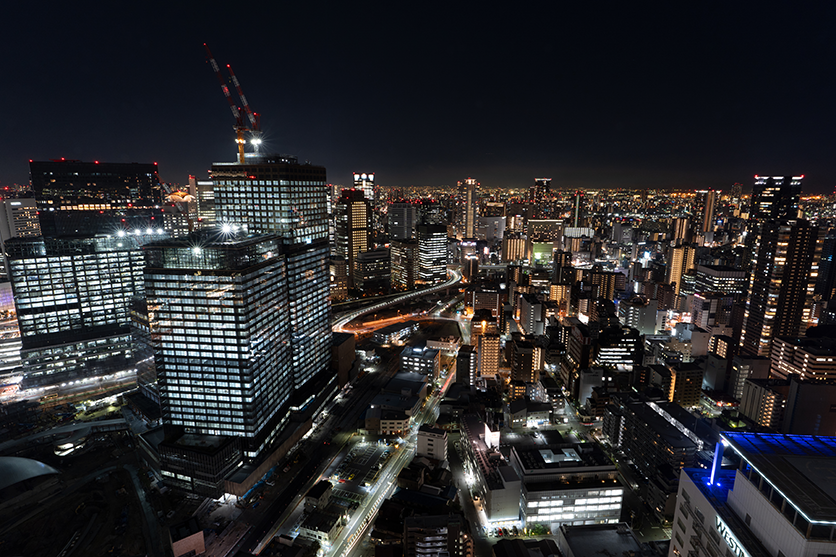
When photographing a city from a high viewpoint, for example, the pattern of illuminated streets and buildings can create interesting geometric shapes.
When photographing architecture from ground level, try a low-angle composition. The vertical lines of tall buildings can converge toward the top of the frame, emphasizing their height.
You can also use foreground elements such as:
- Streetlights
- Trees
- Monuments
- Railings
- Buildings
- Vehicles
- Reflections
These elements can provide depth and help communicate the scale of the scene.
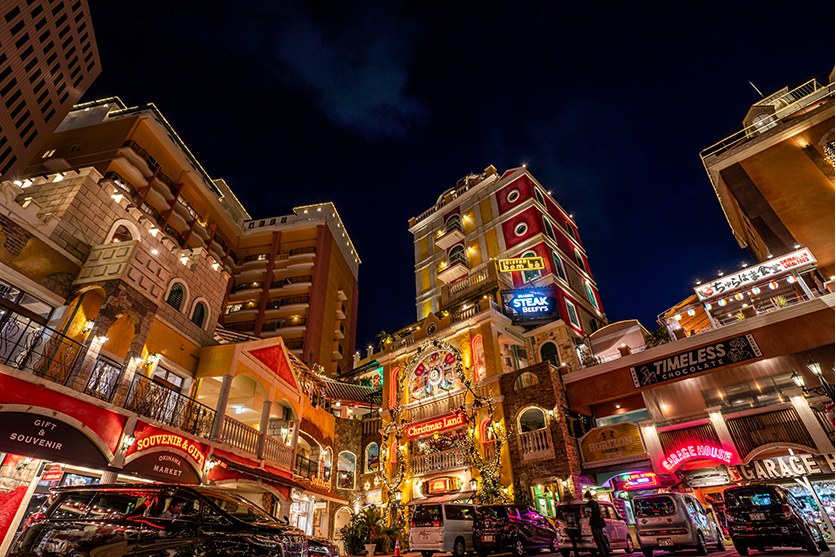
Try Shooting During the Blue Hour
Night photography doesn’t necessarily have to begin after the sky becomes completely dark.
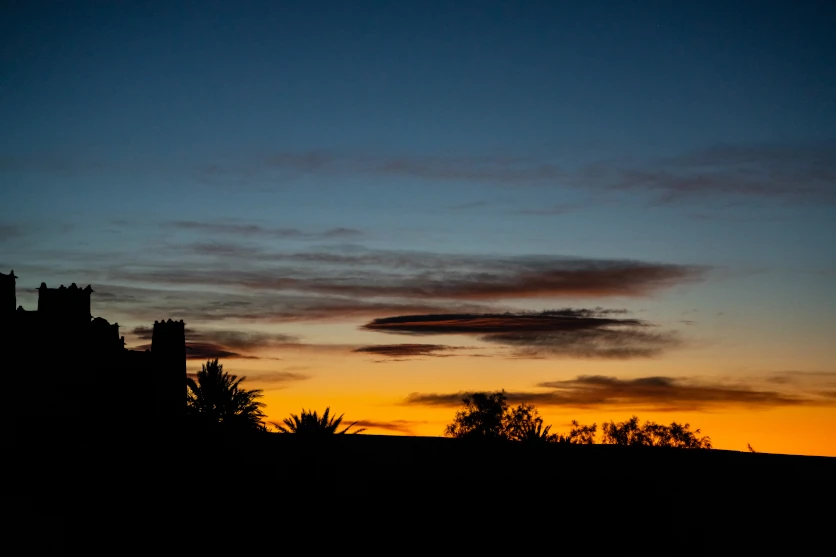
The period shortly after sunset can be particularly effective because there may still be color in the sky while artificial lights are already illuminated.
This period is often referred to as the Blue Hour.
The remaining ambient light can create a balance between the sky and artificial lighting, giving you more detail in both areas of the frame.
For cityscapes, this combination of blue or warm twilight and illuminated buildings can create a more dimensional photograph than shooting when the sky is completely black.
Tips for Handheld Night Photography
A tripod is ideal for many nightscape photographs, but it isn’t always practical or permitted.
Some observation decks, museums, public buildings, and other locations may prohibit tripods. You may also simply want to move quickly through a city without carrying one.
When shooting handheld, start by holding the camera as steadily as possible.
Keep your elbows close to your body and bring the camera close to your face or stabilize it against a solid object when appropriate.
Pay attention to your breathing and try to release the shutter smoothly.
Use Continuous Shooting
Continuous shooting can also help when photographing handheld at slower shutter speeds.
Instead of taking only one photograph, capture several consecutive frames of the same composition.
Small movements can vary from frame to frame, so reviewing the sequence afterward may reveal one image that is noticeably sharper than the others.
Use Image Stabilization
A lens with image stabilization can be particularly useful when shooting handheld in low light.
Image stabilization helps compensate for certain types of camera movement, allowing you to use slower shutter speeds than you might otherwise be able to use.
However, image stabilization does not freeze subject movement. If your subject is moving, you may still need a faster shutter speed.
Night Photography Tips for Different Scenes
Different night subjects require different approaches. Instead of using exactly the same settings for every situation, consider the characteristics of the scene you’re photographing.
City Building Nightscapes
City skylines are among the most popular subjects for night photography.
A wide-angle or ultra-wide-angle lens can help you capture the scale of a skyline while including surrounding streets, buildings, and illuminated landmarks.
A high viewpoint, such as an observation deck or elevated location, can reveal the geometric patterns created by city lights.
From ground level, try shooting upward to emphasize the height of buildings.
Glass buildings can also create interesting reflections, particularly when there are illuminated signs, streetlights, or other colorful sources nearby.
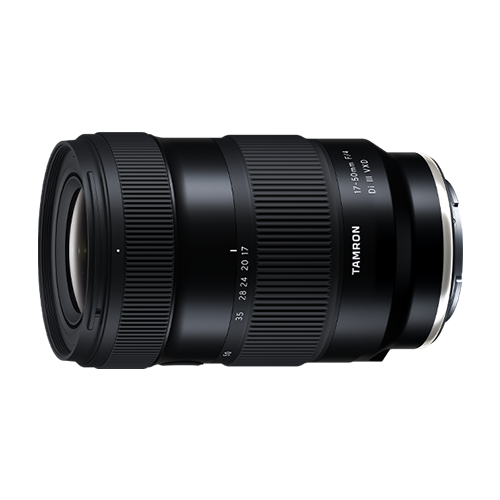
For example, the TAMRON 17-50mm F4 (Model A068) can be used to capture city scenes ranging from ultra-wide compositions to more standard perspectives.
Factory Nightscapes
Factories can provide a distinctive subject after dark.
Illuminated pipes, tanks, towers, and smokestacks can create a futuristic atmosphere.
When photographing industrial structures, pay attention to the lines and shapes within the frame. The rule of thirds can help create a balanced composition, while leading lines can guide the viewer toward important parts of the scene.
Long exposures can also be used creatively. With exposures of around 15 to 30 seconds, moving steam or smoke can appear as soft, translucent streaks.
A tripod is particularly useful for this type of photography.
Nighttime Portraits
Night photography can also be used for portraits.
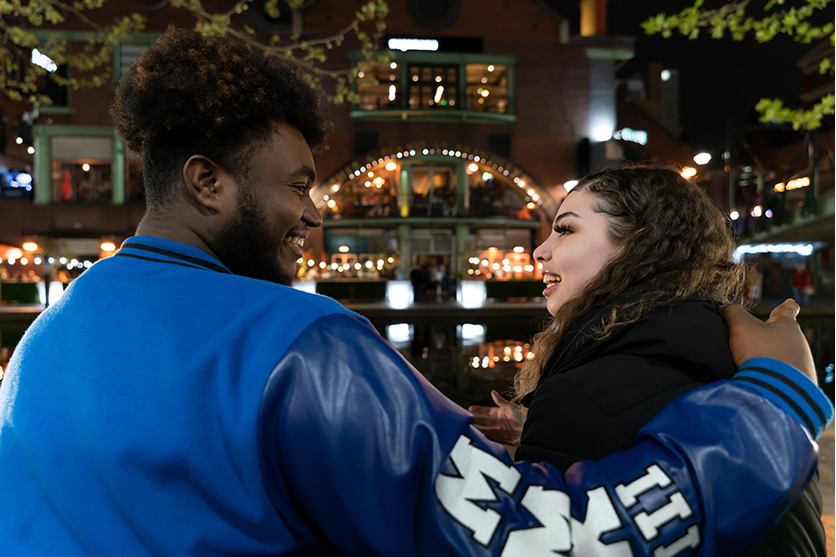
When photographing a person against a city filled with lights, a wide aperture can help separate the subject from the background.
The distant lights can become soft bokeh, creating a visually appealing atmosphere while keeping attention on the person.
However, a bright background does not necessarily mean your subject will be properly exposed. Your subject may still appear too dark.
In these situations, consider using a flash or another form of fill light.
A telephoto lens can also be useful for portraits because its perspective can compress the background and make distant city lights appear closer to the subject.
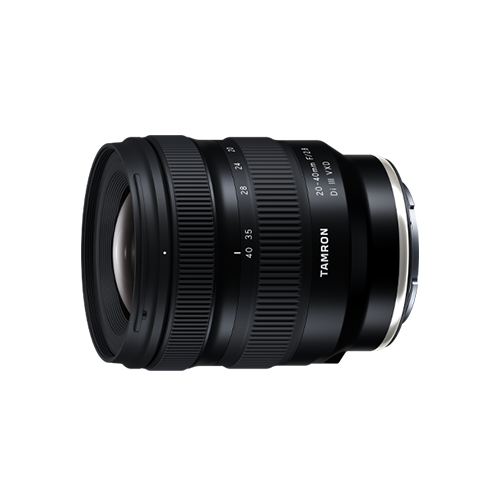
The TAMRON 20-40mm F2.8 (Model A062), for example, can provide a combination of a wide perspective and a large F2.8 aperture for nighttime scenes and portraits.
Photographing Airplanes at Night
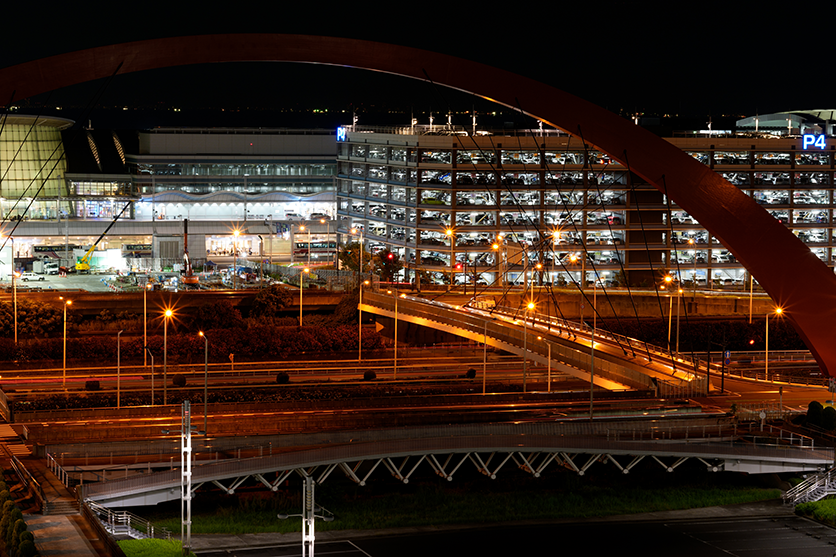
Airports and areas around airports can offer opportunities to photograph airplanes against illuminated city backgrounds.
A telephoto lens allows you to frame distant aircraft while including city lights or buildings in the composition.
The compression effect of a telephoto lens can make the aircraft and distant background appear visually closer together.
Try different compositions as the airplane approaches, takes off, or lands.
Remember to follow all applicable photography restrictions and safety rules when photographing around airports.
Create Beautiful Night Bokeh
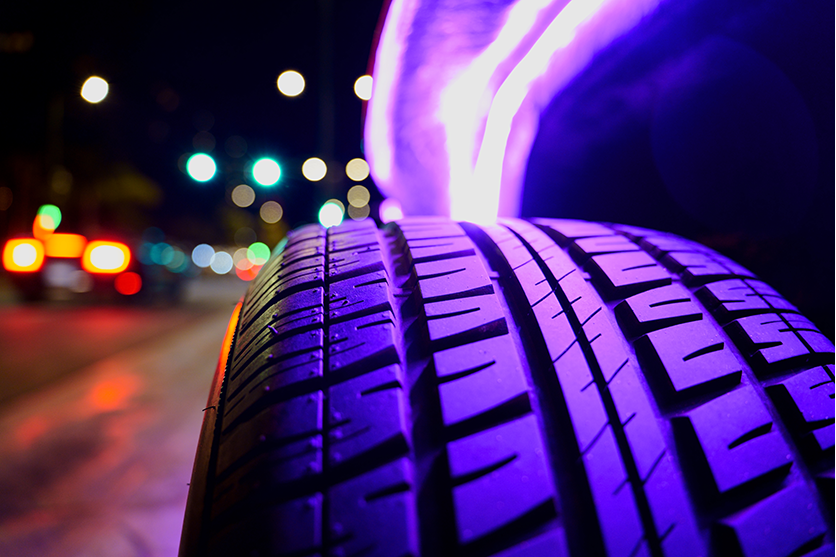
Distant lights can become one of the most attractive elements in night photography.
To create bokeh, use a wide aperture and position your subject so there is sufficient distance between the subject and the background lights.
The greater the separation between the subject and background, combined with the appropriate aperture and focal length, the more pronounced the background blur can become.
Try photographing people, vehicles, signs, decorations, or other subjects against illuminated streets.
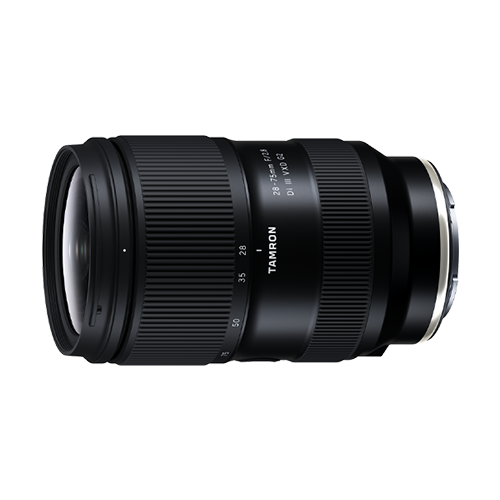
The TAMRON 28-75mm F2.8 G2 (Model A063) is one example of a fast-aperture standard zoom that can be used for this type of creative night photography.
How to Choose a Lens for Night Photography
Choosing a lens for night photography depends largely on the type of subjects you want to capture.
Focal Length
Focal length determines the angle of view and therefore influences how much of the scene you can include.
A wide-angle lens is useful for:
- City skylines
- Architecture
- Streets
- Landscapes
- Large illuminated scenes
An ultra-wide-angle lens can provide an even broader perspective and emphasize the scale of a scene.
A telephoto lens is more appropriate for:
- Airplanes
- Distant buildings
- Ferris wheels
- Isolated architectural details
- Compressed city-light compositions
Having access to both wide and telephoto perspectives gives you more flexibility when photographing different night scenes.
Wide Maximum Aperture
A lens with a wide maximum aperture, such as F2.8, can be useful in low-light conditions.
More light reaching the sensor can make handheld photography easier and can also allow you to use lower ISO settings or faster shutter speeds depending on the situation.
Wide apertures are also useful when you want shallow depth of field and attractive background bokeh.
Weight and Size
Night photography often involves walking, traveling, or moving between different viewpoints.
A lighter and more compact lens can therefore be easier to carry throughout the evening.
When choosing equipment, consider not only optical performance but also how comfortable it will be to carry and use for an extended period.
Autofocus Performance
Autofocus can become more challenging as light levels decrease.
When choosing a lens for night photography, consider autofocus performance in low-light situations.
Fast and accurate autofocus can be particularly useful when photographing moving subjects such as people, vehicles, or airplanes.
Image Stabilization
Image stabilization can be especially useful when shooting handheld.
This can help reduce the effects of camera movement when using slower shutter speeds.
It can be particularly valuable when using telephoto lenses, where camera shake can become more noticeable.
However, stabilization cannot replace a tripod when you need very long exposures or when absolute camera stability is required.
Final Tips for Better Night Photography
Night photography becomes much easier when you stop treating it as simply “daytime photography with less light.”
Instead, look at darkness and artificial lighting as creative elements.
Before taking your final shot, check:
- Is the camera stable?
- Is the brightest light source overexposed?
- Is the subject properly exposed?
- Is your ISO unnecessarily high?
- Would a different aperture improve the image?
- Could a slower shutter speed add movement or light?
- Would a wider or longer focal length improve the composition?
- Are reflections or foreground elements adding depth?
- Would shooting during the Blue Hour create a better balance between sky and artificial light?
Most importantly, experiment.
Try different apertures, shutter speeds, focal lengths, and viewpoints. Photograph the same scene from a high viewpoint and then from ground level. Try a wide composition and then isolate a distant detail with a telephoto lens.
With practice, you’ll learn how to control exposure and use artificial light creatively rather than simply trying to compensate for darkness.
The key to successful night photography is finding the right balance between camera settings, stability, lens choice, and composition. Once you understand how these elements work together, the night can become one of the most rewarding times to photograph.
TAMRON products mentioned in this article