Travel Photography Tips: How to Capture Beautiful Travel Photos
Travel gives us the opportunity to experience new places, meet different people, discover new cultures, and see familiar things from a different perspective. Photography allows us to preserve those experiences and revisit them long after the trip has ended.
From sweeping landscapes and famous landmarks to local food, street scenes, portraits, and small details along the way, there are countless subjects to photograph during a trip. However, taking memorable travel photos isn’t simply about photographing everything you see. Choosing the right composition, camera settings, lighting, and lens can help turn ordinary snapshots into more engaging photographs.
In this guide, we’ll explore practical travel photography tips for different situations and explain how to choose a versatile travel lens that can help you capture more of your journey without carrying unnecessary equipment.
Why Use an Interchangeable-Lens Camera for Travel Photography?
Smartphones are convenient and capable of producing excellent photographs, but an interchangeable-lens camera gives photographers greater control over how a scene is captured.
The ability to change lenses allows you to choose different perspectives and focal lengths depending on your subject. A wide-angle lens can capture an expansive landscape or a large architectural structure, while a telephoto lens can isolate a distant subject or compress layers within a scene.
Interchangeable-lens cameras also provide greater control over aperture, shutter speed, and ISO. This makes it possible to experiment with depth of field, motion, and low-light photography.
One of the biggest advantages for travel photographers is versatility. With the right zoom lens, you can move from a wide environmental photograph to a tighter composition without constantly changing lenses.
Travel Photography Scenes and How to Photograph Them
Every destination offers different photographic opportunities. Rather than concentrating only on famous landmarks, look for the small moments and details that help tell the story of your trip.
Capture Everyday Travel Snapshots
Some of the most memorable travel photos can come from ordinary moments.
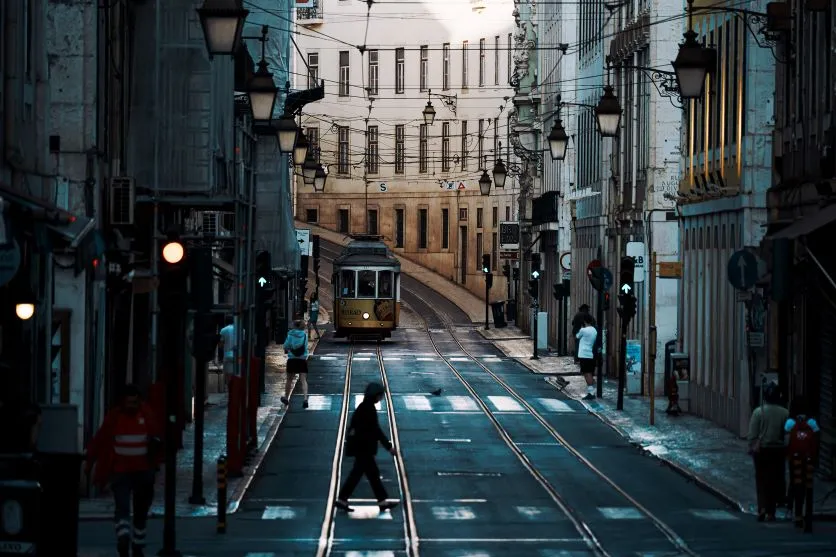
Street corners, markets, cafés, transportation, local architecture, and people going about their daily lives can all help communicate what a destination feels like.
Instead of immediately taking a photograph when you see something interesting, take a moment to observe the surroundings. Look at the light, background, movement, and possible distractions.
Then try photographing the same subject from different heights and angles.
A standard focal length is useful for this type of photography because it provides a natural-looking perspective while giving you enough flexibility to frame your subject.
A focal length around 35mm to 85mm can work well for many travel snapshots. A wider aperture can also help separate a subject from a busy background.
If you want more of the surrounding environment in the photograph, use a wider focal length and a smaller aperture.
Take Environmental Portraits
People are an important part of travel photography.
Rather than photographing only a person against a plain background, consider including elements that communicate something about the destination. A local street, building, market, landscape, or cultural setting can provide context and make the photograph more connected to the journey.
For portraits where the subject is the main focus, a standard or telephoto focal length can help isolate the person from the background.
A wide-angle lens can be useful when you want to include more of the surrounding environment.
Using a wider aperture can create background blur and help direct attention toward the subject.
However, always be considerate when photographing people. In many situations, asking permission before taking someone’s portrait is the appropriate thing to do, particularly when the person is clearly the main subject of the photograph.

Photograph Natural Landscapes
Natural scenery is often one of the main reasons people bring a camera when traveling.
Mountains, coastlines, forests, waterfalls, lakes, and expansive fields can all benefit from a wide-angle perspective.
A wide-angle lens allows you to include more of the scene and can emphasize the relationship between foreground and background.
When photographing landscapes, look for something interesting in the foreground. Rocks, plants, paths, fences, or other objects can create depth and guide the viewer into the photograph.
An aperture around F8 to F11 is a useful starting point when you want a broad depth of field and detail throughout the scene.
However, don’t treat these settings as fixed rules. Adjust the aperture according to the scene and the effect you want to create.
Photograph Local Food and Table Scenes
Food is another important part of the travel experience.
Local dishes, desserts, drinks, markets, and cafés can become part of your visual record of a destination.
When photographing food indoors, natural light can make a significant difference. If possible, position yourself near a window or another source of soft natural light.
Side lighting or gentle backlighting can help reveal texture and shape. Avoid harsh overhead lighting when possible, as it can create strong shadows.
A standard lens is often useful for table photography because it provides enough perspective to include the food while maintaining a natural appearance.
A lens with good close-up capability is particularly useful when photographing smaller dishes, ingredients, drinks, and details.

Photograph Indoor Locations
Museums, churches, galleries, historic buildings, restaurants, hotels, and other indoor locations can present a different set of challenges.
The biggest issue is often limited light.
If natural light is available, try using it to illuminate the scene. When light levels are low, you may need to use a wider aperture or increase ISO.
A wide-angle lens can be particularly useful in small rooms or narrow corridors because it allows you to capture more of the environment.
However, be careful not to rely entirely on an extremely wide perspective. Move around and look for compositions that use architectural lines, doorways, windows, or other elements to create structure.

Photograph Buildings and Cityscapes
Architecture and city scenes are excellent subjects for travel photography.
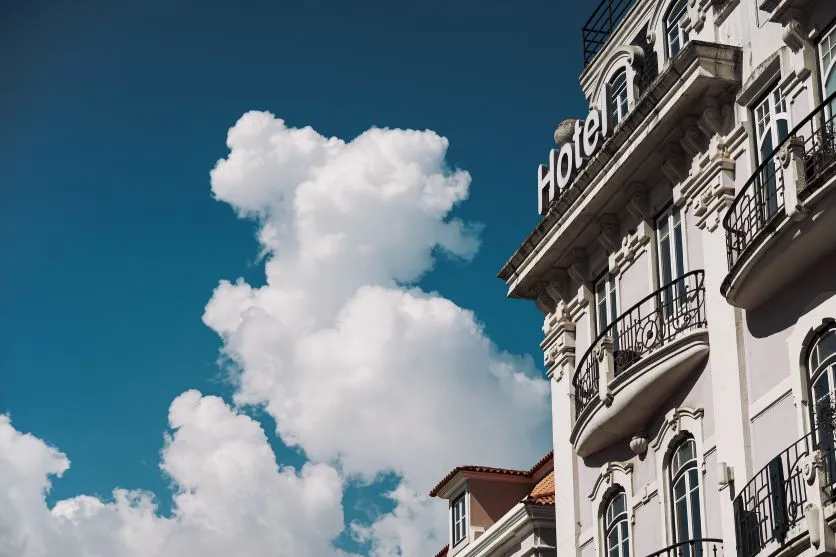
A wide-angle lens can help capture the scale of large buildings, streets, plazas, and city skylines. It can also emphasize perspective, making nearby structures appear larger and more dramatic.
Look upward when photographing architecture. Shooting from a low position can emphasize the height of buildings and create strong converging lines.
Telephoto lenses can also be useful for city photography.
Instead of showing an entire building or street, use a longer focal length to isolate architectural details, signs, windows, or distant structures.
A telephoto lens can also compress the apparent distance between buildings and create layered compositions in busy streets.

Photograph Travel Scenes at Night
Cities and tourist destinations can look completely different after sunset.
Streetlights, illuminated buildings, storefronts, bridges, and signs can create interesting compositions and introduce colors that aren’t visible during the day.
Low-light photography requires careful exposure. A wide-aperture lens can help you maintain a usable shutter speed without increasing ISO excessively.
If you’re photographing a stationary scene, image stabilization can also be useful when shooting handheld.
When using slower shutter speeds, pay attention to camera movement. If you have a tripod available and the location permits its use, it can provide additional stability and allow you to experiment with longer exposures.
Travel Photography Camera Settings
You don’t need complicated settings to start taking better travel photos. Understanding the relationship between aperture, shutter speed, and ISO will give you more control over different situations.
Start with Aperture Priority Mode
Aperture Priority mode is a useful starting point for travel photography.
You select the aperture, while the camera automatically determines the shutter speed based on the available light.
This allows you to control depth of field while allowing the camera to handle part of the exposure.
For landscapes, a smaller aperture such as F8 to F11 can help keep more of the scene in focus.
For portraits, food, or detail shots, a wider aperture can create more background separation.
Understand Aperture
The aperture controls how much light enters the lens and affects depth of field.
A smaller F-number, such as F2.8, represents a wider aperture. It allows more light to reach the camera sensor and can produce a shallower depth of field.
A larger F-number, such as F8 or F11, represents a narrower aperture. This generally increases depth of field and can help keep more of a landscape in focus.
Use aperture creatively rather than simply following recommended numbers. The right setting depends on your subject, available light, and desired result.
Adjust Shutter Speed
Shutter speed determines how long the camera sensor is exposed to light.
A fast shutter speed, such as 1/500 second or faster, can help freeze movement. This is useful for people walking, vehicles, animals, or other moving subjects.
For stationary subjects, slower shutter speeds can be used when the camera is sufficiently stable.
If you’re photographing moving people in a busy travel environment, try a faster shutter speed to reduce motion blur.
Keep an Eye on ISO
ISO controls the camera sensor’s sensitivity to light.
When shooting outdoors during the day, a low ISO such as 100 or 200 is often sufficient.
In darker environments, you may need to increase ISO to maintain an appropriate shutter speed.
Higher ISO settings can introduce more image noise, so use the lowest practical ISO for the situation.
Modern cameras handle higher ISO settings well, but the ideal setting will vary depending on your camera and how the photograph will be used.
Use Composition to Improve Travel Photos
Good composition can make a significant difference even when photographing an interesting subject.
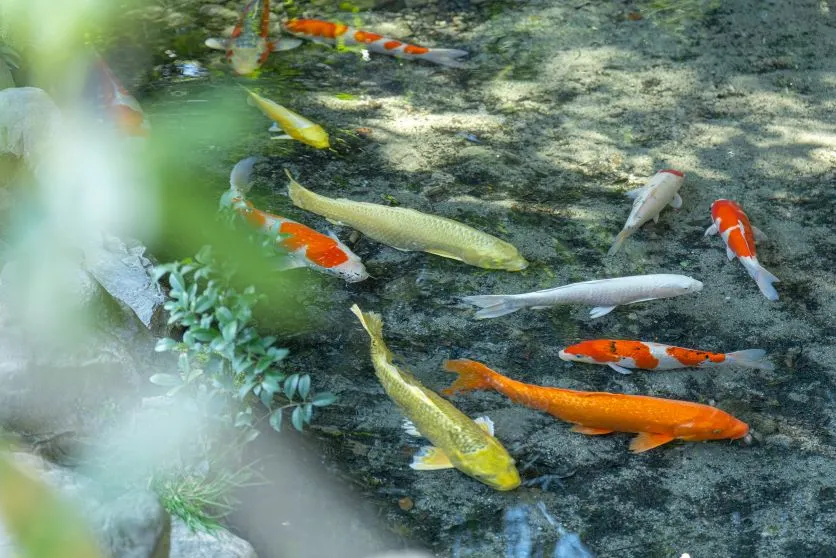
Rule of Thirds
The rule of thirds is one of the easiest composition techniques to practice.
Imagine dividing the frame into three equal sections horizontally and vertically. Place your main subject near one of the lines or intersections rather than always placing it directly in the center.
This can create a more balanced image and give the viewer’s eye room to move through the scene.
It is especially useful for travel photography because you often want to show both the subject and its surrounding environment.
Diagonal Composition
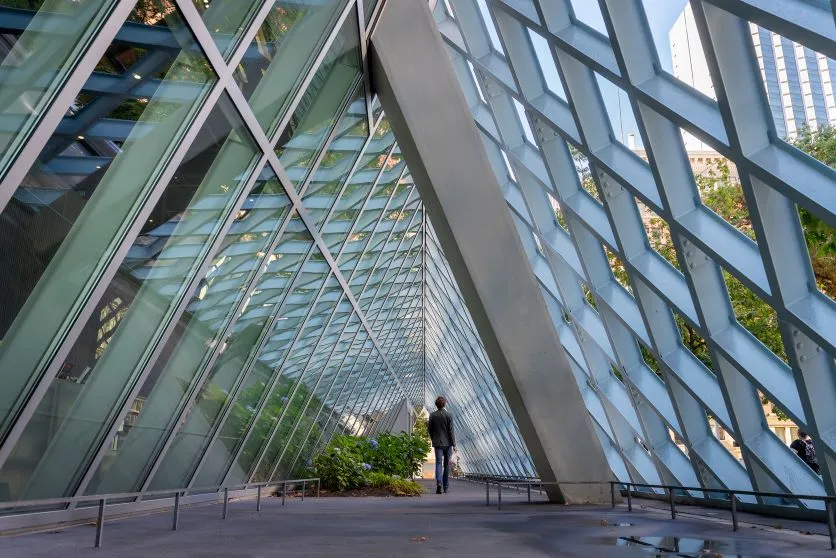
Look for roads, staircases, rivers, buildings, railings, or other lines that move diagonally through the frame.
Diagonal lines can add depth and guide the viewer’s eye from one part of the photograph to another.
This technique works well for architecture, street photography, landscapes, and even food photography.

Triangular Composition
Triangular composition uses three visual points or elements to create a stable relationship within the frame.
Mountains, buildings, people, and other objects can naturally create triangular arrangements.
When photographing a landscape, for example, a mountain peak and two foreground elements can form a triangle that gives the photograph a sense of balance.
Pay Attention to the Direction of Light
Light has a major influence on the appearance of your travel photos.
Pay Attention to the Direction of Light
Light has a major influence on the appearance of your travel photos.
Front Lighting
Front lighting occurs when the light illuminates the subject from the direction of the camera.
This can make colors appear clear and bright and can be useful when you want to record a scene accurately.
However, front lighting can sometimes make a photograph look flat because there are fewer strong shadows.
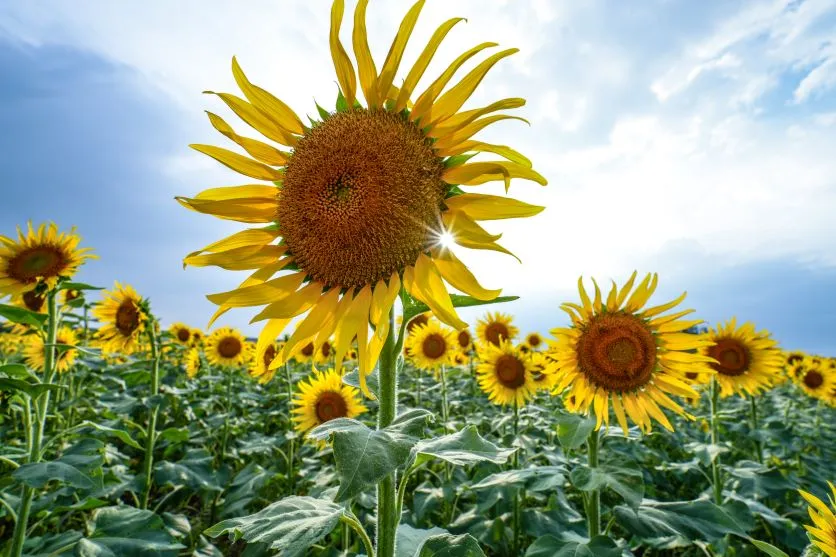
Backlighting
Backlighting occurs when the light source is behind your subject.
It can create silhouettes, glowing edges, and atmospheric effects.
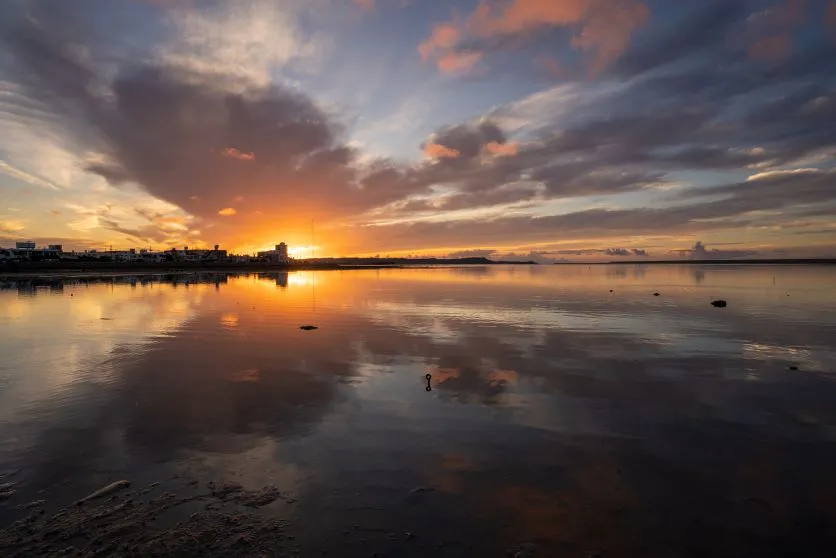
Backlighting is particularly effective around sunrise and sunset, when the light is warmer and softer.
When photographing people against bright backgrounds, be careful with exposure because your subject’s face may become too dark.
Side Lighting
Side lighting illuminates the subject from one side.
This creates stronger shadows and can emphasize texture, depth, and three-dimensional form.
It can work especially well for architecture, landscapes, food, and portraits.
Consider the Time of Day
The same location can look completely different depending on when you photograph it.
Early morning can provide soft light, fewer crowds, and cooler colors.
Late afternoon can provide warmer light and longer shadows.
The period around sunrise and sunset can produce dramatic colors and atmospheric conditions.
Don’t simply photograph a landmark when you happen to arrive. If a particular location is important to your trip, consider checking the direction of the sun and planning when you want to photograph it.
How to Pack Your Camera Gear for Travel
Travel photography isn’t necessarily about carrying the most equipment.
Before packing, think about the types of photographs you expect to take.
If you’re primarily photographing landscapes and architecture, a wide-angle zoom may be sufficient.
If you want flexibility for portraits, street scenes, and distant subjects, a standard or travel zoom may make more sense.
If you’re trying to minimize your luggage, an all-in-one zoom can reduce the need to carry multiple lenses.
Also remember to bring extra batteries, memory cards, a suitable camera bag, and cleaning equipment. If you’re traveling to a destination where power outlets may be different, consider bringing the appropriate charging adapter.
The goal is to have equipment that supports your photography without becoming a burden during the trip.
Final Tips for Better Travel Photography
The best travel photos don’t always come from the most famous locations.
Pay attention to ordinary moments. Look at how people interact with their surroundings, how light changes throughout the day, and how architecture, nature, food, and local details can tell the story of a destination.
Experiment with different focal lengths and perspectives. Move closer, step back, change your camera height, and try photographing the same subject at different times of day.
When choosing a travel lens, think about your actual shooting habits. A lightweight and versatile zoom can be valuable if you want to explore without carrying a large camera bag. A wide-angle lens can be ideal for landscapes and architecture, while a telephoto lens can help you isolate distant subjects and capture details.
For photographers who want to keep their setup simple, a versatile travel or all-in-one zoom lens can cover a wide range of situations without requiring frequent lens changes.
Most importantly, remember that travel photography is about preserving an experience. Don’t spend the entire trip looking through the viewfinder. Take time to enjoy the destination, observe your surroundings, and photograph the moments that genuinely stand out to you.
With thoughtful composition, suitable camera settings, good awareness of light, and a lens that fits your travel style, you can create photographs that bring your travel memories back to life long after you return home.
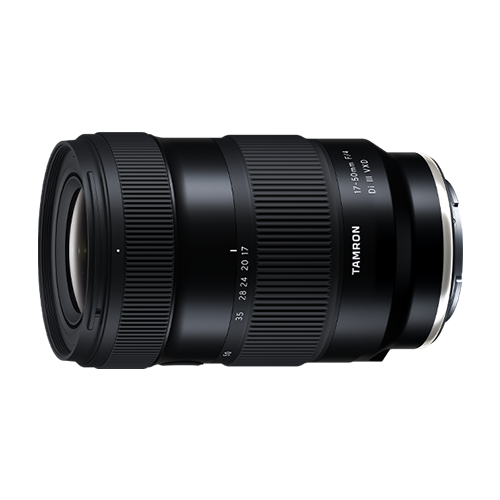
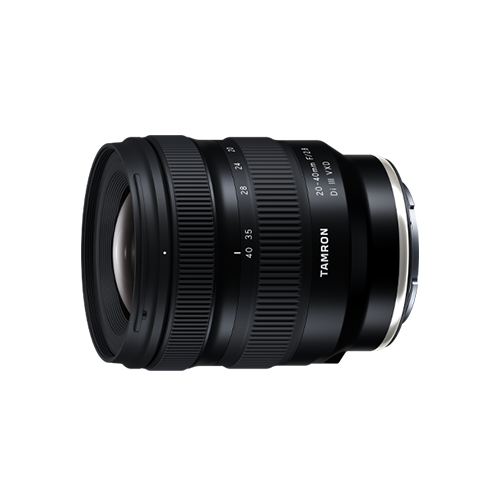
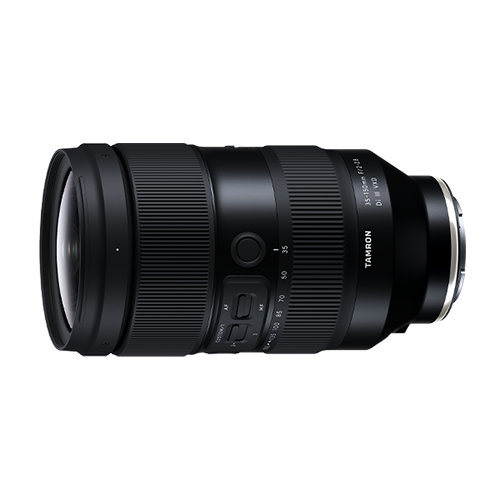
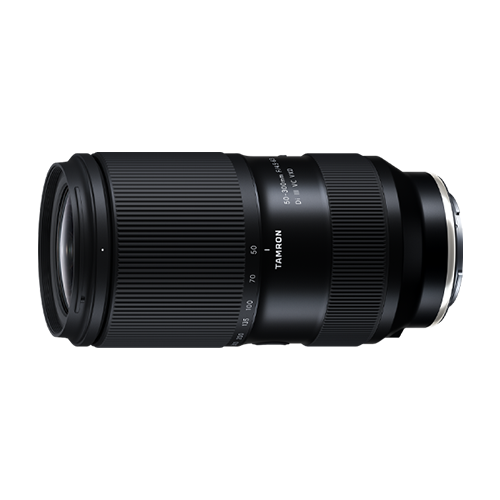
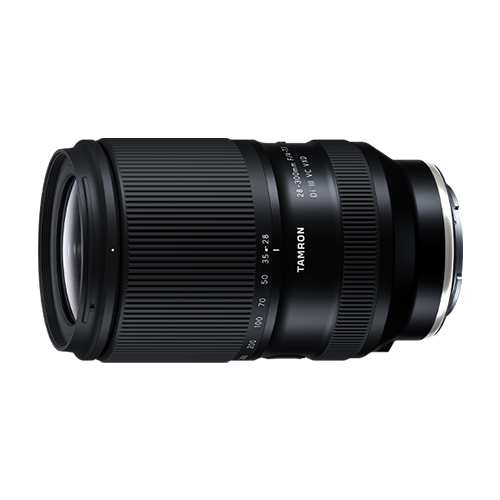
TAMRON products mentioned in this article