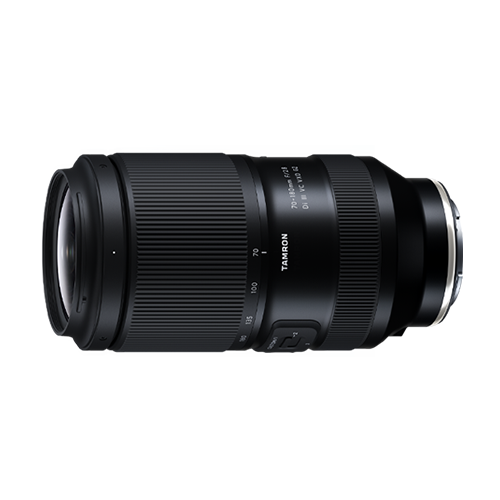
Portrait Photography Tips: How to Take Beautiful Portraits
Portrait photography is about more than simply photographing a person. A good portrait can communicate personality, emotion, atmosphere, and even something about the relationship between the subject and their surroundings.
Whether you’re photographing a professional model, a friend, a family member, or someone you meet during a trip, there are many ways to create an engaging portrait. The choice of lens, focal length, lighting, composition, camera settings, and background can all influence the final image.
For beginners, portrait photography can initially seem complicated. However, understanding a few fundamental techniques can make it easier to create photographs where your subject stands out while still maintaining a natural and engaging atmosphere.
In this guide, we’ll explore practical portrait photography tips, including how to choose a lens, adjust exposure, use different focal lengths, work with natural and artificial light, create background blur, and communicate with your subject.
What Is Portrait Photography?
Portrait photography is a type of photography in which a person is the main subject.
Portraits can take many forms. They can be carefully planned studio photographs, environmental portraits that include the subject’s surroundings, casual photographs of family and friends, or spontaneous portraits captured during everyday situations.
The purpose of a portrait can also vary. Some portraits focus primarily on a person’s expression, while others use the environment, clothing, lighting, and composition to tell a larger story.
There is therefore no single way to photograph a portrait.
The important thing is to consider what you want the photograph to communicate and choose your lens, composition, lighting, and camera settings accordingly.
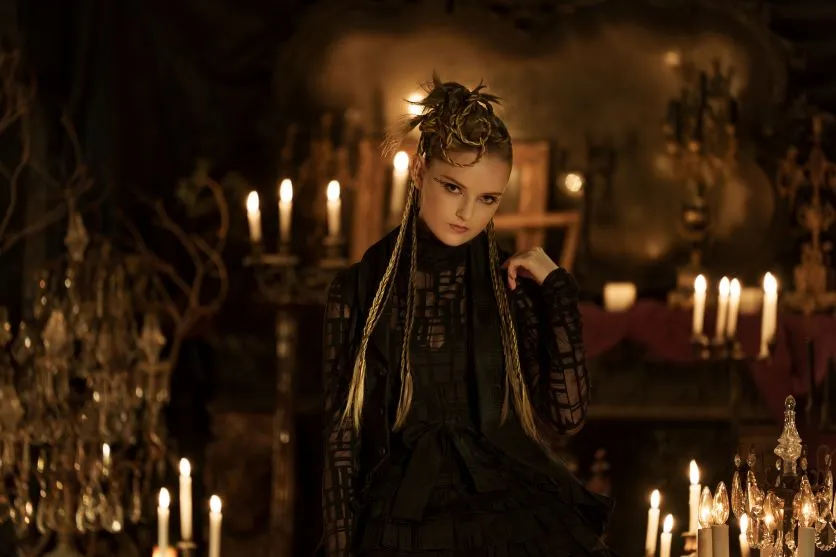
Portraits vs. Snapshots
Portraits and snapshots can both feature people, but they are often approached differently.
A portrait is usually more intentional. The photographer may choose the location, pose, lighting, composition, and camera settings before taking the photograph.
A snapshot is generally more spontaneous. The photographer reacts to a moment as it happens, and the subject may not be posing or even aware that they’re being photographed.
Neither approach is inherently better. Both can produce meaningful photographs.
The difference is primarily in how the photograph is created. Portrait photography gives you more opportunities to communicate with the subject and deliberately control the visual elements within the frame.
How to Take Better Portraits
Several basic techniques can help you improve your portrait photography.
The most important areas to consider are your lens, focal length, exposure, composition, lighting, background, and relationship with the subject.
Choose the Right Lens and Focal Length
The lens has a major influence on the appearance of a portrait.
Different focal lengths change the angle of view, perspective, working distance, and relationship between the subject and background.
A wide-angle lens can include more of the environment and is useful when the location is an important part of the story.
A standard focal length can provide a natural-looking perspective and is a good choice for everyday portraits.
A telephoto lens can isolate the subject, compress the background, and produce strong background blur.
Instead of asking which focal length is universally best for portraits, consider what you want the photograph to look like.
Wide-Angle Lenses for Environmental Portraits
Wide-angle lenses are useful when the surroundings are an important part of the photograph.
A focal length around 35mm or wider can show more of the environment while keeping the person prominent in the frame.
For example, you could photograph a person in a city street, a mountain landscape, a historic building, or a travel destination.
However, wide-angle lenses can emphasize perspective when you move very close to the subject. Facial features may appear exaggerated if the camera is too close.
For natural-looking portraits, maintain an appropriate distance from your subject and consider how the person’s position within the frame affects perspective.
Standard Lenses for Natural-Looking Portraits
Standard focal lengths around 35mm to 50mm can be versatile for portrait photography.
They provide a relatively natural field of view and can be useful for half-body portraits, environmental portraits, everyday snapshots, and group photographs.
For beginners, a standard zoom lens can be particularly convenient because it allows you to adjust your composition without constantly changing lenses.
Telephoto Lenses for Portraits
Telephoto lenses are often associated with classic portrait photography.
Focal lengths around 85mm and longer allow you to photograph your subject from farther away while creating a narrower field of view.
This can help isolate the subject from a busy environment.
Longer focal lengths can also create a compression effect, making background elements appear closer together. Combined with a wide aperture, this can produce smooth background blur.
A telephoto lens can therefore be useful when you want the person’s expression and appearance to be the primary focus of the photograph.
Understand Exposure for Portrait Photography
Exposure determines how bright or dark your photograph appears and can significantly influence the mood of a portrait.
The three main exposure controls are aperture, shutter speed, and ISO.
Understanding how each one affects your photograph will give you greater control over your portraits.
Use Aperture Priority Mode
Aperture Priority mode is a useful starting point for portrait photography.
You select the aperture while the camera automatically adjusts the shutter speed according to the available light.
This is particularly useful because aperture has a direct effect on depth of field and background blur.
Once you become comfortable with aperture and exposure compensation, you can experiment with Manual mode for greater control.
Choose the Right Aperture
A wide aperture, represented by a smaller F-number, can create a shallower depth of field.
For example, settings such as F2.8 or F4 can help separate your subject from the background.
This is particularly useful when you want the viewer’s attention to remain on the person’s face.
However, the widest possible aperture isn’t always the best choice.
If you’re photographing multiple people, you may need a smaller aperture so that everyone remains within the depth of field.
For group portraits or photographs where you want more of the environment in focus, settings such as F5.6 to F11 may be more appropriate depending on the scene.
Use an Appropriate Shutter Speed
Shutter speed affects both exposure and motion blur.
When photographing people, you generally need a fast enough shutter speed to account for small movements from the subject or camera.
As a starting point, shutter speeds around 1/125 to 1/250 second can work well for relatively still portraits, but the ideal setting depends on focal length, subject movement, lighting, and stabilization.
If your subject is moving, increase the shutter speed.
If the subject is completely still and you’re using a stable camera setup, a slower shutter speed may be possible.
Always check your images for motion blur rather than relying on a single fixed shutter-speed value.
Adjust ISO According to the Light
ISO becomes particularly important when you’re photographing indoors or in low-light conditions.
On a bright day outdoors, a low ISO such as 100 or 200 may be sufficient.
When photographing indoors, in shade, or after sunset, you may need to increase ISO to maintain an appropriate shutter speed.
Higher ISO settings can introduce image noise, but modern cameras can produce good results at relatively high ISO settings.
Use the lowest practical ISO for the situation while prioritizing a shutter speed that keeps your subject sharp.
Use Exposure Compensation
Exposure compensation is useful when the camera’s automatic exposure doesn’t produce the brightness you want.
For example, a bright background can sometimes cause your subject’s face to appear too dark.
You can use positive exposure compensation to brighten the portrait.
Alternatively, reducing exposure can help preserve highlights and create a darker, more dramatic mood.
Don’t be afraid to intentionally adjust exposure when the visual effect supports the photograph.
Use Composition to Strengthen Your Portraits
Composition determines how the subject and surrounding elements are arranged within the frame.
You don’t need complicated techniques to create an effective portrait. Start with a few basic compositions and experiment from there.
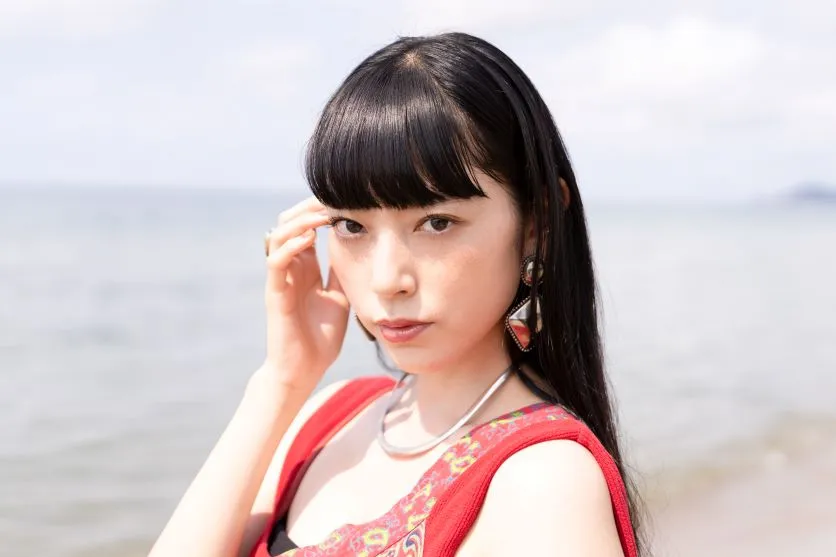
Centered Composition
Placing your subject in the center of the frame creates a direct and powerful composition.
This approach works particularly well when the background is simple and you want attention to remain almost entirely on the person’s face or expression.
Centered portraits can also work well for symmetrical backgrounds.
The key is to avoid unnecessary distractions around the subject.
Rule of Thirds
The rule of thirds is another useful starting point.
Imagine dividing your frame into three equal sections horizontally and vertically. Positioning the subject near one of these lines or intersections can create a balanced composition.
When photographing a person’s face, you can place their eyes near one of the upper intersections.
If your subject is looking toward one side of the frame, leaving some space in front of their gaze can make the composition feel more natural.
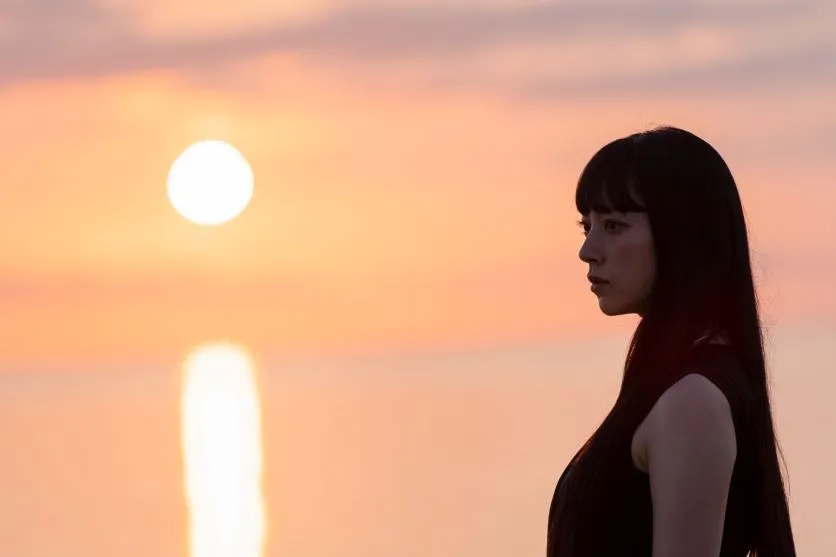
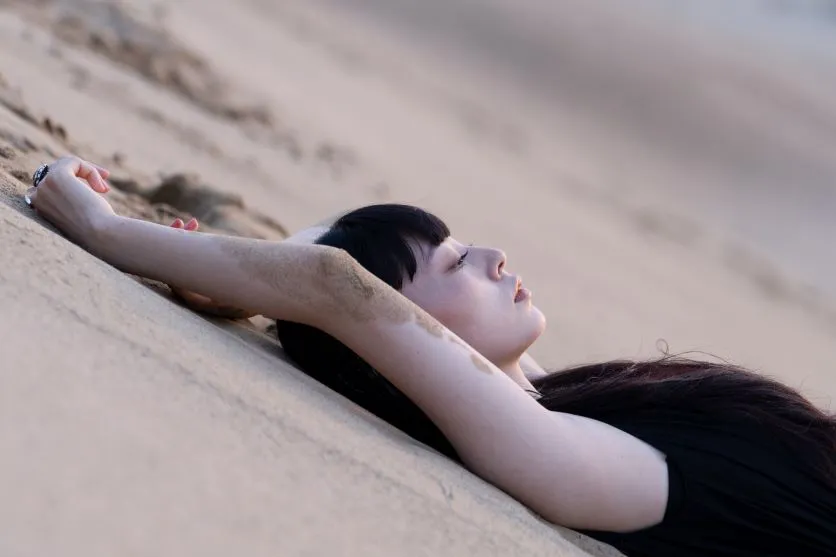
Diagonal Composition
Diagonal lines can add energy and movement to a portrait.
These lines can come from the subject’s body position, architecture, roads, stairs, railings, or other environmental elements.
For example, you could position the subject diagonally across the frame while using a building or pathway to reinforce the direction.
Diagonal composition can be particularly useful when you want a portrait to feel dynamic rather than static.
Learn to Control Light
Lighting is one of the most important elements in portrait photography.
The direction, intensity, and quality of light can completely change the appearance of a person’s face.
Front Lighting
Front lighting occurs when the primary light source is positioned behind the camera and illuminates the subject from the front.
This makes the face relatively easy to expose and can clearly reveal facial expressions.
However, strong front lighting can produce a flatter appearance and may cause the subject to squint when the light is intense.
If you’re photographing outdoors, softer light is often easier to work with.
Backlighting
Backlighting occurs when the main light source is behind the subject.
This can create a soft, atmospheric appearance and can produce a bright outline around hair and clothing.
However, your subject’s face may become darker than the background.
Use exposure compensation or spot/center-weighted metering when appropriate, and check the resulting image to ensure the subject is exposed the way you want.
Side Lighting
Side lighting comes from one side of the subject.
It creates a stronger difference between light and shadow and can emphasize facial structure.
Side lighting can be useful when you want a more dramatic or three-dimensional portrait.
Try changing the position of the subject relative to the light source to control how much of the face falls into shadow.
Hard Light vs. Soft Light
The quality of light is just as important as its direction.
Hard light produces stronger shadows and more defined transitions between bright and dark areas.
Direct sunlight can create hard light, particularly around midday.
Soft light produces gentler shadows and smoother transitions. Overcast skies, window light, curtains, diffusers, and large light sources can all produce softer illumination.
Soft light is often easier for beginners because it produces more forgiving results on the face.
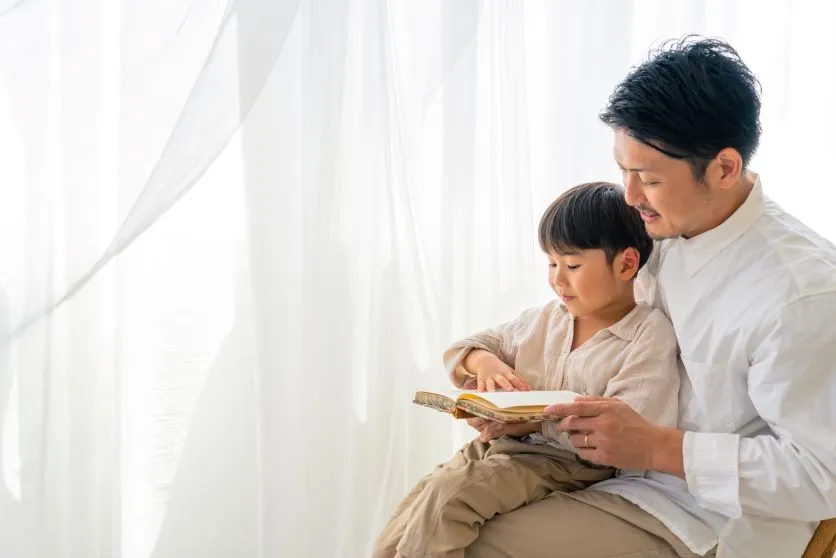
Try Natural Window Light for Indoor Portraits
You don’t necessarily need professional lighting equipment to take attractive indoor portraits.
A large window can provide a useful source of soft natural light.
Position your subject near the window and experiment with the angle of the light.
Having the subject face toward the window produces relatively even illumination.
Moving the subject slightly to the side can introduce more shadow and depth.
If the light is too strong, curtains can help diffuse it.
You can also use a reflector to bounce some light back toward the darker side of the subject’s face.
Create Beautiful Background Blur
Background blur, often called bokeh, is one of the most recognizable visual characteristics of portrait photography.
It can separate your subject from distracting surroundings and direct the viewer’s attention toward the person’s face.
Several factors influence how much background blur you can create.
Use a Wider Aperture
A wider aperture, represented by a smaller F-number, produces a shallower depth of field.
A lens with an aperture such as F2.8 can therefore make it easier to separate the subject from the background.
However, remember that a very shallow depth of field can also make it difficult to keep multiple subjects or the entire face within focus.
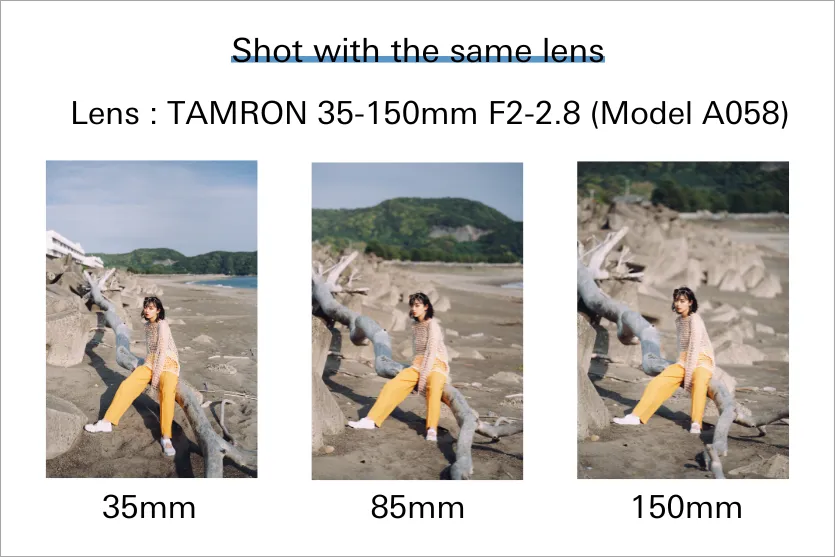
Use a Longer Focal Length
Longer focal lengths can provide a narrower field of view and help create stronger background separation.
For example, an 85mm or 135mm focal length can produce a very different portrait from a 35mm lens.
TAMRON’s own portrait guidance demonstrates how changing focal length from wide to telephoto changes the amount of background visible and the visual emphasis placed on the subject.
Increase the Distance Between Subject and Background
The distance between your subject and the background also affects background blur.
If the subject is standing close to a wall, it may be difficult to create significant separation.
Move the subject farther away from the background whenever possible.
This gives the background more opportunity to fall outside the depth of field.
Keep the Background Simple
Bokeh isn’t automatically better simply because there is more of it.
If the background becomes too blurred, you may lose important information about the location.
For an environmental portrait, retaining some background detail can help explain where the photograph was taken.
Use the amount of background blur that supports the story you’re trying to tell.
Try Different Portrait Shooting Distances
Your distance from the subject affects the photograph just as much as your focal length.
For a full-body portrait, step farther back and include more of the environment.
For a half-body portrait, move closer and reduce the amount of background.
For a head-and-shoulders portrait, use a suitable focal length and position yourself at a comfortable working distance.
Avoid automatically filling the frame with the person’s face. Sometimes giving the subject more space can make the photograph feel more natural and provide context.
Photograph Portraits in Different Environments
Portrait photography doesn’t have to take place in a studio.
Indoor Portraits
Indoor locations can provide controlled backgrounds and interesting natural light.
Look for windows, doorways, curtains, walls, furniture, or other elements that can contribute to the composition.
When light levels are low, use a wider aperture, increase ISO, or introduce an additional light source.
Outdoor Portraits
Outdoor locations provide much more variety.
Parks, streets, beaches, forests, gardens, and urban environments can all become part of the portrait.
Look for backgrounds that complement your subject rather than compete with them.
Pay attention to bright objects, signs, poles, or branches that may appear to grow out of the subject’s head.
Portraits Among Flowers and Plants
Flowers and foliage can create colorful, soft backgrounds.
Use a wider aperture to turn nearby flowers and distant vegetation into soft shapes of color.
You can also place flowers or leaves close to the lens to create foreground blur.
This technique adds another layer of depth and can produce a softer, more atmospheric portrait.
Choose a Lens Based on the Portrait You Want
There is no single lens that is ideal for every type of portrait.
Instead, consider the type of portrait you want to create.
Wide-Angle Lens
Choose a wide-angle lens when the environment is an important part of the photograph.
This is particularly useful for travel portraits, environmental portraits, architecture, and dramatic compositions.
Standard Zoom Lens
A standard zoom lens provides flexibility across a useful range of focal lengths.
It can be used for environmental portraits, half-body portraits, everyday photographs, and group shots.
For photographers who don’t want to carry multiple lenses, a fast standard zoom can be a practical option.
Telephoto Zoom Lens
A telephoto zoom gives you more flexibility in working distance and framing.
It can be useful for outdoor portraits, events, performances, candid moments, and situations where you can’t physically move closer to your subject.
The longer focal lengths can also help create strong subject separation and background compression.
Prime Lens
Prime lenses have a fixed focal length.
Because you cannot zoom, you need to physically change your position to adjust the composition.
However, many prime lenses offer wide maximum apertures, making them attractive for photographers who want strong background blur and low-light capability.
Prime lenses can also encourage you to think more carefully about your distance and composition.
What to Look for in a Portrait Lens
When choosing a portrait lens, consider more than focal length.
Wide Maximum Aperture
A wide maximum aperture such as F2.8 allows more light to reach the sensor and can produce a shallow depth of field.
This can be useful for portraits where you want strong background separation.
Focal Length
Focal length determines the field of view and affects how you work with your subject.
A wider focal length can include more environment, while a longer focal length can isolate the subject.
Consider which type of portrait you photograph most often before choosing your lens.
Resolution and Detail
Portraits can contain many fine details, including hair, clothing, eyes, and facial features.
A lens with strong optical performance can help capture these details clearly.
At the same time, sharpness isn’t the only consideration. The overall rendering, contrast, background blur, and character of the lens can also influence the appearance of a portrait.
Close-Up Capability
A lens with good close-up capability can provide additional flexibility.
You can move closer to capture facial details, accessories, makeup, flowers, food, or other elements associated with the portrait session.
A shorter minimum object distance can therefore be useful beyond traditional head-and-shoulder portraits.
Autofocus Performance
People move.
Expressions change, subjects turn their heads, hair moves in the wind, and the distance between photographer and subject can change.
Fast and accurate autofocus can help you keep up with these changes.
Eye and face detection on compatible cameras can also make portrait shooting more convenient.
Image Stabilization
Image stabilization can help reduce camera shake when shooting handheld.
This can be especially useful when working with telephoto lenses or in lower-light conditions.
However, remember that image stabilization primarily helps with camera movement. It does not freeze movement from the subject.
Size and Weight
Portrait sessions can involve a lot of movement.
You may need to change your position, crouch down, walk around your subject, or hold your camera for long periods.
A lighter and more compact lens can make the shooting experience more comfortable.
This is particularly useful for photographers who regularly shoot portraits outdoors or while traveling.
Build a Comfortable Relationship With Your Subject
Technical settings and equipment are only part of portrait photography.
The person in front of the camera has a major influence on the final photograph.
If the subject feels uncomfortable, their expression and body language can appear unnatural.
Talk to your subject before and during the shoot. Explain what you’re trying to achieve and give simple, clear directions when necessary.
You don’t need to direct every movement.
Sometimes allowing the subject to walk, talk, look around, or interact naturally with their surroundings can produce more authentic expressions.
Showing your subject some of the photographs during the session can also help build confidence and make the process more collaborative.
Most importantly, respect the subject’s comfort and preferences throughout the shoot.
Don’t Focus Only on Technical Perfection
It is easy to become focused on aperture, shutter speed, ISO, focal length, and autofocus when learning portrait photography.
These settings are important, but they shouldn’t become the entire purpose of the photograph.
A technically sharp photograph isn’t necessarily an engaging portrait.
Expression, gesture, eye contact, lighting, composition, and the relationship between the subject and their environment can be just as important.
Use your technical knowledge to support the story rather than allowing it to distract from the person you’re photographing.
Final Tips for Better Portrait Photography
Portrait photography gives you many ways to express a person’s personality, emotion, and environment.
Start by choosing a focal length that matches the type of portrait you want to create. Use a wide-angle lens when the surroundings are important, a standard focal length for natural-looking portraits, or a telephoto lens when you want greater subject isolation and background compression.
Pay attention to aperture, shutter speed, and ISO. A wider aperture can create background blur, while a faster shutter speed can help keep moving subjects sharp.
Lighting is equally important. Experiment with front lighting, side lighting, and backlighting, and learn how hard and soft light change the appearance of your subject.
Finally, remember that the person is more important than the equipment. Communicate with your subject, create a comfortable environment, and look for expressions and moments that feel genuine.
With practice, you can learn to use different lenses, focal lengths, lighting conditions, and compositions to create portraits that do more than simply record what someone looks like—they can communicate something about who that person is.
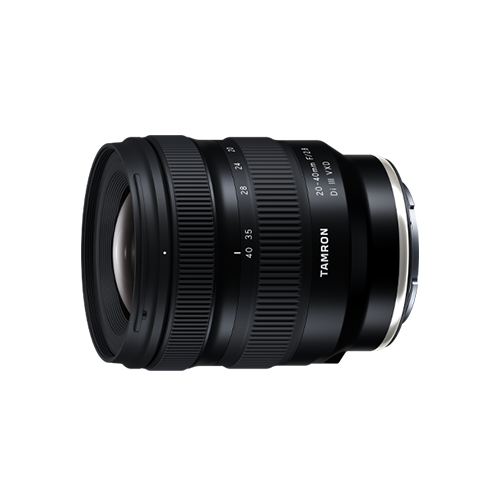
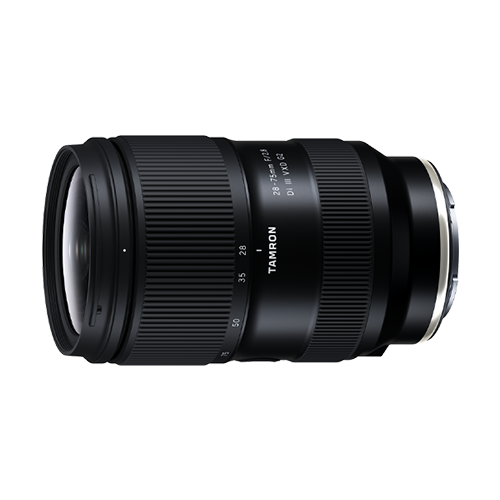
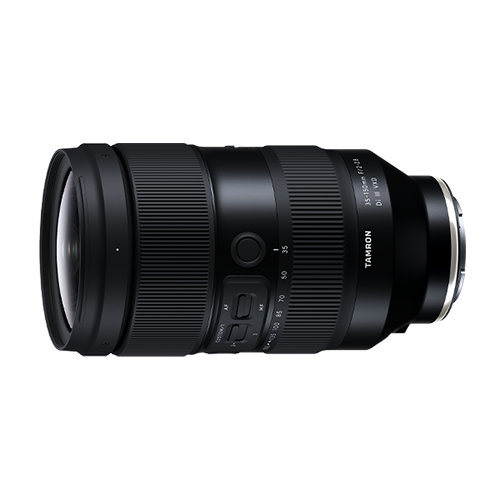
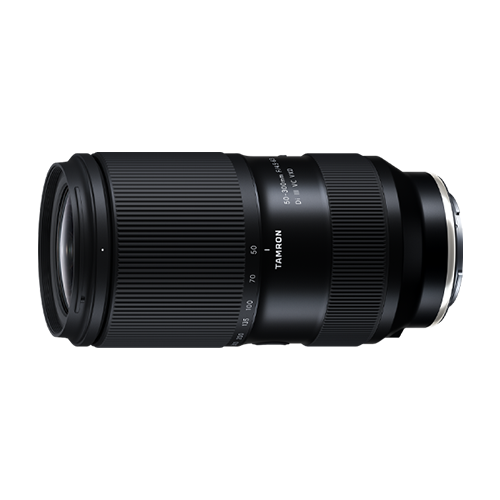
TAMRON products mentioned in this article