Macro Photography Tips: How to Photograph Flowers and Insects
The world around us is filled with small details that are easy to overlook. The delicate structure of a flower, the texture of a leaf, the wings of an insect, or even a tiny water droplet can become an interesting photographic subject when viewed up close.
Macro photography allows you to explore these small subjects in greater detail. By getting close to your subject and using a lens designed for close-up photography, you can reveal textures, patterns, colors, and shapes that may be difficult to see with the naked eye.
Flowers and insects are among the most popular subjects for macro photography, but the possibilities go far beyond them. Small objects, food, accessories, crafts, water droplets, and everyday details can all become compelling subjects.
In this guide, we’ll explain what makes a macro lens different, how to photograph flowers and insects, which camera settings to consider, how to achieve attractive background blur, and what to look for when choosing a macro lens.
What Is Macro Photography?
Macro photography is a form of close-up photography that allows small subjects to be captured at a large size in the image.
Macro lenses are specifically designed for this type of photography and typically offer a short minimum object distance and high maximum magnification. These characteristics make it possible to photograph fine details such as the veins of flower petals, the structure of insects, and the texture of small objects.
One of the key specifications to understand is maximum magnification.
A true 1:1 macro lens can reproduce a subject on the camera sensor at its actual size. A 1:2, or half-macro, lens produces an image that is half the actual size of the subject on the sensor.
Both can be useful. A 1:1 macro lens is particularly useful when you want to reveal extremely fine details, while a 1:2 lens can provide a wider composition that includes more of the surrounding environment.
What Makes a Macro Lens Different?
A macro lens is designed to focus at close distances while maintaining high optical performance.
This gives you the ability to photograph subjects that would normally appear very small in the frame.
Minimum Object Distance
Minimum object distance, or MOD, refers to the closest distance at which a lens can focus on a subject.
A shorter minimum object distance allows you to get closer to your subject.
However, the actual working distance you have between the front of the lens and the subject also depends on the lens design and focal length.
For flowers and insects, working distance can be especially important. A lens that allows you to maintain some distance from a subject can make it easier to photograph insects without disturbing them.
Maximum Magnification
Maximum magnification indicates how large the subject can appear on the camera sensor.
A 1:1 macro lens can reproduce a subject at life size on the sensor, while a 1:2 macro lens produces a half-size reproduction.
Higher magnification can reveal extremely fine details, but a lower magnification can sometimes make it easier to include the environment in the photograph.
Choose based on the type of image you want to create rather than assuming that the highest magnification is always necessary.
Shallow Depth of Field
Macro photography often produces a very shallow depth of field because you are working at close distances.
This can create beautiful background and foreground blur, but it also means that precise focusing becomes more important.
For example, when photographing an insect, you may want the eyes to be sharp while allowing the rest of the body and background to gradually fall out of focus.
This shallow depth of field is one of the characteristics that makes macro photography visually distinctive.
1:1 Macro vs. 1:2 Half-Macro
Understanding the difference between 1:1 and 1:2 magnification can help when choosing a lens.
1:1 Macro
A 1:1 macro lens can reproduce a subject at life size on the camera sensor.
This is useful when you want to capture very small details, such as the texture of a flower petal, an insect’s eyes, or intricate surface patterns.
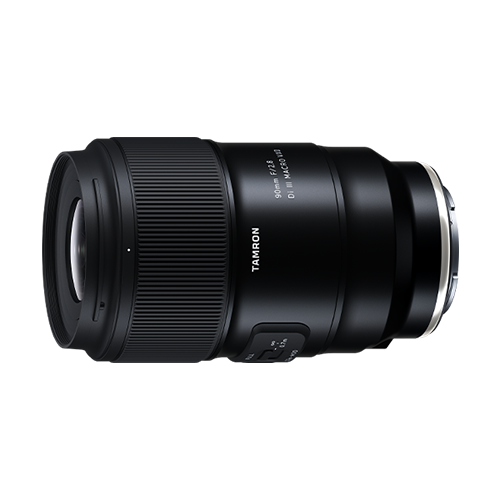
The TAMRON 90mm F2.8 Di III MACRO VXD (Model F072), for example, is a 1:1 macro lens designed for detailed close-up photography.
1:2 Half-Macro
A 1:2 macro lens provides half-life-size maximum magnification.
Although it cannot reproduce the same level of detail as a 1:1 macro lens, it can make it easier to include more of the surrounding environment.
This can be useful when photographing flowers, small objects, food, or other subjects where the background contributes to the story.
The important point is that both types provide different creative possibilities.
How to Photograph Flowers with a Macro Lens
Flowers are excellent subjects for macro photography because they don’t usually move quickly and offer a wide range of colors, textures, and shapes.
Look for Interesting Details
Don’t photograph only the entire flower.
Move closer and look at the individual elements.
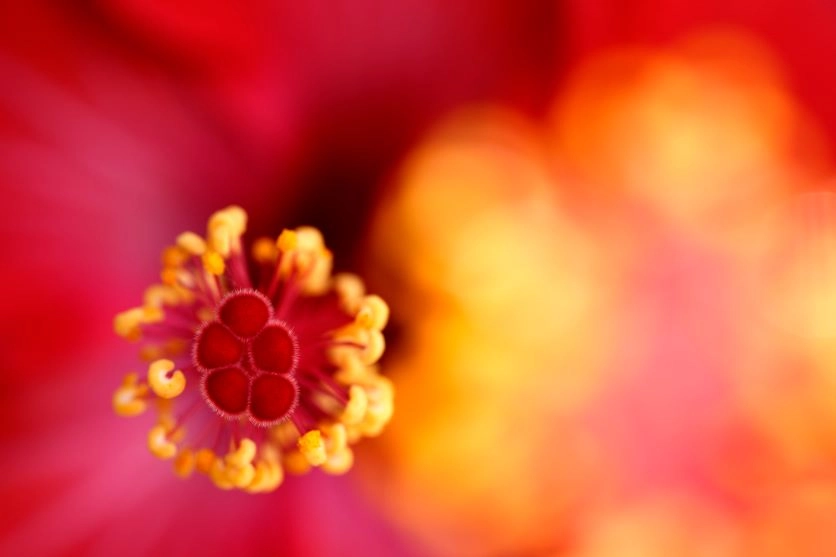
Petals, pollen, stamens, stems, leaves, veins, and water droplets can all become subjects themselves.
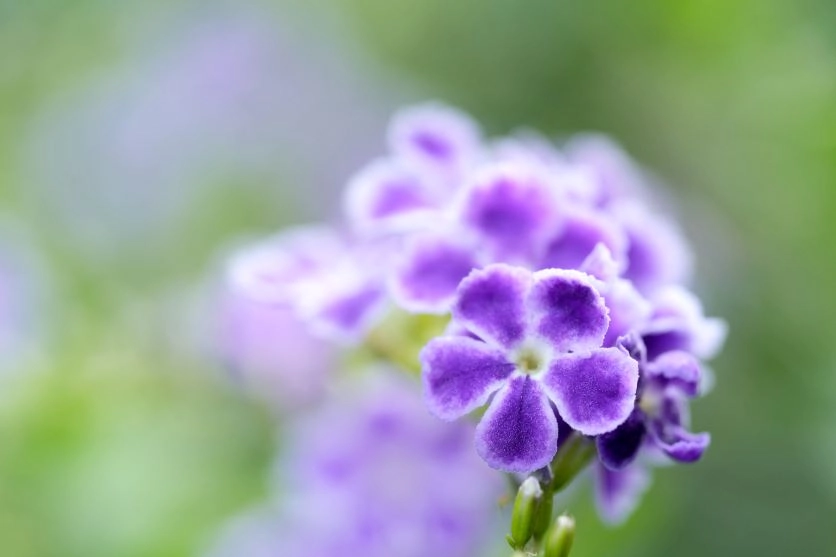
Try filling most of the frame with a single flower, or isolate a small section of the flower against a blurred background.
Use a Wide Aperture for Background Blur
If you want to emphasize the flower and soften the background, try a wide aperture.
An aperture such as F2.8 can create a shallow depth of field and produce attractive background blur.
However, because macro photography already produces shallow depth of field, opening the aperture all the way may leave too little of the flower in focus.
If only a small part of the subject is sharp, try stopping down slightly to F4, F5.6, or beyond.
The ideal aperture depends on how much of the flower you want to keep sharp.
Watch the Shutter Speed
Flowers may look stationary, but even a gentle breeze can move petals enough to create blur.
For outdoor flower photography, a shutter speed around 1/200 to 1/500 second can be a useful starting point.
If the wind is stronger, increase the shutter speed.
If the environment is completely still and the camera is stabilized, you may be able to use a slower shutter speed.
Always check the resulting image at high magnification to make sure the important details are sharp.
Photograph Flowers in Soft Light
Strong midday sunlight can create harsh highlights and deep shadows.
Soft light can make it easier to capture delicate details in petals.
Overcast weather can provide naturally diffused light, while early morning and late afternoon can provide softer directional illumination.
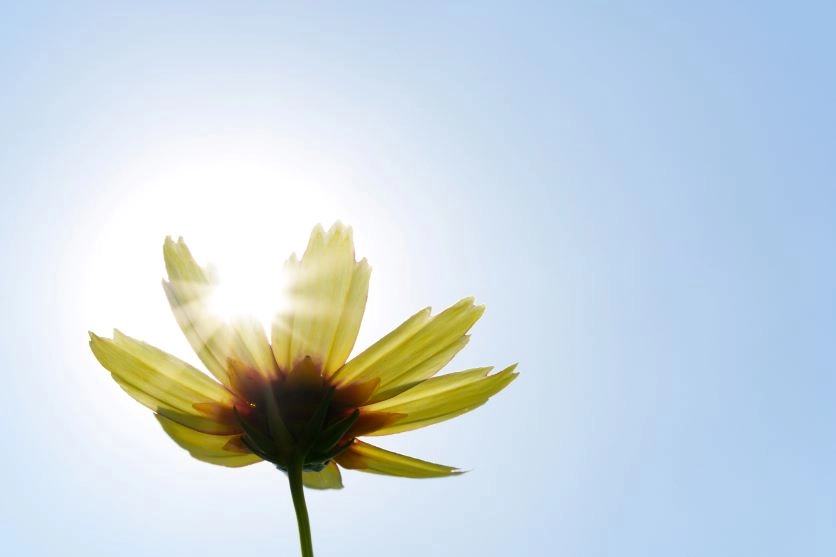
Backlighting can also be particularly effective with flowers because sunlight passing through petals can reveal their translucent qualities.
Try Different Backgrounds
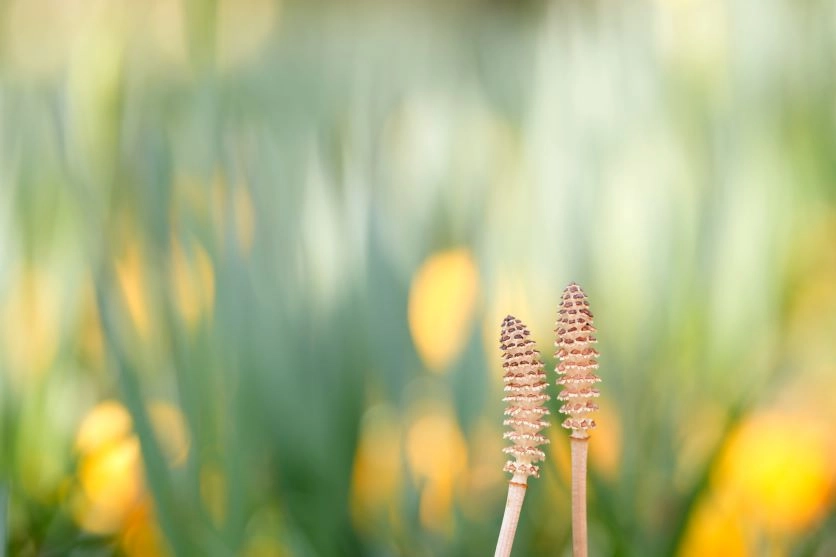
The background is an important part of a macro photograph.
A colorful flower can look very different depending on what is behind it.
Try positioning the flower against a darker background to emphasize bright colors, or use a similarly colored background to create a softer and more harmonious appearance.
Move your camera slightly left, right, higher, or lower to change what appears behind the subject.
A small change in camera position can completely change the background.
How to Photograph Insects with a Macro Lens
Insects present a different challenge because they can move unpredictably.
Patience and observation are just as important as camera settings.
Observe Before Photographing
Instead of immediately approaching an insect, spend some time watching it.
Learn where it moves, when it stops, and how it reacts to your presence.
This can help you anticipate when the insect will become still enough to photograph.
Avoid disturbing or harming insects simply to get a photograph.
Use a Suitable Working Distance
Some insects are easily startled.
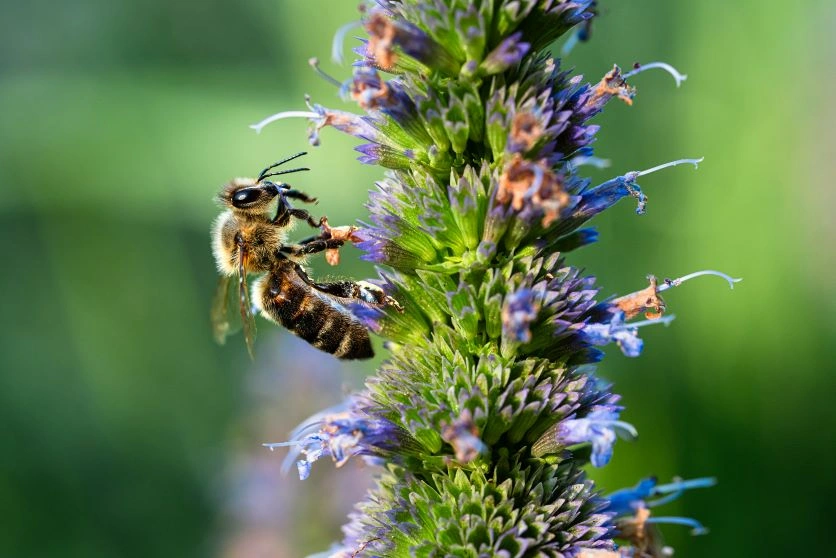
A telephoto macro lens can provide more working distance while still producing high magnification.
A longer focal length can therefore be particularly useful for photographing insects because you don’t necessarily need to place the front of the lens very close to the subject.
The TAMRON 90mm F2.8 MACRO is one example of a telephoto macro lens that combines close-up capability with a focal length suitable for subjects such as flowers and insects.
Use a Faster Shutter Speed for Moving Insects
For stationary insects, Aperture Priority can be a convenient starting point.
If the insect is moving quickly or flying, switch to a faster shutter speed.
A setting around 1/1000 second or faster can help freeze fast movement, although the required shutter speed will depend on the subject.
You may need to increase ISO to maintain the desired shutter speed.
Focus on the Eyes
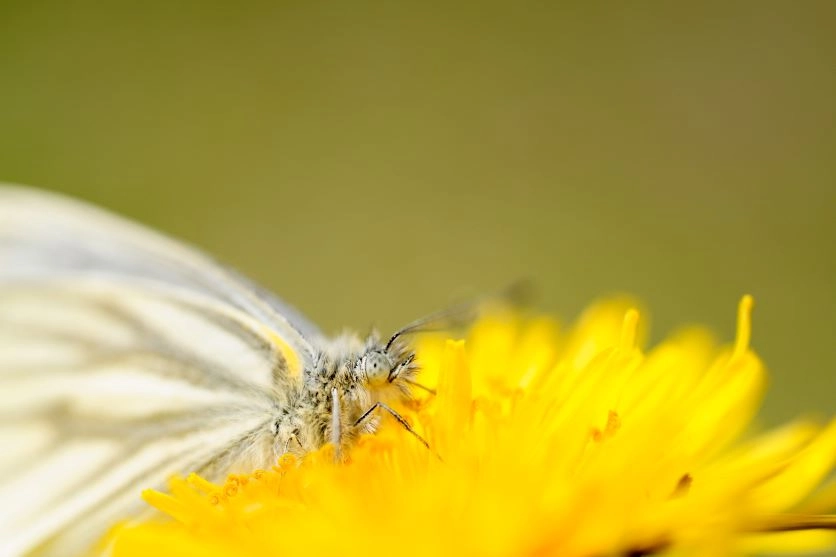
When photographing an insect, the eyes are often one of the most important areas to keep sharp.
Because macro photography produces a shallow depth of field, even a small focusing error can make the most important part of the photograph appear soft.
Place your focus carefully on the insect’s eyes or the specific feature you want to emphasize.
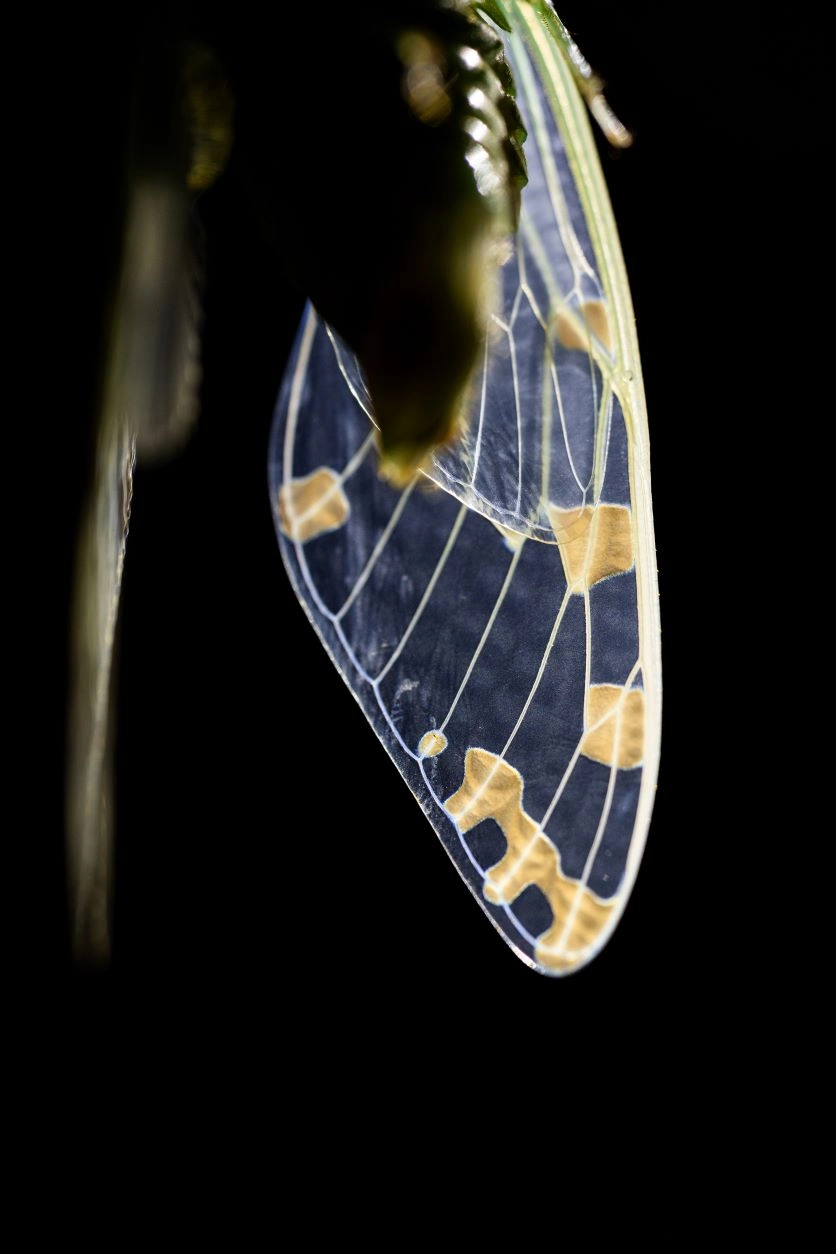
Try Backlighting Transparent Wings
Some insects have translucent wings or other delicate structures.
Backlighting can emphasize these details by allowing light to pass through them.
This can reveal patterns and textures that aren’t as obvious under front lighting.
However, be careful with exposure because bright areas can become overexposed.
Include the Insect’s Environment
A macro photograph doesn’t always have to isolate the insect completely.
Flowers, leaves, branches, and other plants can help communicate the insect’s environment.
Allowing some of the surroundings to remain visible can create a stronger sense of scale and context.
Macro Photography Camera Settings
There are no universal settings for macro photography. The right combination depends on your subject, available light, desired depth of field, and whether the subject is moving.
However, the following settings can provide useful starting points.
Aperture
A wide aperture such as F2.8 creates stronger background blur and allows more light into the camera.
This can be useful when you want to isolate a small subject.
However, macro photography naturally creates shallow depth of field, so stopping down to F4, F5.6, or F8 can help keep more of the subject in focus.
When photographing an insect from the side, for example, a slightly smaller aperture may help keep more of its body sharp.
Shutter Speed
Choose your shutter speed based on movement.
For flowers and stationary subjects, 1/200 to 1/500 second can be a useful starting range.
For fast-moving insects, you may need 1/1000 second or faster.
If you’re using a tripod and photographing a completely stationary subject, slower shutter speeds may be possible.
ISO
Keep ISO as low as practical when there is enough light.
Outdoor macro photography in bright conditions may allow ISO 100 to 400.
When photographing insects in shaded areas or using a fast shutter speed, you may need to increase ISO.
A sharp photograph with some noise is generally more useful than a blurry photograph caused by an insufficient shutter speed.
Exposure Compensation
Bright flowers, dark backgrounds, and strong backlighting can sometimes confuse automatic exposure.
Use exposure compensation when necessary to adjust the brightness of the photograph.
Review your image and histogram if your camera provides one, especially when photographing white or brightly colored flowers.
How to Focus in Macro Photography
Focusing is one of the most challenging aspects of macro photography.
At close distances, the depth of field can become extremely narrow.
Use Autofocus When It Works
Modern autofocus systems can be useful for many macro situations, especially when the subject is relatively stationary.
Single-point or flexible-point autofocus can help you control exactly where the camera focuses.
For moving insects, continuous autofocus can also be useful depending on the camera and lens.
Don’t Be Afraid to Use Manual Focus
There are situations where autofocus may repeatedly focus on the wrong part of the subject.
Leaves, grass, branches, and complex backgrounds can all interfere with autofocus.
Manual focus can give you more direct control.
One practical technique is to set the focus distance and then gently move your camera forward or backward until the desired part of the subject becomes sharp.
Focus peaking or magnified live view can make this technique easier on compatible cameras.
Take Multiple Photographs
At very close distances, a tiny change in camera position can shift the focus plane.
Don’t be afraid to take several photographs while making small adjustments.
You may find that one frame captures the critical detail more effectively than the others.
Use Composition to Strengthen Macro Photos
Because macro photography emphasizes small subjects, composition becomes particularly important.
Rule of Thirds
Place the main subject near one of the intersections created by the rule of thirds.
This can give the subject space within the frame and create a more balanced composition.
For an insect looking or moving toward one side, leave some space in front of it.
Centered Composition
A centered composition can work well when the subject has a strong symmetrical shape.
Flowers viewed from the front, insects with symmetrical bodies, and circular subjects can all benefit from centered framing.
Look for Leading Lines
Leaves, stems, branches, and flower petals can create lines that guide the viewer’s eye toward the main subject.
Use these natural elements to create a path through the image.
Leave Some Negative Space
Don’t feel that the subject has to fill the entire frame.
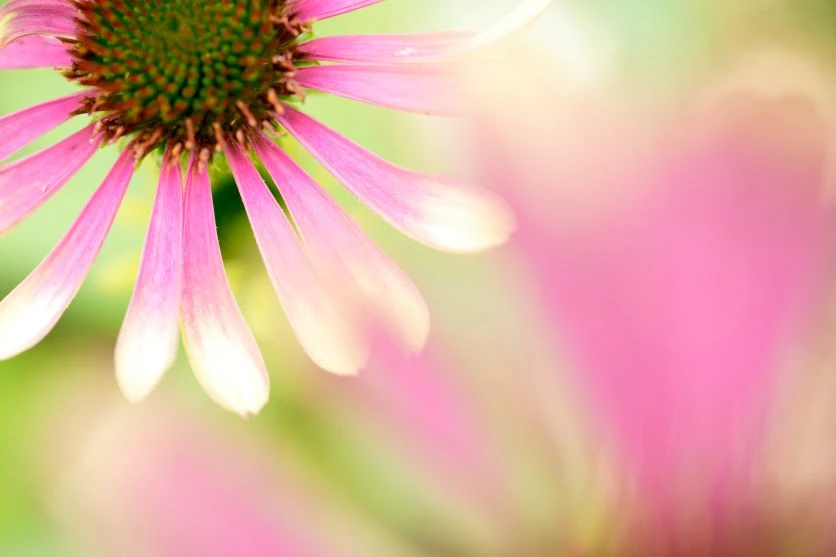
Leaving empty or softly blurred space around a flower or insect can create a cleaner composition and give the subject room to stand out.
This can be especially effective when the subject is facing or moving toward one side of the frame.
How to Create Beautiful Bokeh in Macro Photography
Bokeh refers to the appearance of out-of-focus areas in an image.
Macro photography naturally lends itself to beautiful background blur because the subject is photographed from a close distance.
To increase background separation, try using a wide aperture, moving the subject farther away from the background, and choosing a suitable focal length.
You can also look for small points of light in the background.
Sunlight passing through leaves or reflecting from water droplets can create circular highlights that become attractive bokeh.
TAMRON’s macro photography examples specifically demonstrate how reflected light and water droplets can be used to create circular bokeh behind flowers and insects.
Experiment with Foreground Blur
Background blur isn’t the only way to use shallow depth of field.
Try placing a leaf, flower, or other object close to the front of the lens while focusing on your main subject.
The nearby object can become a soft layer of color across part of the frame.
This creates additional depth and can produce a more immersive macro photograph.
Experiment with different colors and positions to see how the foreground changes the image.
Look for Water Droplets
Water droplets can make excellent macro subjects.
After rain or early in the morning, look for droplets on leaves and flowers.
A water droplet can reflect its surroundings and act almost like a tiny lens.
Use a macro lens to get close and experiment with different angles.
Backlighting can make droplets sparkle, while a darker background can help them stand out.
A fast shutter speed can also help freeze the movement of droplets when water is falling or when wind is moving vegetation.
Macro Photography Beyond Flowers and Insects
A macro lens isn’t limited to nature photography.
Once you understand how to use one, you can explore many other subjects.
Food
Macro photography can reveal the texture of food, ingredients, desserts, and drinks.
Use side lighting to emphasize texture and shape.
A shallow depth of field can also help isolate a particular detail.
Small Objects
Jewelry, watches, accessories, crafts, toys, and collectibles can all benefit from close-up photography.
A macro lens can reveal details and textures that might otherwise be overlooked.
Products
Macro photography can be useful for photographing product details, materials, finishes, and small components.
When photographing products, however, you may want more depth of field than you would typically use for flowers or insects.
Textures
Walls, fabrics, wood, leaves, rocks, and other surfaces can become abstract subjects when photographed closely.
Try filling the entire frame with a texture and removing the context of the original object.
How to Choose a Macro Lens
When selecting a macro lens, consider the subjects you want to photograph and how you prefer to work.
Consider Focal Length
Macro lenses are available in different focal lengths.
A shorter focal length allows you to work closer to the subject and can be useful for tabletop photography, products, and small objects.
A longer macro lens gives you greater working distance, which can be particularly useful for insects and other subjects that may move when approached.
A 90mm-class macro lens provides a useful balance between magnification, working distance, and versatility.
Consider Maximum Magnification
If your priority is capturing extremely fine details, look for a lens with 1:1 magnification.
If you want to include more of the environment and create a broader composition, a 1:2 macro lens can also be an effective choice.
Consider Maximum Aperture
A wider maximum aperture such as F2.8 allows more light into the camera and can make it easier to photograph in shaded environments.
It also provides greater control over depth of field and background blur.
However, remember that a wide aperture can make focusing more demanding because the depth of field becomes shallower.
Consider Autofocus
Fast and accurate autofocus can help when photographing moving insects.
Quiet autofocus can also be useful when you want to avoid disturbing subjects in natural environments.
However, manual focus is an important capability for macro photography, so check how comfortably the lens can be manually focused as well.
Consider Image Stabilization
Image stabilization can help reduce camera shake when shooting handheld.
This can be useful when photographing at high magnification, where even small camera movements can become noticeable.
However, stabilization doesn’t stop the subject itself from moving. For moving insects, shutter speed remains important.
Consider Size and Weight
Macro photography often involves spending a long time in one area while looking for subjects.
You may move between flowers, crouch down, change angles, and wait for insects to settle.
A lighter lens can make this process more comfortable.
Portability can be especially important if you’re combining macro photography with hiking, travel, or general nature photography.
Consider Moisture Resistance
Flowers and insects are often found outdoors, where you may encounter dew, rain, or damp vegetation.
A lens with moisture-resistant construction can provide additional protection in appropriate conditions.
However, moisture resistance is not the same as waterproofing. Always follow the manufacturer’s guidelines when using your equipment in wet environments.
TAMRON products mentioned in this article