How to Take Great Photos of Children: Tips for Beginners
Photographing children can be both rewarding and challenging. Children rarely stay still for long, and their expressions can change from one moment to the next.
This is also what makes photographing children so enjoyable. Instead of carefully posed portraits, you can capture genuine expressions, movement, curiosity, and the small moments that show their personalities.
If you’re using an interchangeable-lens camera, you have even more creative control over how these moments look.
In this guide, we’ll explain how to take good photos of children, including camera settings, focusing techniques, lighting, composition, and how to choose a lens for different situations.
1. Start With the Right Camera Settings
When photographing children, the most important thing is to be ready for movement.
A child can go from sitting quietly to running across the room in a second. Because of this, your camera settings should allow you to react quickly.
Three settings have the biggest effect on exposure:
- Aperture
- Shutter speed
- ISO
Understanding how these settings work together will help you adjust your camera according to the situation.
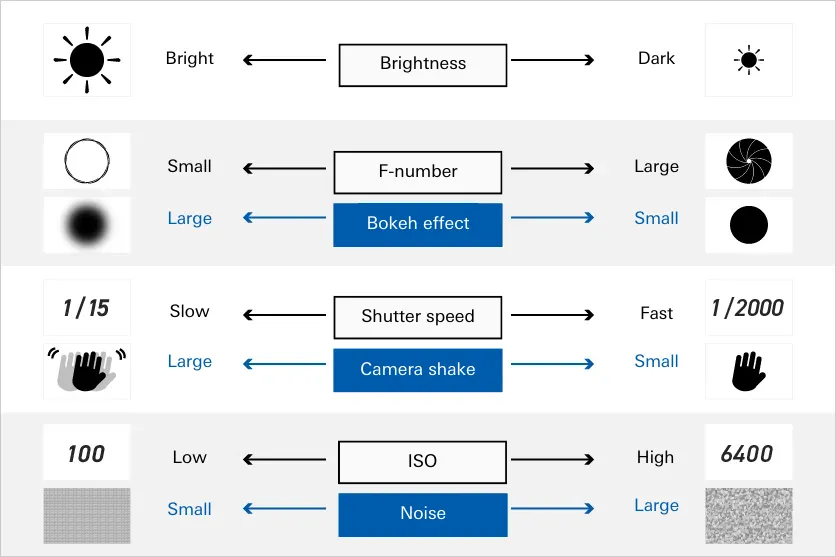
Aperture: Control Light and Background Blur
Aperture controls how much light enters the lens.
It is expressed as an F-number, such as:
- F1.8
- F2
- F2.8
- F4
- F5.6
- F8
A smaller F-number means a larger aperture.
For example, F2.8 allows more light into the camera than F5.6.
A large aperture can also create stronger background blur, helping separate your child from the surroundings.
Try F2.8 for portraits
An aperture around F2.8 can be a useful starting point for child portraits.
It allows plenty of light into the camera while creating a soft background that can help emphasize the child’s face.
However, don’t feel that you always need to shoot at the widest possible aperture.
If your child is moving or you want more of the environment to remain recognizable, stopping down to something like F4 or F5.6 can provide more depth of field.
This can also make it easier to keep the subject sharp.
2. Use a Fast Shutter Speed for Moving Children
Shutter speed controls how long the camera’s shutter remains open.
A faster shutter speed helps freeze movement.
Children are constantly moving, so shutter speed is particularly important when photographing them.
As a starting point:
- 1/100–1/200 sec: Relatively still children
- 1/250–1/500 sec: Walking or active children
- 1/1000 sec or faster: Running, jumping, or fast action
These aren’t strict rules. The appropriate shutter speed depends on the child’s movement, focal length, and lighting conditions.
The important thing is to check your photos and increase the shutter speed if you’re seeing motion blur.
3. Don’t Be Afraid to Increase ISO
When you increase shutter speed or use a smaller aperture, less light reaches the camera sensor.
If the image becomes too dark, increasing ISO can help.
Higher ISO makes the camera more sensitive to light, but it can also introduce more visible noise.
Whenever possible, use the lowest ISO that still allows you to achieve the shutter speed and aperture you need.
However, when photographing children indoors or in low light, don’t be afraid to raise ISO.
A slightly noisy photograph is usually preferable to a blurry photograph that misses an important moment.
4. Use Aperture Priority or Shutter Priority
If you’re still learning manual camera settings, you don’t have to control everything yourself.
Two useful modes are:
Aperture Priority
In Aperture Priority, you choose the aperture and the camera automatically adjusts the shutter speed.
This is useful when you want to control:
- Background blur
- Depth of field
- How much of the scene appears in focus
It’s particularly useful for portraits.
Shutter Priority
In Shutter Priority, you choose the shutter speed and the camera adjusts the aperture.
This is useful when your main priority is freezing movement.
For example, if your child is running, playing, or riding a bicycle, you can select a faster shutter speed and let the camera determine the aperture.
5. Get Down to Your Child’s Eye Level
One of the simplest ways to improve children photography is to change your camera position.
Adults naturally photograph children from their own standing height.
However, this often means looking down at the child.
Instead, try lowering yourself until the camera is close to the child’s eye level.
This changes the perspective and makes the photograph feel more connected to the child’s point of view.
Try photographing from different heights
You don’t have to photograph every image at eye level.
Experiment with:
- Eye-level photographs
- Low-angle photographs
- High-angle photographs
- Close-ups
- Wider environmental shots
Each position creates a different feeling.
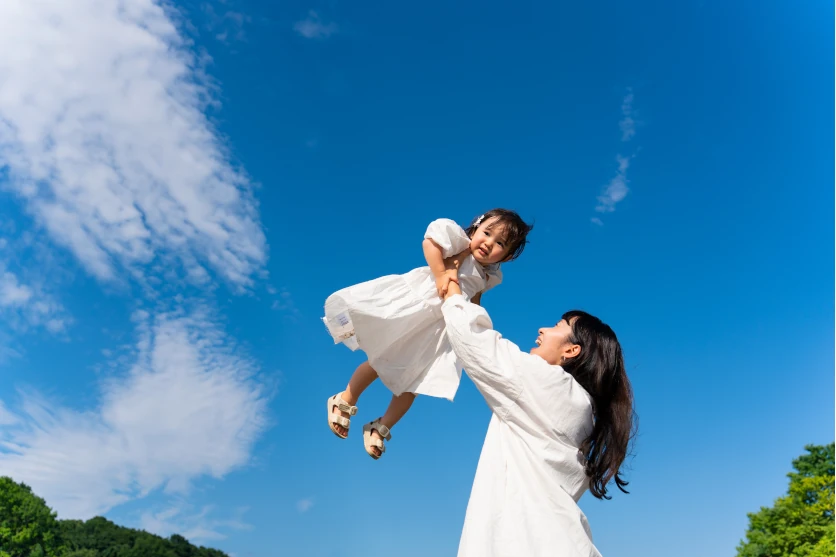
A low angle can make the child appear more prominent and can include more of the sky or background.
A higher angle can show the child interacting with toys, flowers, leaves, or other objects on the ground.
6. Use Eye AF When Available
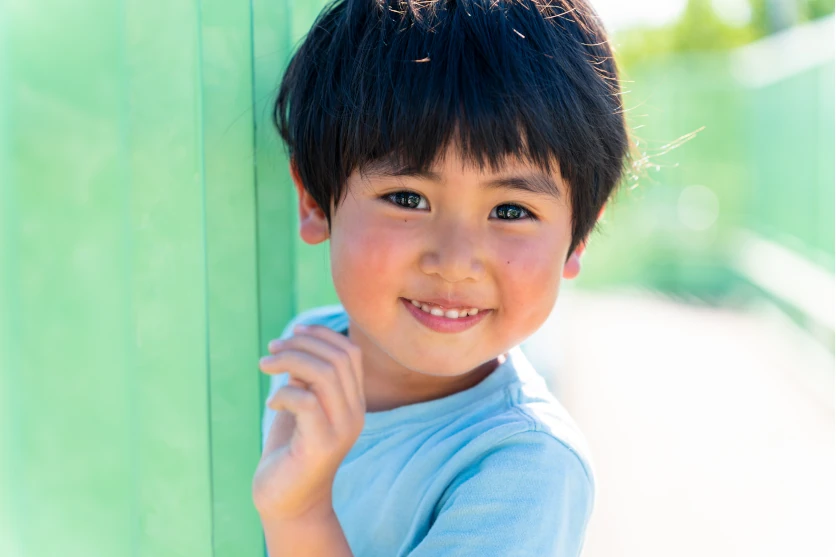
Modern mirrorless cameras often include Eye AF or subject-detection autofocus.
When enabled, the camera can detect and focus on a person’s eye.
This is particularly useful when photographing children because they can move unpredictably.
Eye AF can also be helpful when shooting at a large aperture, where the depth of field may be shallow.
Instead of manually moving the focus point every time your child changes position, the camera can help track the subject.
If your camera has subject-detection or Eye AF, experiment with these functions and learn how they behave with moving subjects.
7. Use Continuous Autofocus for Moving Children
If your child is moving toward or away from the camera, single autofocus may not be the most appropriate choice.
When your camera supports it, try continuous autofocus, such as AF-C on many mirrorless systems.
Continuous autofocus allows the camera to continually adjust focus as the subject changes distance.
This can be useful when photographing:
- Children running
- Kids playing
- Bicycling
- Dancing
- Sports
- Playground activities
Combine continuous autofocus with Eye AF or subject tracking when your camera supports these features.
8. Use Burst Shooting
Children’s expressions can change incredibly quickly.
You may take one photograph and find that your child blinked just as you pressed the shutter.
This is where continuous or burst shooting becomes useful.
Instead of taking one photograph at a time, hold the shutter for a short burst and capture several frames.
You can then choose the image with:
- The best expression
- Sharp focus
- The best body position
- The most interesting composition
You don’t need to shoot continuously throughout the entire session.
Use burst mode when you anticipate an important moment.
TAMRON also recommends taking multiple photographs and using continuous shooting when photographing children because their expressions and movements change quickly.
9. Pay Attention to the Direction of Light
Light has a major effect on the mood and appearance of a photograph.
There are three basic directions to consider:
- Front lighting
- Backlighting
- Side lighting
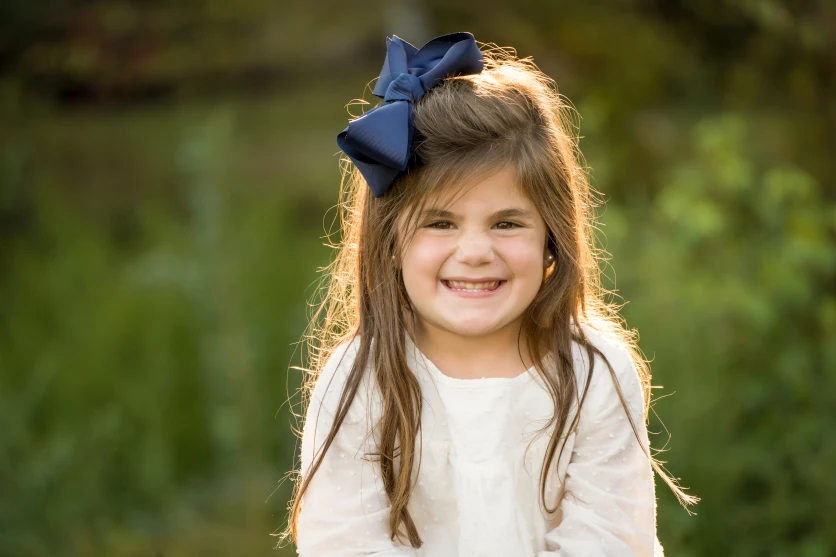
Front Lighting
With front lighting, the light falls directly onto the child’s face.
This can make facial expressions easy to see and produce a bright, clear photograph.
However, strong sunlight can cause children to squint.
If the light is too harsh, try moving into open shade or photographing at another time of day.
Backlighting
With backlighting, the primary light source is behind the child.
This can create a soft, glowing appearance and can work particularly well around sunrise or sunset.
The main challenge is that the child’s face can become too dark.
If this happens, use exposure compensation to brighten the subject or change your shooting position.
Side Lighting
Side lighting comes from the side of the subject.
It creates stronger shadows and can add depth and dimension to the face.
Side light can be particularly effective when you want a more dramatic or expressive photograph.
10. Use Natural Light Indoors
Indoor photography can be challenging because there is often less available light.
Rather than immediately reaching for a flash, look for areas with natural light.
A large window can provide soft illumination.
Try positioning your child:
- Beside a window
- Facing a window
- Slightly turned toward the window
- Against a simple wall
Avoid placing the child directly in front of a very bright window unless you specifically want a backlit effect.
If the room is still too dark, open the aperture, increase ISO, or use additional lighting if appropriate.
11. Keep the Background Simple
A great expression can lose its impact if the background is too distracting.
Before taking the photograph, look around the edges of the frame.
Check for:
- Clutter
- Bright objects
- Distracting signs
- Random people
- Poles or branches appearing behind the subject
- Objects that visually overlap the child’s head
Sometimes you don’t need to move anything.
Simply changing your camera position can remove a distracting element.
A large aperture can also help by creating background blur.
12. Use Wide-Angle Lenses for Environmental Photos
A wide-angle lens can be a great choice when you want to show your child within a larger environment.
For example, you could photograph your child:
- Running through a field
- Playing at the beach
- Walking through a city
- Exploring a park
- Standing among flowers
- Playing in a large room
Wide-angle lenses emphasize perspective, making nearby subjects appear larger while increasing the sense of distance in the background.
This can create dynamic photographs that show both the child and the place where the moment happened.
13. Use a Telephoto Lens for Sports and Events
Sometimes you can’t get close to your child.
This is especially common at:
- School sports days
- Recitals
- Performances
- Competitions
- Festivals
- Outdoor events
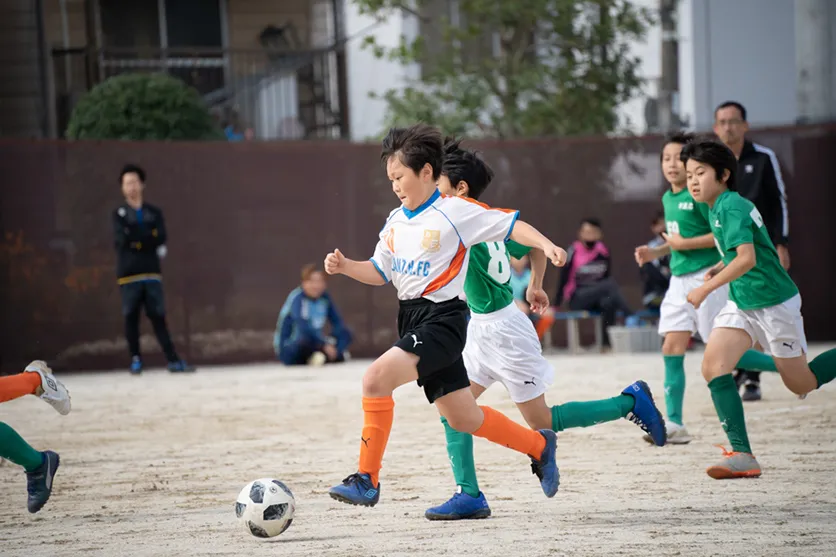
A telephoto lens allows you to fill the frame with your child from a distance.
It can also produce strong background blur and help separate the child from a busy environment.
A longer focal length can therefore be particularly useful for capturing expressions during events where you’re restricted to a specific shooting position.
14. Try a Zoom Lens for More Flexibility
Children rarely stay in one place.
One moment they may be close to you, and the next they may run across the park.
A zoom lens allows you to change the framing without changing lenses or constantly moving toward and away from your subject.
For family photography, this flexibility can be extremely useful.
A standard zoom can work well for everyday situations, while a telephoto zoom can provide additional reach for sports and events.
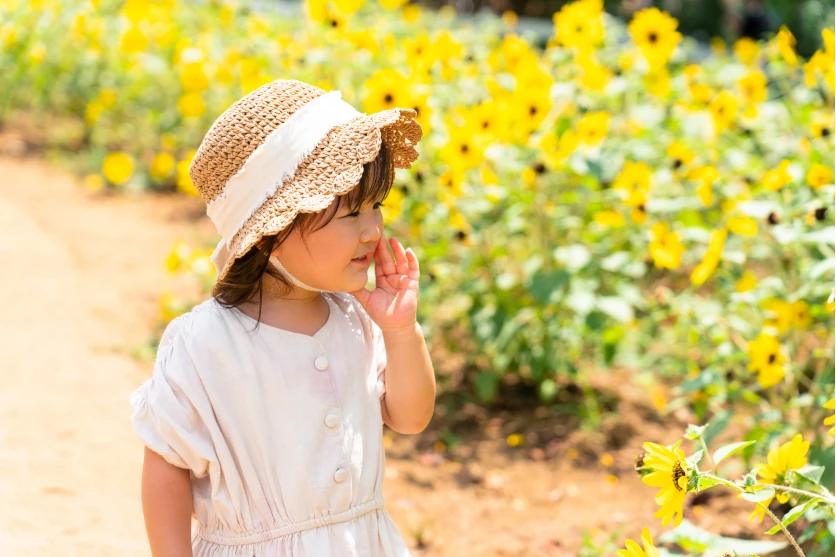
Photographing Children in Different Situations
Taking Photos Outdoors
Outdoor environments provide plenty of light and space to work with.
When photographing active children outdoors:
- Use a faster shutter speed
- Try continuous autofocus
- Use burst shooting
- Watch the direction of the sunlight
- Experiment with wide and telephoto focal lengths
You can also use the environment creatively.
Try incorporating trees, flowers, playground equipment, buildings, or other elements into the composition.
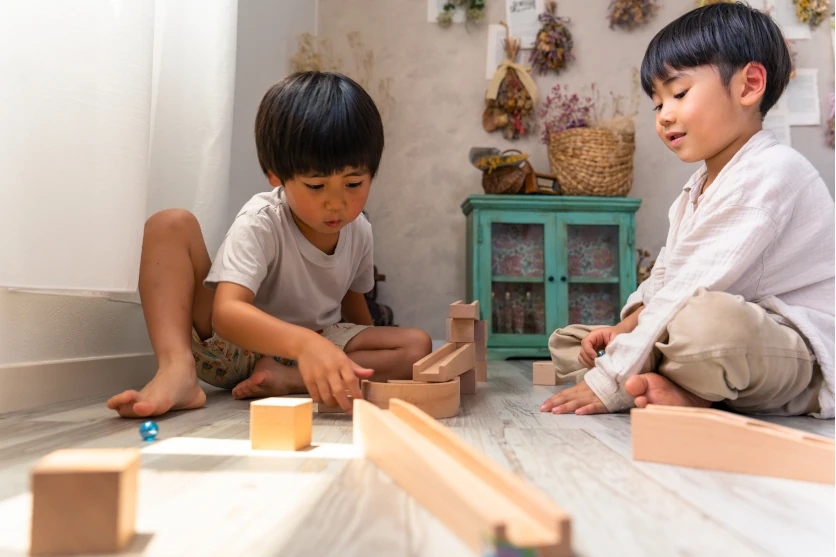
Photographing Children Indoors
Indoor photography often means dealing with less light and limited space.
Try:
- Photographing near a window.
- Opening the aperture.
- Increasing ISO when necessary.
- Using a faster lens.
- Choosing a lens with a short minimum focusing distance.
- Keeping the background simple.
A lens that can focus relatively close can be particularly useful when photographing children at a dining table, playing on the floor, or sitting nearby.
Photographing Children at Sports Events
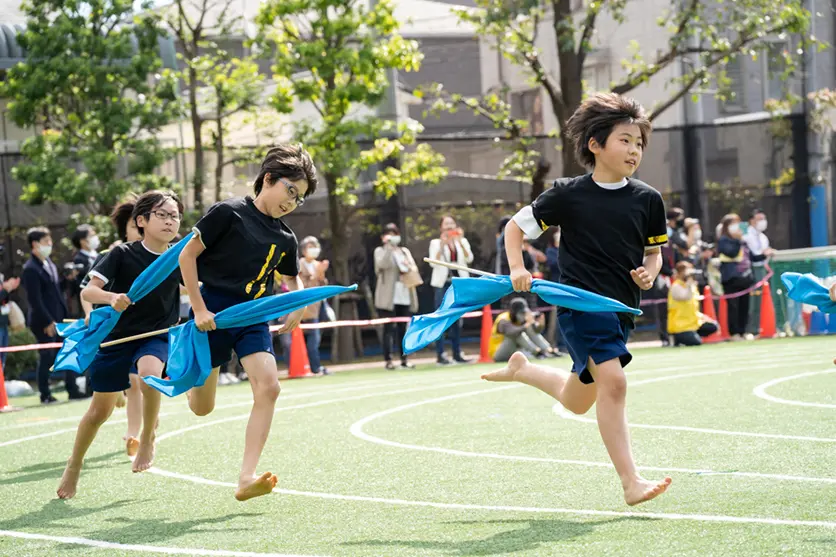
Sports days and other school events present a different challenge.
You may not be able to approach the child, so a telephoto lens can be extremely useful.
Use:
- A telephoto zoom
- Fast shutter speed
- Continuous autofocus
- Burst shooting
- Eye or subject detection
For fast movement, start around 1/500 sec and increase the shutter speed if necessary.
If you’re shooting indoors and the available light is limited, you may need to increase ISO to maintain a sufficiently fast shutter speed.
How to Choose a Lens for Children Photography
When choosing a lens specifically for photographing children, don’t focus only on focal length.
There are several characteristics that can make a lens more practical for family photography.
1. Portability
Children already come with plenty of things to carry.
A compact, lightweight lens can make it easier to take your camera with you.
It also allows you to move quickly and change your shooting position without carrying a heavy setup.
2. Large Maximum Aperture
A lens with a large maximum aperture can be useful when photographing indoors or in low light.
It can also produce stronger background blur.
An F2.8 lens, for example, can provide a useful balance between light-gathering ability and depth of field.
3. Fast and Accurate Autofocus
Children move quickly, so autofocus performance is important.
Look for a lens that can work effectively with your camera’s autofocus and subject-tracking system.
Quiet autofocus can also be useful during:
- School recitals
- Performances
- Indoor events
- Family gatherings
TAMRON’s VXD linear motor technology is used on several current lenses and is designed for high-speed, high-precision autofocus.
4. Image Stabilization
Image stabilization can help reduce camera shake when shooting handheld.
This is particularly useful with telephoto lenses.
However, remember that stabilization doesn’t freeze a moving child.
If your subject is moving quickly, you still need a sufficiently fast shutter speed.
5. Minimum Object Distance
Minimum object distance is the closest distance at which a lens can focus on a subject.
A shorter minimum focusing distance can be useful when photographing children up close.
This is particularly convenient indoors, where you may not have much space to move backward.
6. Moisture-Resistant Construction
If you frequently photograph children outdoors, weather can change unexpectedly.
A lens with moisture-resistant construction can provide additional protection when shooting outside, although it should not be considered waterproof.
A fluorine coating on the front element can also make it easier to clean fingerprints or other marks from the glass.
This can be useful when photographing curious children who want to touch the camera or lens.
Which Lens Should You Choose?
The best lens depends on how you normally photograph your children.
| Situation | Lens type to consider |
|---|---|
| Indoor family photos | Wide-angle / standard zoom |
| Everyday family photography | Standard zoom |
| Environmental portraits | Wide-angle |
| Portraits | Standard zoom / telephoto |
| Travel with children | Standard zoom / versatile zoom |
| School sports | Telephoto zoom |
| Recitals and performances | Telephoto zoom |
| Outdoor play | Standard / telephoto zoom |
| Creative low-angle photos | Wide-angle |
| Background blur | Large-aperture standard or telephoto |
Capture the Moments That Don’t Repeat
Children grow quickly, and their personalities change constantly.
That is why you don’t always need to create perfectly posed photographs.
Some of the most meaningful images can be simple moments: a laugh, a curious expression, a child running through a park, playing with a favorite toy, or looking out a window.
Instead of worrying about getting every technical detail perfect, learn to anticipate those moments.
Use Eye AF when available, choose a shutter speed that can handle movement, experiment with different camera positions, and take multiple photographs.
Then review your images and learn from what worked.
The more you photograph your children, the better you’ll become at anticipating their movements and expressions.
Most importantly, keep photographing the everyday moments. Those ordinary moments can become some of the most valuable photographs later.
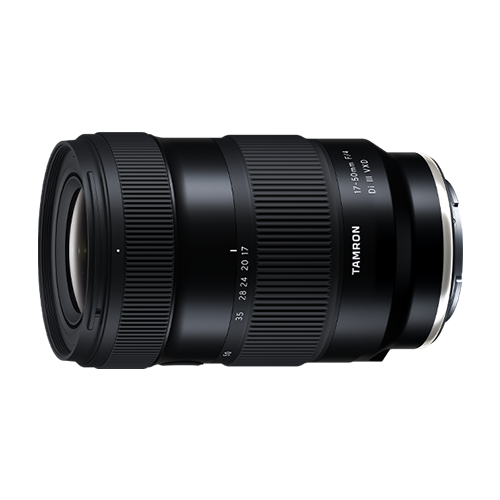
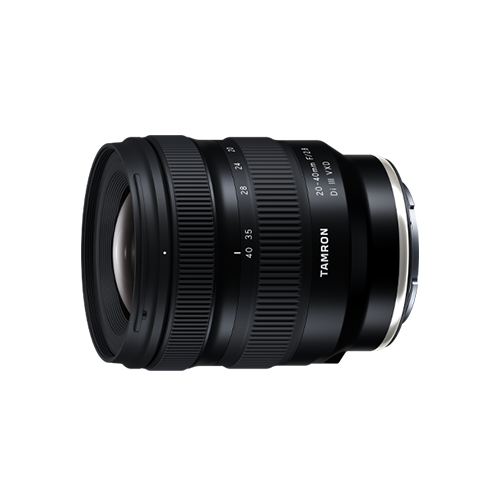
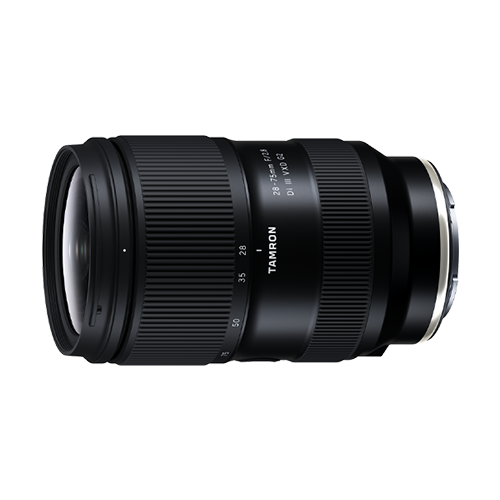
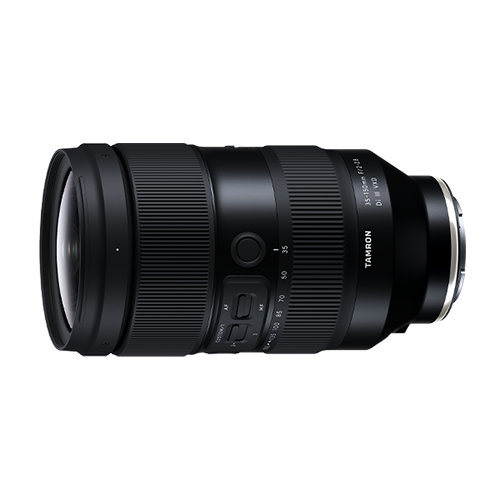
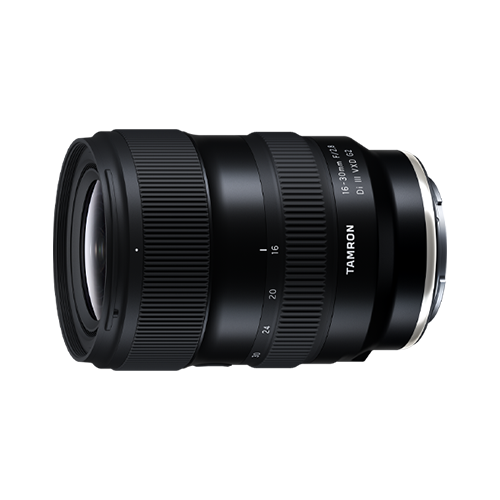
TAMRON products mentioned in this article