Food Photography Tips: How to Take Delicious-Looking Food Photos
Food photography is about more than simply pointing a camera at a plate and pressing the shutter.
Whether you’re photographing a home-cooked meal, a dish at a restaurant, ingredients at a market, or a beautifully prepared dessert, the goal is to make the photograph communicate the color, texture, freshness, and character of the food.
A dish can look delicious in person but appear flat, dark, or unappealing in a photograph if the lighting, composition, focus, and exposure aren’t right.
The good news is that you don’t need a complicated setup to get started.
By understanding how to use natural light, camera settings, composition, angles, focus, and the right lens, you can make everyday food photographs much more attractive.
In this guide, we’ll cover practical food photography tips, including how to light your food, which camera settings to try, how to choose your shooting angle, how to use background blur, and what to look for when choosing a lens.
1. Use Natural Light Whenever Possible
One of the easiest ways to improve food photography is to use natural light.
A window can provide soft, directional illumination that helps reveal the colors and textures of food without requiring complicated lighting equipment.
Place the food near a window and observe how the light falls across the dish.
Avoid extremely harsh direct sunlight when possible, especially if it creates distracting highlights and deep shadows.
Soft light from a window can produce a more natural appearance.
Morning and late-afternoon light can also provide attractive results, although the best light will depend on the direction and size of the window.
Why natural light works well
Natural light can help reveal:
- Surface texture
- Food color
- Highlights
- Shadows
- Steam
- Transparency
- Moisture and shine
For example, side or backlighting can make the surface of a sauce look glossy, while light passing through fruit can reveal the color and texture inside.
2. Try Side Lighting Instead of Front Lighting
The direction of the light can dramatically change the appearance of food.
When light comes directly from the camera toward the subject, the resulting photograph can look relatively flat because the shadows are reduced.
Instead, try positioning the light to the side of the food.
Side lighting creates shadows across the surface of the dish, helping to emphasize its three-dimensional shape.
This can work particularly well for:
- Bread
- Meat
- Pastries
- Grilled food
- Vegetables
- Textured desserts
Move the food or camera slightly and watch how the shadows change.
A small adjustment in lighting direction can make a surprisingly large difference.
3. Use Backlighting to Make Food Look Fresh
Backlighting is another useful technique for food photography.
Instead of placing the light behind the camera, position it behind or slightly behind the food.
This can create highlights around the edges of the subject and emphasize translucency, shine, steam, and moisture.
Backlighting works particularly well with:
- Fresh fruit
- Vegetables
- Drinks
- Sauces
- Soups
- Glassware
- Food with glossy surfaces
For example, light passing through a slice of citrus fruit can reveal the structure and color of the flesh.
Semi-backlighting—where the light comes from behind at an angle—is also useful because it can provide a combination of highlights and visible surface texture.
4. Control Harsh Shadows With a Reflector
Backlighting can sometimes make the front of the food too dark.
A simple reflector can help.
You don’t necessarily need professional equipment. A white board, white card, or other neutral reflective surface can bounce some of the light back toward the darker side of the food.
Place the reflector opposite the main light source and adjust its position until the shadows become more balanced.
A white reflector generally produces soft, natural-looking fill light.
A silver reflector produces stronger reflected light and can be useful when you need more contrast or brightness.
5. Pay Attention to the Background
The food should remain the main subject.
A busy background can compete with the dish and make the photograph feel cluttered.
Try using simple surfaces and backgrounds such as:
- Wooden tables
- Neutral fabric
- Plain plates
- Stone surfaces
- Simple countertops
- White or beige backgrounds
The background doesn’t necessarily have to be completely plain.
Textures and colors can add atmosphere, as long as they don’t distract from the food.
You can also use background blur to reduce distractions.
6. Choose the Right Shooting Angle
There isn’t one perfect angle for food photography.
The best angle depends on the shape and characteristics of the dish.
Three useful starting points are:
Top-down
45-degree angle
Low angle
Experiment with all three and compare the results.
Top-Down Food Photography
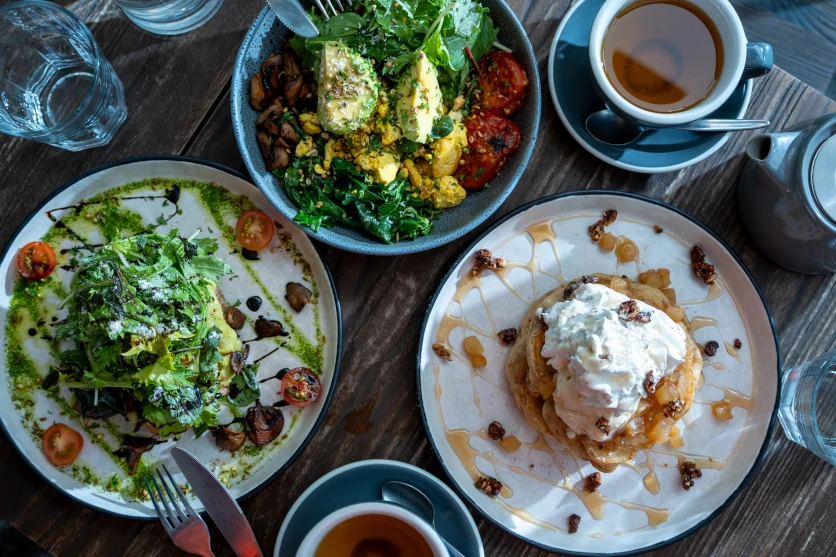
A top-down or bird’s-eye view works particularly well when multiple dishes or ingredients are arranged on a table.
It’s useful for:
- Full meals
- Table spreads
- Japanese-style meals
- Breakfast spreads
- Ingredients
- Flat-lay compositions
- Food surrounded by props
This angle emphasizes the arrangement and composition of the entire scene.
It can also work particularly well with circular plates and bowls because the shapes become graphic elements within the frame.
45-Degree Angle
A roughly 45-degree shooting angle is one of the most versatile options.
It provides a perspective that feels similar to how we naturally see food while sitting at a table.
This angle can show both the top of the dish and its height.
It’s particularly useful for:
- Pasta
- Rice dishes
- Main courses
- Desserts
- Drinks
- Plates with multiple ingredients
It can also help communicate the atmosphere of sitting at the table and looking at the food in front of you.
Low-Angle Food Photography
A lower angle can make food appear larger and more substantial.
This can work especially well with tall subjects such as:
- Burgers
- Sandwiches
- Cakes
- Pancakes
- Parfaits
- Layered desserts
Instead of photographing the entire plate from above, lower your camera and emphasize the height and layers of the food.
This can give the photograph a stronger sense of presence.
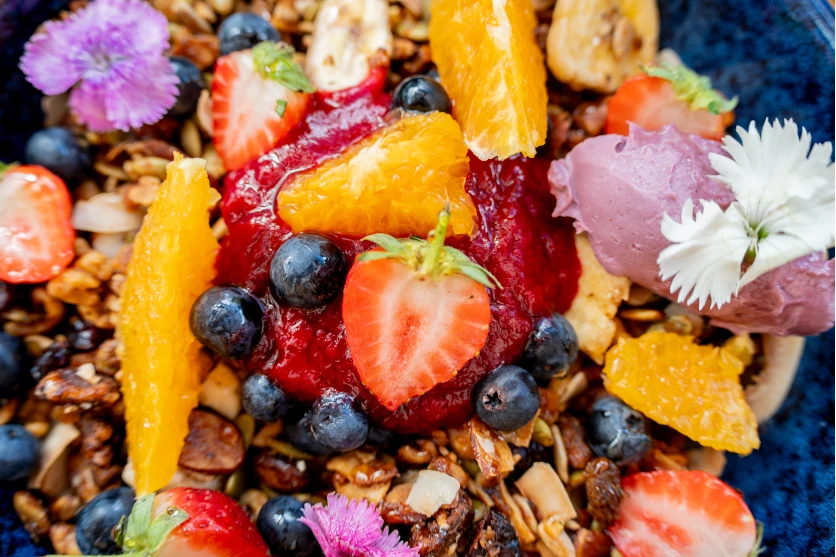
7. Get Closer to Emphasize Texture
If the entire dish isn’t important, don’t be afraid to move closer.
A close-up photograph can emphasize details such as:
- Grill marks
- Sauce
- Crust
- Bubbles
- Fruit texture
- Condensation
- Chocolate
- Cream
- Herbs
- Individual ingredients
Rather than photographing the entire plate, try filling more of the frame with the most visually interesting part of the food.
This can make the photograph feel more immersive.
A lens with a short minimum focusing distance can be particularly useful because it allows you to move closer while maintaining focus.
8. Use a Wide Aperture for Background Blur
Background blur, or bokeh, can help direct attention toward the main dish.
A lens with a wide maximum aperture such as F2.8 allows you to create a shallower depth of field.
Try using an aperture around:
F2.8–F4
when you want to isolate a particular part of the dish.
For example, you could focus on the front of a plate of pasta while allowing the background ingredients and tableware to gradually become softer.
However, be careful when using very wide apertures.
Food can have significant depth, and an extremely shallow depth of field may leave important parts of the dish out of focus.
9. Use a Smaller Aperture When You Want More of the Dish Sharp
If you’re photographing an entire table or a dish with considerable depth, a wider depth of field may be more appropriate.
Try an aperture around:
F8–F11
when you want more of the food from front to back to remain sharp.
This can be particularly useful for:
- Multiple dishes
- Table spreads
- Flat-lay scenes
- Food with several layers
- Group arrangements
The exact aperture depends on your composition and lighting.
Remember that stopping down the aperture reduces the amount of light entering the camera, so you may need to adjust shutter speed or ISO.
10. Choose the Right Focus Point
Food photography often involves several objects close together.
Your camera might focus on a fork, plate, garnish, or another object instead of the main dish.
Be deliberate about where you focus.
For a single dish, place the focus point on the part of the food that you want the viewer to notice first.
For example:
- Focus on the front ingredients of a pasta dish.
- Focus on the texture of a steak.
- Focus on the top layer of a cake.
- Focus on the fruit in a dessert.
- Focus on the foam or latte art of a coffee.
When using a wide aperture, focusing becomes particularly important because the depth of field can be very shallow.
11. Experiment With Where You Place the Focus
You don’t always need to focus on the closest part of the food.
A useful starting point is to focus around one-third into the depth of the subject, particularly when photographing a dish with several layers.
This can create a natural transition from sharp detail to softer areas.
However, the best focus position depends on the shape of the food and the visual effect you want.
Try taking several photographs with slightly different focus points and compare them.
12. Choose an Appropriate Shutter Speed
If you’re photographing food handheld, camera movement can reduce sharpness.
A shutter speed around 1/60 to 1/125 second can be a useful starting point for stationary food, depending on your focal length and shooting technique.
If the photograph looks blurry, try increasing the shutter speed.
For example:
1/60 → 1/125 → 1/250
A faster shutter speed can also be useful when capturing movement, such as pouring a drink or steam rising from freshly cooked food.
If the food is completely stationary and your camera is mounted on a tripod, you can use a much slower shutter speed when necessary.
13. Keep ISO as Low as Practical
Lower ISO settings can help preserve clean detail and natural-looking color.
When shooting in good natural light, start with a low ISO.
However, don’t be afraid to increase ISO when the environment is dark.
A slightly higher ISO and a sharp photograph is generally more useful than a low-ISO photograph ruined by camera shake.
If you’re photographing in a dim restaurant, experiment with increasing ISO while maintaining a shutter speed that is fast enough for a sharp image.
14. Adjust Exposure Carefully
Food photography often contains a mixture of bright and dark areas.
White plates, reflective glasses, shiny sauces, and bright highlights can easily become overexposed.
At the same time, dark dishes can lose important texture if the image is underexposed.
Use your camera’s histogram and highlight warnings when available.
If the important parts of the food are too bright, reduce exposure slightly.
If the food is too dark, increase exposure or add reflected light.
The goal is to preserve the color and texture that make the food appealing.
15. Set the White Balance Correctly
White balance has a major effect on food photography.
A warm restaurant light can make a plate appear overly yellow or orange, while some LED or fluorescent lighting can produce cooler or unusual colors.
Start with Auto White Balance and check the result.
If the colors don’t look natural, try setting the white balance manually or selecting an appropriate preset.
When shooting near a window, daylight settings can sometimes provide a useful starting point.
If you plan to edit your photographs later, shooting in RAW gives you greater flexibility when correcting white balance.
16. Capture Food While It Still Looks Fresh
Timing matters in food photography.
Some foods look their best immediately after preparation.
Steam, melting cheese, crisp vegetables, condensation, sauces, and fresh garnishes can change quickly.
If you’re photographing a freshly cooked meal, prepare your composition and camera settings before the food arrives or finishes cooking.
Then you can photograph it while the visual details are at their best.
For example, try capturing:
- Steam rising from hot food
- Melting cheese
- Freshly poured drinks
- Condensation on cold glasses
- Glossy sauces
- Freshly cut fruit
These details can make a photograph feel more alive.
17. Photograph Meat and Fish to Show Texture
Meat and fish often benefit from directional lighting.
Try photographing from a slightly elevated angle so that the surface and shape of the food are visible.
Look for details such as:
- Grill marks
- Crispy surfaces
- Sauce
- Moisture
- Seasoning
- Garnishes
Backlighting or semi-backlighting can also emphasize glossy sauces and highlights on the surface.
Try to avoid excessive direct light that makes the food look flat.
18. Show the Freshness of Fruits and Vegetables
Fruits and vegetables offer plenty of opportunities for colorful food photography.
Look for:
- Water droplets
- Condensation
- Translucent flesh
- Natural patterns
- Fresh cuts
- Vibrant colors
Backlighting can be particularly effective for fruit.
For example, light passing through a slice of citrus can reveal the structure of the flesh while emphasizing its color.
You can also use close-up photography to highlight small details that aren’t obvious in a wider photograph.
19. Make Desserts and Café Drinks More Atmospheric
Desserts, coffee, and drinks often provide opportunities to combine food photography with lifestyle photography.
For example, instead of photographing a cake against a completely empty background, include part of the café environment while keeping the dessert as the main subject.
For drinks, backlighting can help reveal:
- Ice
- Bubbles
- Condensation
- Transparent glass
- Coffee layers
- Latte art
A top-down photograph can work particularly well for latte art, while a lower angle can emphasize the shape
and height of a parfait or layered dessert.
20. Try Simple Composition Techniques
Composition can help guide the viewer’s attention.
You don’t need complicated arrangements.
Rule of thirds
Place the main dish away from the exact center of the frame to create a more dynamic composition.
Diagonal composition
Arrange plates, utensils, ingredients, or other elements along a diagonal line.
This can add movement and depth.
Triangular composition
Arrange several visual elements so that they form a triangle.
This can create a balanced composition while naturally guiding the viewer’s eye through the photograph.
Negative space
Leaving some empty space around the food can make the main subject stand out.
This is particularly useful when the photograph will also be used for social media, advertising, or graphic design.
Choosing the Right Lens for Food Photography
Lens choice can significantly change the appearance of a food photograph.
You don’t necessarily need a dedicated macro lens. A standard zoom, wide-angle lens, or compact prime can all be useful depending on the subject and shooting environment.
Here are some characteristics to consider.
Focal Length
A focal length between approximately 35mm and 100mm can be useful for many food photography situations.
A standard focal length around 50mm can provide a natural-looking perspective.
Wider focal lengths can be useful when you want to show the table or surrounding environment.
Longer focal lengths can help isolate individual dishes or details.
Maximum Aperture
A lens with a wide maximum aperture, such as F1.8 or F2.8, can be useful for food photography.
A wider aperture:
- Allows more light into the camera.
- Can help in dim restaurants.
- Creates shallower depth of field.
- Can produce attractive background blur.
However, remember that a wider aperture also reduces the depth of field.
Minimum Focusing Distance
A short minimum focusing distance is useful when photographing food close up.
It allows you to move closer to the dish while maintaining focus.
This is especially useful when you want to capture:
- Ingredients
- Sauce
- Texture
- Garnishes
- Small desserts
- Fruit
- Drinks
Macro Capability
A macro lens can be particularly useful when your goal is to capture extremely fine details.
With a macro lens, you can fill more of the frame with a small subject and reveal textures that may be difficult to see from a normal shooting distance.
This can turn a simple ingredient into an abstract or highly detailed photograph.
Size and Weight
If you’re photographing food at restaurants or cafés, portability matters.
A large professional lens may provide excellent image quality, but it can be inconvenient in a small restaurant or café.
A compact lens can be easier to handle around a dining table and less intrusive when photographing in public spaces.
For travel photography, a compact zoom can also give you flexibility without requiring several lenses.
Autofocus Performance
Autofocus can become more challenging in dim restaurants or when several objects are close together.
A lens with responsive autofocus can make it easier to quickly focus on the intended dish.
Manual focus can also be useful for precise close-up work, particularly when using a macro lens and a very shallow depth of field.
Image Stabilization
Image stabilization can be helpful when photographing handheld in low-light environments.
If you’re shooting in a dim restaurant, stabilization can help reduce the effects of camera shake when using slower shutter speeds.
However, stabilization does not freeze a moving subject.
If the food itself is moving—for example, during pouring, serving, or another action—you still need a sufficiently fast shutter speed.
A Simple Food Photography Setup
You don’t need an elaborate studio to start.
A simple setup could include:
Camera + lens
A mirrorless camera with a standard zoom, prime, or macro lens.
Window
Use natural light as your primary light source.
White reflector
Bounce light back into the shadows.
Simple background
Use a neutral table or surface that doesn’t compete with the food.
Tripod
Useful for stationary subjects and low-light situations.
Once you’re comfortable with this setup, you can experiment with strobes, additional reflectors, colored surfaces, props, and more complex lighting arrangements.
Quick Food Photography Checklist
Before taking the photograph, check:
Lighting
- Is the food bright enough?
- Is the light coming from a useful direction?
- Are the highlights overexposed?
- Would side or backlighting work better?
Composition
- Is the food the main subject?
- Is there anything distracting in the background?
- Would a different angle improve the photograph?
- Should you move closer?
Focus
- Is the most important part of the food sharp?
- Is your aperture too wide for the depth you need?
- Is the camera focusing on the correct subject?
Camera settings
- Is your shutter speed fast enough?
- Is your ISO unnecessarily high?
- Is your aperture appropriate for the desired depth of field?
- Is the white balance producing natural colors?
Timing
- Does the food still look fresh?
- Is there steam, condensation, or another detail worth capturing?
- Are the sauces, garnishes, and other elements positioned correctly?
Make Your Food Photos Look as Delicious as the Real Thing
Great food photography doesn’t require complicated equipment.
Start by paying attention to light, composition, focus, and timing.
Use natural window light when possible and experiment with side lighting and backlighting to reveal texture and depth. Choose an angle that suits the shape of the food, and don’t be afraid to move closer when you want to emphasize fine details.
Use a wider aperture when you want background blur and a smaller aperture when you need more of the dish to remain sharp.
Most importantly, look at the food before you press the shutter.
Ask yourself:
What makes this dish look delicious?
Is it the texture of the crust? The shine of the sauce? The color of the ingredients? The steam rising from the plate? The layers of a dessert?
Once you identify that visual characteristic, use your lighting, composition, focus, and lens choice to emphasize it.
With practice, even a simple meal can become a compelling photograph.
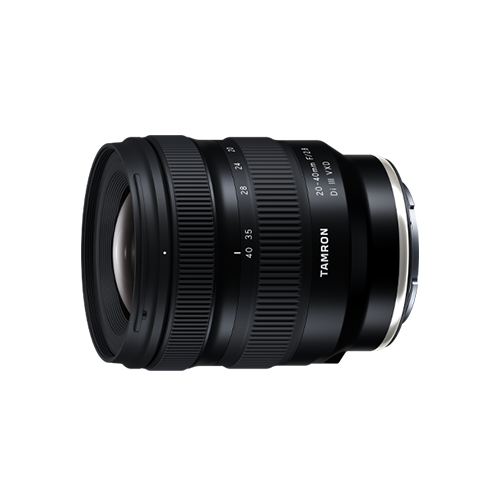
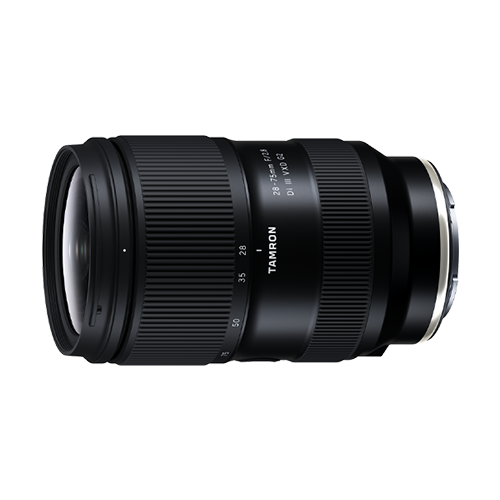
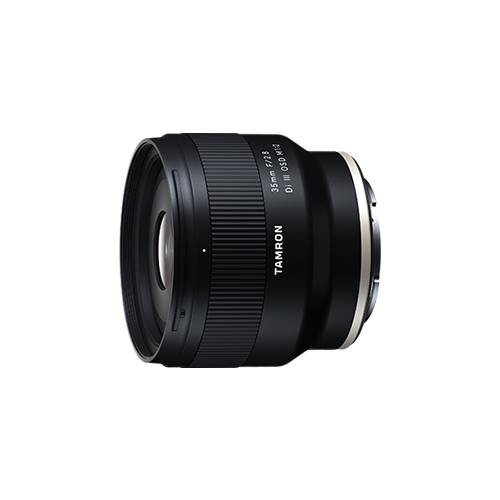
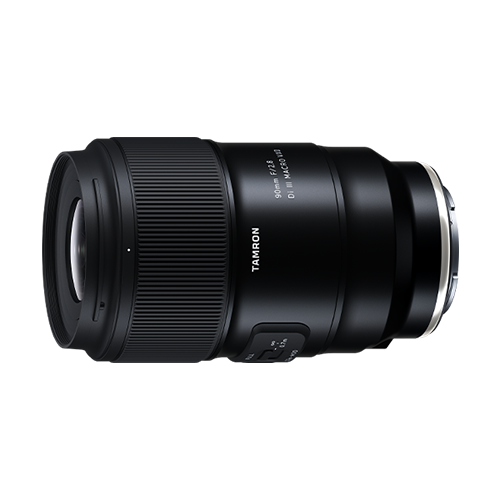
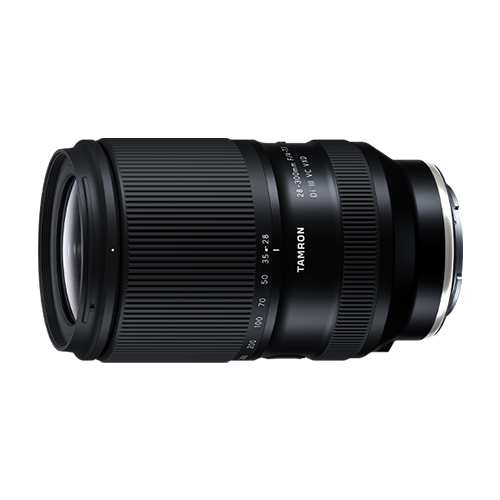
TAMRON products mentioned in this article