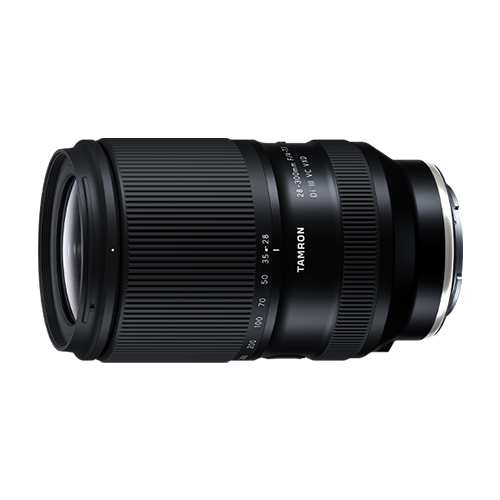
How to Photograph Autumn Foliage: Tips for Capturing Beautiful Autumn Photos
Autumn is one of the most visually striking seasons for photography. As leaves change from green to shades of yellow, orange, red, and brown, familiar landscapes can take on an entirely different character. From expansive forests and mountain views to individual leaves and colorful reflections on water, there are countless opportunities to create beautiful autumn photographs.
However, capturing the beauty of autumn foliage is about more than simply pointing your camera at a colorful tree. The choice of lens, camera settings, lighting, composition, and shooting position can all affect the final image.
In this guide, we’ll explore practical tips for autumn foliage photography, including how to photograph landscapes and close-up details, how to work with different types of light, recommended camera settings, and how to choose a lens that suits your shooting style.

What Makes Autumn Foliage Great for Photography?
Autumn foliage provides photographers with a combination of color, texture, contrast, and depth that can be used in many different ways.
A wide landscape can show an entire hillside covered in colorful trees, while a telephoto lens can isolate a single group of leaves in the distance. You can also move closer to capture the texture and details of individual leaves or use fallen leaves as a foreground element.
The same location can produce completely different photographs depending on the weather, time of day, direction of light, and composition.
Instead of photographing only the most colorful tree you see, look for ways to incorporate the surrounding environment. Mountains, pathways, buildings, streams, lakes, people, and even the sky can help give your autumn photos a stronger sense of place.
Scenes to Photograph During Autumn
Autumn foliage photography doesn’t have to mean photographing an entire forest. Try looking for different subjects and perspectives to create a more varied collection of images.
Expansive Autumn Landscapes
One of the most recognizable autumn photographs is a wide landscape filled with colorful trees.
A wide-angle lens is useful for this type of photography because it can capture a broad field of view and help emphasize the scale of the scene. A focal length around 35mm or wider can be particularly useful when you want to include a large amount of scenery.
When photographing an expansive landscape, try using an aperture around F8 to F11. A smaller aperture can provide greater depth of field, helping keep both foreground and background elements sharp.
Don’t be afraid to include the sky. A clear blue sky can provide a strong contrast against warm-colored leaves, while clouds can add texture and atmosphere to the photograph.
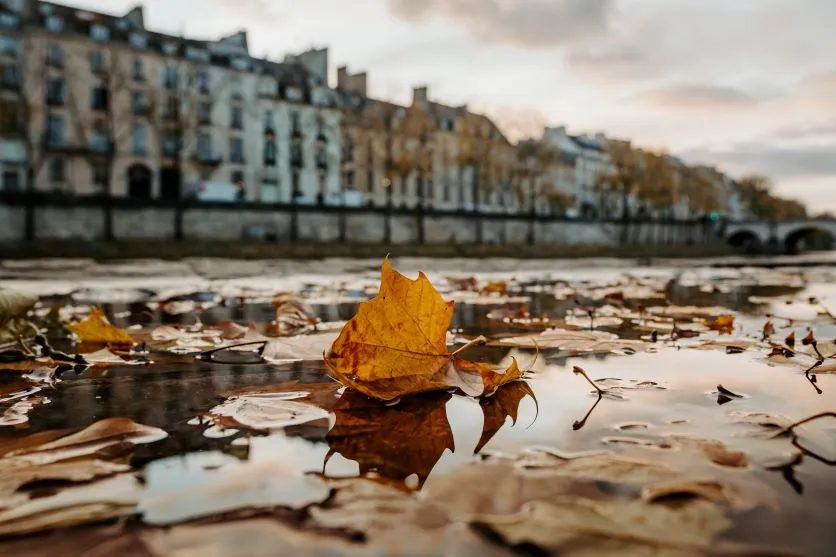
Close-Up Photos of Autumn Leaves
You don’t always need a large landscape to tell an autumn story.
Individual leaves can make excellent photographic subjects because of their colors, textures, shapes, and patterns. Look for leaves with interesting veins, unusual shapes, water droplets, or strong colors.
A lens with good close-up capability or a short minimum focusing distance can be particularly useful here. A wider aperture, such as F2.8 to F4, can help separate the subject from the background and create soft background blur.
Try positioning a single leaf against a simple background. This keeps attention on the subject while allowing the colors and details to stand out.
Fallen Leaves
Look down as well as around you.
Fallen leaves can create interesting patterns and layers of color on the ground. Look for combinations of different colors, overlapping leaves, pathways covered with foliage, or individual leaves that stand out from their surroundings.
A wide-angle or standard zoom lens can work well for this type of photography. Try shooting from above for a graphic composition, or lower your camera closer to the ground to create greater depth.
Early morning can also offer interesting opportunities, particularly when fallen leaves are covered with dew.
Autumn Reflections
Water can add another dimension to autumn photography.
Lakes, ponds, rivers, and calm streams can reflect colorful trees and create a symmetrical or almost abstract composition. When photographing reflections, look for areas where the water is relatively calm.
A tripod can be useful when working with slower shutter speeds. A polarizing filter can also help control reflections, although its effect will depend on the angle of the camera relative to the light and water.
Try different compositions. You can divide the frame between the actual trees and their reflection, or move closer and photograph mostly the reflection for a more abstract result.
Autumn Foliage at Night
Autumn scenery can look completely different after sunset, particularly when trees or gardens are illuminated.
When photographing illuminated foliage, a tripod can help keep the camera steady during longer exposures. Start with an aperture around F4 to F6, then adjust the shutter speed and ISO according to the available light.
Because artificial lighting can create very bright areas, pay attention to highlights. If illuminated leaves or light sources become overexposed, reduce exposure compensation or adjust your exposure settings.
Portraits with Autumn Foliage
Autumn foliage can also provide an attractive background for portraits.
A standard or telephoto lens with a wide maximum aperture, such as F2.8 to F4, can help separate your subject from the colorful background. Longer focal lengths can also make it easier to isolate a subject from distant foliage.
Backlighting can create another interesting effect. When sunlight passes through leaves behind your subject, the foliage can appear to glow.
If your subject’s face becomes too dark when shooting against the light, try increasing exposure compensation or adjusting your exposure manually.

How to Photograph Autumn Foliage
Once you’ve found a good location, there are several things you can do to improve your autumn photographs.

Plan Around Peak Foliage
The appearance of autumn foliage changes over time. Depending on the location, altitude, weather, and local climate, trees can change color at different rates.
Before heading out, check local conditions and foliage reports where available. If you’re traveling specifically for autumn photography, researching the area beforehand can help you identify viewpoints, trails, parks, and other locations that offer different photographic opportunities.
Don’t assume that you need to photograph only during the peak of the season, either. Early or late foliage can create a different visual character, with more green, bare branches, or fallen leaves becoming part of the composition.
Use Aperture Priority Mode
If you’re still becoming familiar with manual camera settings, Aperture Priority mode can be a useful starting point.
In this mode, you choose the aperture while the camera automatically adjusts the shutter speed to achieve an appropriate exposure. This allows you to control depth of field and background blur without having to adjust every setting manually.
For landscapes, try a smaller aperture such as F8 to F11.
For individual leaves, details, or portraits where you want background blur, try a wider aperture such as F2.8 to F4.
These are starting points rather than fixed rules. Review your images and adjust according to the scene.
Adjust Shutter Speed for Movement
Autumn leaves may look stationary, but wind can cause them to move enough to create blur.
For relatively still subjects, a shutter speed around 1/60 to 1/250 second can be a useful starting range. If leaves are moving in the wind, increasing the shutter speed to 1/500 second or faster can help freeze their movement.
When deliberately creating a long exposure, however, movement can become part of the photograph. This can work particularly well when photographing flowing water surrounded by autumn foliage.
Keep ISO as Low as Practical
During bright outdoor conditions, ISO 100 to ISO 400 is generally a good starting point.
If the weather is cloudy or you’re photographing in a shaded forest, you may need to increase the ISO to maintain a suitable shutter speed.
The exact ISO setting will depend on your camera and the available light. When possible, use the lowest ISO that still allows you to achieve the shutter speed and aperture you need.
Use Exposure Compensation
Bright leaves and dark forests can make exposure challenging.
If your camera’s automatic exposure makes the scene too bright, try negative exposure compensation. If the image is too dark, try positive exposure compensation.
This can be particularly useful when photographing backlit leaves or scenes containing strong highlights.
Always check your camera’s histogram and highlight warnings when available. They can help you determine whether bright areas are losing important detail.
Consider Shooting in RAW
If your camera supports RAW capture, it can provide greater flexibility when editing your photographs.
Autumn scenes can contain a wide range of colors and brightness levels. RAW files allow you to make adjustments to exposure, white balance, highlights, shadows, and color during post-processing.
This can be particularly helpful when the colors captured in-camera don’t quite match the atmosphere you experienced when taking the photograph.
Use Composition to Make Autumn Photos More Interesting
Color alone doesn’t necessarily make a strong photograph. Composition gives those colors structure.
Use the Rule of Thirds
The rule of thirds is a simple starting point for landscape composition.
Imagine the frame divided into three equal sections horizontally and vertically. Placing an important subject or horizon near one of these lines can create a balanced composition.
For example, you could place colorful trees across the lower two-thirds of the frame while leaving the upper third for the sky.
Try Diagonal Composition
Look for paths, streams, tree lines, fences, or branches that naturally create diagonal lines through the frame.
Diagonal elements can lead the viewer’s eye through the photograph and add a greater sense of depth and movement.
A winding path surrounded by autumn trees is a particularly useful subject for this technique.
Try a Centered Composition
Not every photograph needs to follow the rule of thirds.
A centered composition can work well when you have a strong, isolated subject. A single colorful tree surrounded by a simpler landscape, for example, can become a powerful focal point when placed in the center of the frame.
The key is to make sure the surrounding area supports the subject rather than creating distracting visual elements.
Pay Attention to Light
Light can dramatically change the appearance of autumn foliage.
Front Lighting
Front lighting occurs when the light source is behind the photographer and illuminates the subject from the front.
This can make it easier to capture the natural colors of autumn leaves and is useful when you want vivid, evenly illuminated foliage.
Soft morning or late-afternoon light can be particularly pleasing.
Backlighting
Backlighting occurs when the light source is behind the subject.
Leaves can become partially translucent when illuminated from behind, allowing sunlight to pass through their surfaces. This can produce a warm glow and emphasize the structure of the leaves.
However, backlighting can also make the subject appear too dark. Adjust your exposure carefully and use exposure compensation when necessary.
Side Lighting
Side lighting can emphasize texture and depth.
When sunlight hits leaves from the side, shadows become more pronounced, revealing their surfaces, veins, and shapes.
Early morning and late afternoon can be good times to experiment with this type of light because the sun is lower in the sky.
Shoot During the Golden Hour
The warm light around sunrise and sunset can complement the yellow, orange, and red tones of autumn foliage.
During these periods, the lower angle of the sun can create longer shadows and warmer highlights.
However, don’t limit yourself to golden hour. Overcast conditions can produce soft, even light that works particularly well for close-ups and detailed foliage photography.
Change Your Camera Angle
Changing your position can transform an ordinary scene.
Try photographing from a low angle to make trees appear taller and more imposing. Shooting close to the ground can also add depth when fallen leaves are used as foreground elements.
A higher viewpoint can reveal the overall pattern of colorful foliage, particularly when photographing from a hill, observation deck, bridge, or other elevated location.
For close-up subjects, move around the leaf rather than photographing it from only one position. A small change in camera angle can alter the background, light, and overall composition.
Consider Using Filters
Filters can provide additional control when photographing autumn landscapes.
Polarizing Filter
A polarizing filter can help reduce certain reflections and can enhance contrast in appropriate lighting conditions.
It can be especially useful when photographing foliage near water or when you want to control reflections from wet surfaces.
The effect of a polarizing filter changes depending on your shooting angle relative to the light, so rotate the filter while looking through the viewfinder or at the screen to find the desired effect.
ND Filter
A neutral density, or ND, filter reduces the amount of light entering the lens.
This can allow you to use slower shutter speeds in brighter conditions. For example, you can use a longer exposure to create a smooth appearance in flowing water while autumn foliage remains visible around it.
A tripod is recommended when using slower shutter speeds.
How to Choose a Lens for Autumn Photography
Choosing the right lens depends largely on the type of autumn photographs you want to create.
There is no single lens that is ideal for every situation. However, understanding focal length and other lens characteristics can help you select equipment that matches your shooting style.
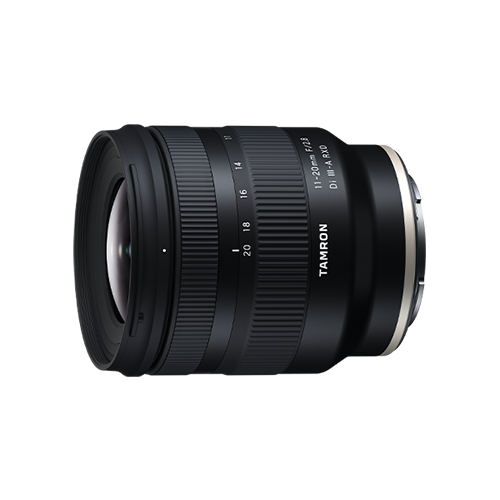
Wide-Angle Lenses for Landscapes
Wide-angle lenses are useful when you want to capture expansive scenery.
They allow you to include more of the environment in a single frame, making them suitable for forests, mountains, large groups of trees, and wide landscape views.
A wide-angle lens can also exaggerate the relationship between foreground and background, making nearby leaves or other objects appear larger while creating a strong sense of depth.
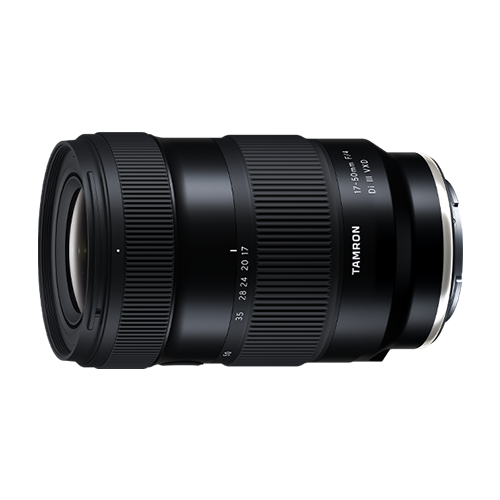
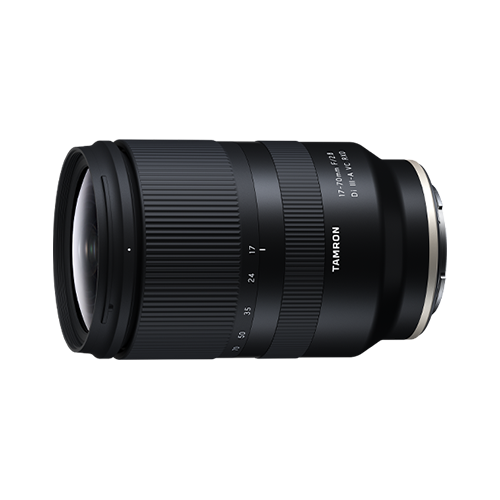
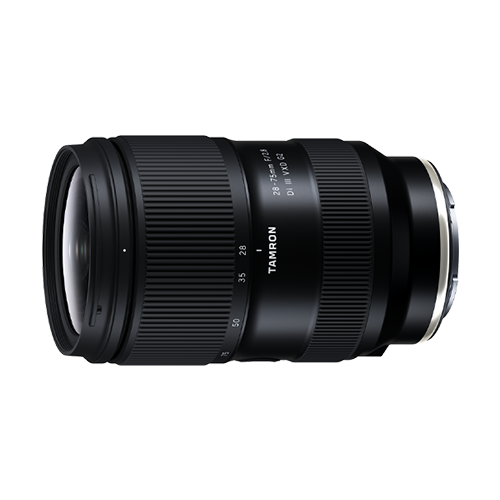
Standard Zoom Lenses for Versatility
A standard zoom lens can be an excellent choice when you don’t know exactly what you will encounter.
Instead of carrying multiple prime lenses or changing lenses repeatedly, a zoom lens can allow you to move between wider landscape compositions and more focused subjects.
This flexibility can be especially useful when traveling or hiking, where keeping your equipment compact and manageable is important.
Telephoto Lenses for Distant Foliage
Telephoto lenses allow you to isolate subjects that are farther away.
Instead of trying to photograph an entire forest, you can use a longer focal length to select a particular section of colorful trees, compress layers of the landscape, or capture individual leaves from a distance.
Telephoto lenses are also useful for portraits and creating background compression.
Look for a Wide Maximum Aperture
A lens with a wide maximum aperture, such as F2.8, can be useful in several autumn photography situations.
A wider aperture allows more light to reach the sensor and can make it easier to photograph in shaded environments or during lower-light conditions.
It can also create shallow depth of field and attractive background blur, which is useful for close-ups and portraits.
Consider Close-Up Capability
Minimum focusing distance is another specification worth considering.
A lens that can focus relatively close to the subject gives you more flexibility when photographing leaves, flowers, textures, and other small details.
You don’t necessarily need a dedicated macro lens to create compelling close-up images. A versatile zoom lens with good close-up capability can provide another way to photograph autumn scenery.
Consider Size and Weight
Autumn photography often involves walking.
You may spend several hours exploring a park, hiking a trail, or moving between different viewpoints. A lightweight and compact lens can therefore make a significant difference to how comfortable your setup is over a long shooting session.
A lens that is easy to carry is also more likely to stay in your camera bag and be ready when an unexpected photographic opportunity appears.
Look for Fast and Reliable Autofocus
Leaves can move in the wind, people may be walking through the scene, and lighting conditions can change quickly.
Reliable autofocus can help you respond quickly to these situations. When selecting a lens, consider not only autofocus speed but also how smoothly and quietly the lens focuses, particularly if you plan to use it for both photography and video.
Image Stabilization Can Help
Image stabilization can be particularly useful when shooting handheld.
It can help reduce the effects of camera shake, especially when using longer focal lengths or working in lower-light environments.
This can give you more flexibility when you don’t want to use a tripod or when you’re photographing while traveling.
Recommended Lens Types for Different Autumn Scenes
The best lens depends on the photograph you’re trying to create.
For expansive landscapes:
Choose a wide-angle lens that can capture a broad field of view.
For everyday autumn photography:
A versatile standard zoom can cover a useful range of focal lengths while reducing the need to change lenses.
For distant foliage:
A telephoto or high-power zoom lens can isolate details and compress the scene.
For close-up leaves:
Look for a lens with a short minimum focusing distance or strong close-up capability.
For portraits:
A standard or telephoto lens with a wide maximum aperture can help separate the subject from colorful foliage.
For photographers who want to travel light, an all-in-one or versatile zoom lens can also be useful because it can cover multiple shooting situations without requiring several lenses.
Final Tips for Photographing Autumn Foliage
Autumn foliage offers much more than colorful trees. Look for small details as well as expansive landscapes, and experiment with different lenses, focal lengths, camera positions, and compositions.
Before shooting, consider the light and the conditions. During the shoot, pay attention to your exposure and shutter speed, especially when the wind is moving the leaves. Try both wide compositions and close-up photographs to tell a more complete story of the season.
Most importantly, don’t be afraid to move. Walk around your subject, change your camera height, try a different focal length, and look for reflections, patterns, and interesting backgrounds.
Whether you’re photographing a vast autumn landscape, a single colorful leaf, a portrait, or fallen foliage on the ground, the right combination of composition, light, camera settings, and lens choice can help you capture the character of autumn in your own way.
With a versatile camera lens and a little preparation, autumn can provide countless opportunities to create photographs that showcase the colors, textures, and atmosphere of the season.
TAMRON products mentioned in this article