How to Take Great Pet Photos: Tips for Photographing Dogs and Cats
Pets are part of the family, and photographs are a great way to preserve their personalities and memorable moments. However, taking good photos of dogs and cats can be challenging. Pets rarely stay still for long, and their expressions can change in an instant.
Fortunately, you don’t need complicated techniques to get better results.
By paying attention to focus, camera position, lighting, exposure, shutter speed, and lens choice, you can capture sharper and more expressive photos of your pet.
In this guide, we’ll share practical pet photography tips for photographing dogs, cats, and other pets, including recommended camera settings and advice on choosing the right lens.
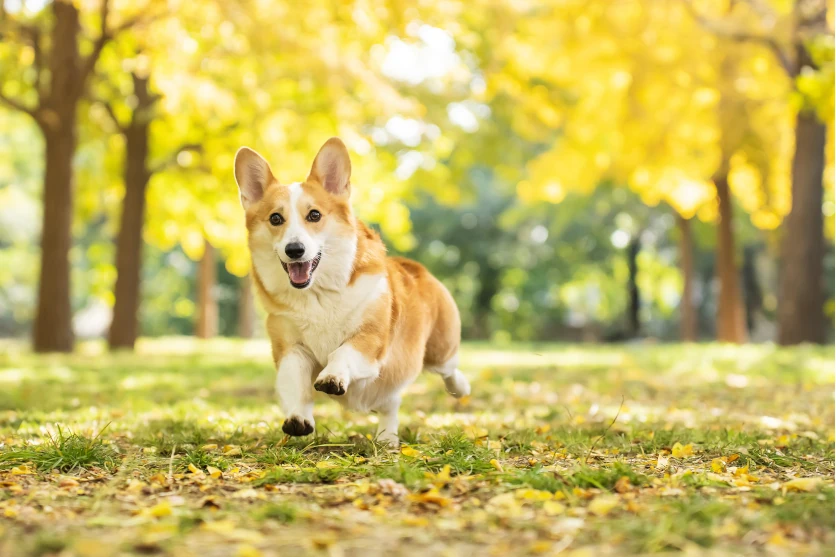
1. Focus on Your Pet’s Eyes
One of the most important things to remember when photographing pets is to focus on the eyes.
A dog’s or cat’s face has depth, so if you’re using a shallow depth of field, the camera may focus on the nose or another part of the face instead of the eyes. When that happens, the most important part of the expression may appear soft or out of focus.
Whenever possible, focus on the eye that is closest to the camera.
If your camera has Animal Eye AF or Eye AF, use it. This feature can automatically detect and focus on your pet’s eyes, making it easier to capture sharp expressions.
This is especially useful when your pet is moving around.
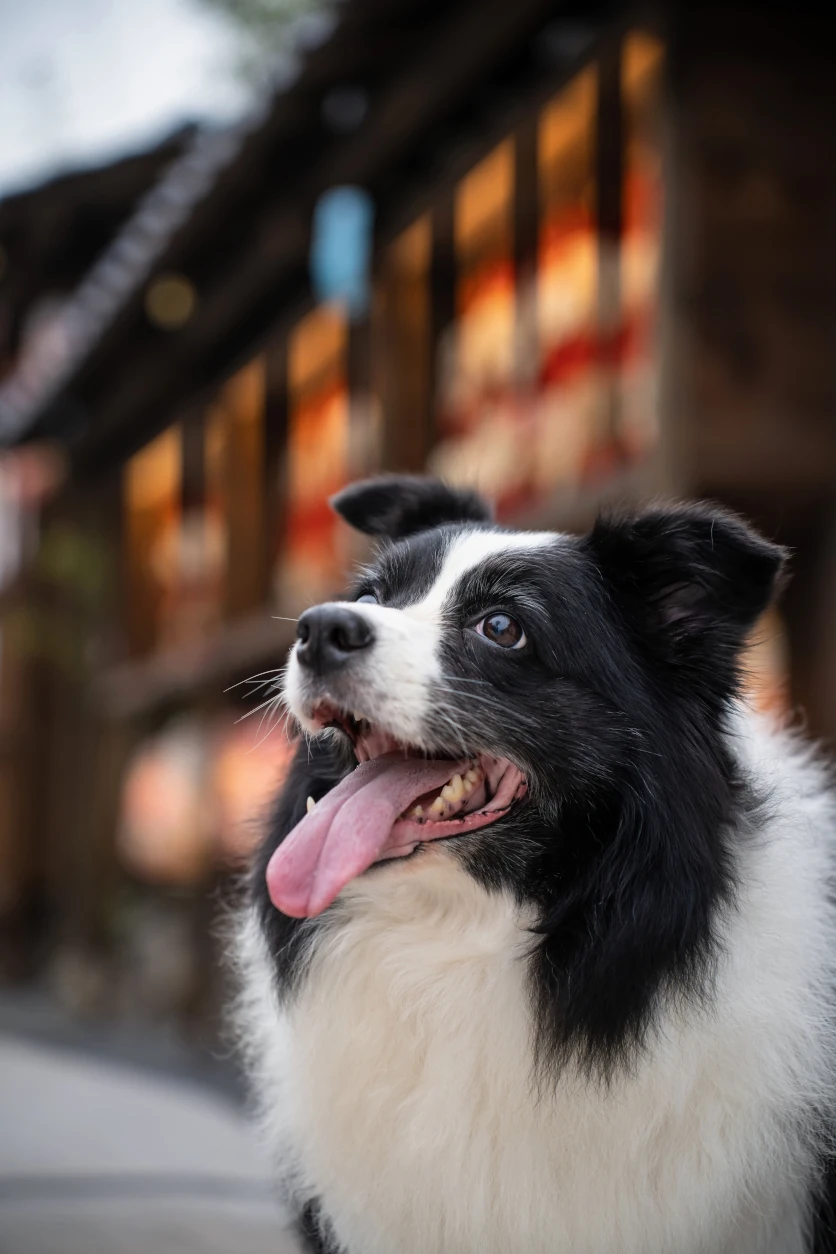
Why eye focus matters
The eyes are one of the first things we naturally notice in a portrait. Keeping them sharp helps make the photograph feel more engaging and allows your pet’s personality to come through.
When using a wide aperture, remember that the depth of field can become very shallow. Even a small change in your pet’s position can move the eyes outside the area of sharp focus.
2. Get Down to Your Pet’s Eye Level
One of the easiest ways to make your pet photography more interesting is to change your camera position.
Photos taken from above can make a dog or cat look smaller and can result in a fairly ordinary perspective.
Instead, try getting down to your pet’s eye level.
This gives the photograph a more natural perspective and makes the viewer feel closer to the animal.
You can also experiment with an even lower angle by placing the camera close to the ground and pointing it slightly upward.
This can make your pet appear more prominent while allowing you to include more of the surroundings.
Try different camera angles
Don’t limit yourself to one position. Try:
- Eye-level portraits
- Low-angle shots
- Side views
- Close-up portraits
- Full-body photographs
- Photos showing your pet in its environment
Moving just a little can completely change the composition.
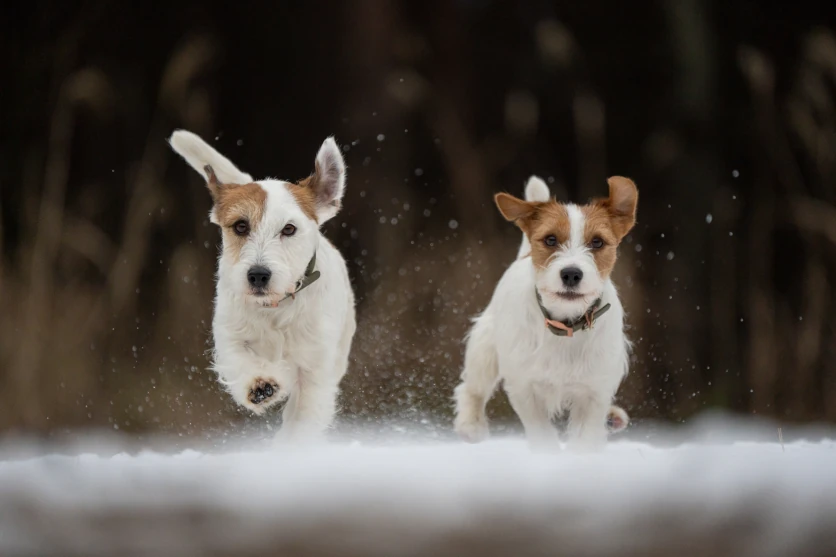
3. Use Your Pet’s Attention to Capture Expressions
Dogs and cats can be difficult to photograph because they don’t always look toward the camera.
Instead of trying to force them into a pose, use something that naturally gets their attention.
You can:
- Call their name
- Make a familiar sound
- Use a favorite toy
- Hold a treat near the camera
- Wait for a natural moment
The goal isn’t necessarily to make your pet stare directly at the lens.
Sometimes the best photographs happen when your pet is simply looking naturally at something interesting.
Most importantly, be patient.
4. Pay Attention to the Light
Lighting can completely change the appearance of a pet photograph.
Before worrying about complicated camera settings, look at where the light is coming from.
Direct Light
Front lighting can illuminate your pet’s face clearly and make it easier to capture facial expressions.
However, strong direct sunlight can also make dogs and cats squint.
If the sunlight is too harsh, try moving into open shade or changing your shooting angle.
Backlighting
Backlighting occurs when the main light source is behind your pet.
This can create a soft, glowing appearance around the animal and produce a more dramatic or atmospheric photograph.
However, your pet’s face may become too dark if the background is significantly brighter.
In that situation, use exposure compensation to brighten the subject if necessary.
Look for catchlights
A small reflection of light in your pet’s eyes—known as a catchlight—can make the eyes appear brighter and more lively.
When shooting outdoors, you can sometimes create catchlights naturally by positioning your pet relative to the sun or by using reflected light from a nearby surface.
5. Use a Fast Shutter Speed for Moving Pets
One of the biggest challenges in pet photography is movement.
Even if your camera is perfectly steady, your pet may suddenly run, jump, turn its head, or wag its tail.
A slow shutter speed can result in motion blur.
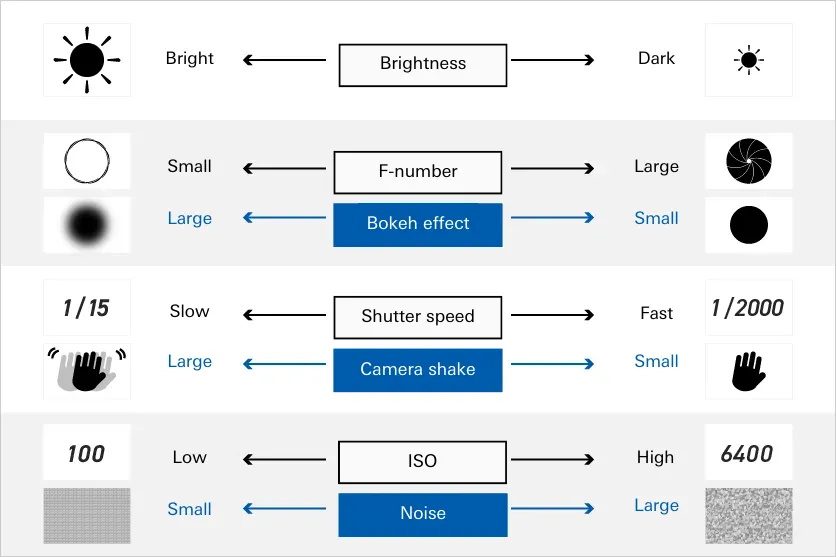
For relatively calm indoor pets, something around 1/250 sec to 1/500 sec can be a useful starting point. For faster movement, you may need to increase the shutter speed toward 1/1000 sec or faster.
The exact setting will depend on how quickly your pet is moving and how much light is available.
If your photo is too dark
Increasing shutter speed reduces the amount of light reaching the sensor.
If your image becomes too dark, you can compensate by:
- Opening the aperture
- Increasing ISO
- Moving to a brighter location
Don’t be afraid to increase ISO when necessary. A slightly noisy photograph is often preferable to a blurry photograph that missed the moment.
6. Choose the Right Aperture
A large aperture can create beautiful background blur, helping separate your pet from distracting surroundings.
For example, an aperture such as F2.8 can create a shallow depth of field while allowing more light into the camera.
However, there’s an important consideration when photographing animals.
If you use an extremely wide aperture, the depth of field can become so shallow that only part of your pet’s face is sharp.
If the eyes are sharp but the nose or ears become noticeably blurred, try stopping the aperture down slightly.
Aperture priority is useful for pet photography
If you’re still learning camera settings, Aperture Priority mode can be a convenient starting point.
You choose the aperture, while the camera automatically adjusts the shutter speed to achieve an appropriate exposure.
This allows you to control the amount of background blur without having to manually adjust every exposure setting.
7. Use Burst Mode to Capture the Moment
Pets move unpredictably.
You might press the shutter once and get a photograph with closed eyes, an awkward expression, or the wrong body position.
That’s where burst shooting can help.
Instead of taking a single photograph, use your camera’s continuous shooting mode to capture a short sequence.
You can then select the best frame afterward.
Burst mode is particularly useful when photographing:
- Dogs running
- Cats jumping
- Pets playing
- Animals shaking their heads
- Pets catching treats
- Pets interacting with people
The goal isn’t to take hundreds of photographs randomly. Instead, use burst mode when you anticipate a moment that will happen quickly.
8. Use a Wide-Angle Lens for Environmental Pet Photos
A wide-angle lens can be a great choice when you want to show your pet and its surroundings.
Instead of filling the entire frame with your dog or cat, you can include grass, flowers, buildings, trees, or other elements that help tell the story.
This works particularly well for outdoor photography.
For example, you can photograph your dog running through a large field while keeping enough of the environment in the frame to communicate a sense of scale.
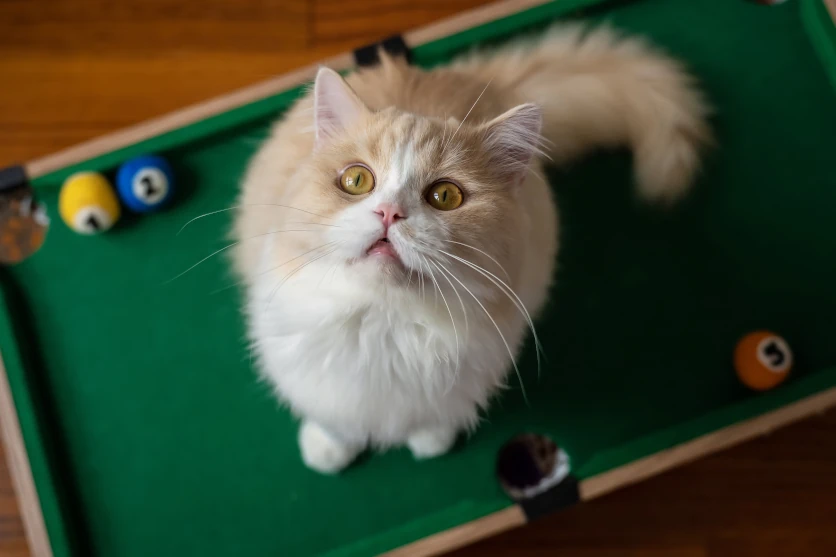
Get close for a more dynamic perspective
Wide-angle lenses also allow you to get physically close to your pet while still including a large amount of the background.
Try placing your camera relatively low and close to your pet, then photograph upward toward the animal.
This can create a much more dynamic perspective than simply photographing your pet from standing height.
9. Use a Telephoto Lens for Natural Pet Portraits
A telephoto lens provides a narrower angle of view and allows you to photograph your pet from farther away.
This can be especially useful when your pet becomes distracted or uncomfortable when a camera is placed close to its face.
With a telephoto lens, you can maintain some distance while still filling the frame with your pet.
Telephoto lenses are also useful for creating background compression and bokeh, which can make the subject stand out against a softer background.
This is particularly effective for pet portraits.
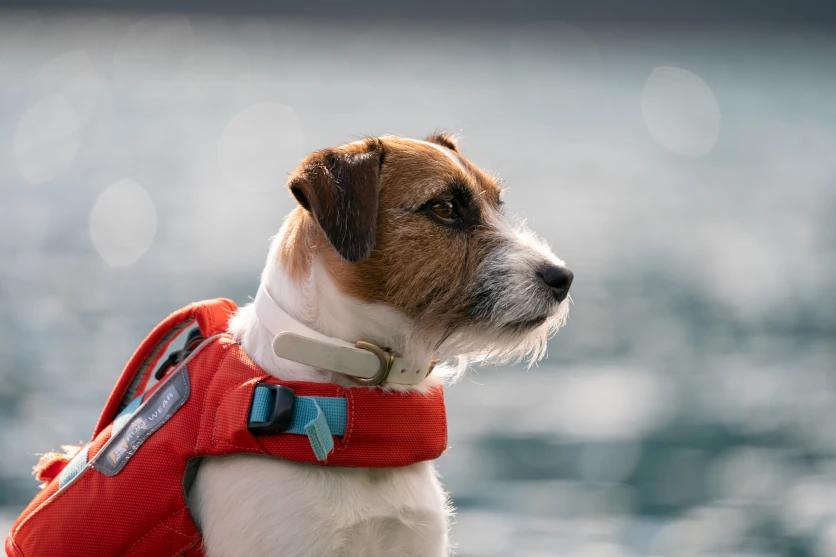
Telephoto lenses are useful for active pets
A longer focal length can also be helpful when photographing dogs running outdoors or pets that don’t stay close to you.
Rather than following the animal with a camera held very close, you can give the pet more space while still capturing detailed photographs.
Pet Photography Tips for Different Situations
Your approach should change depending on where you’re photographing your pet.
Photographing Pets at Home
Indoor photography can be challenging because there may not be enough light.
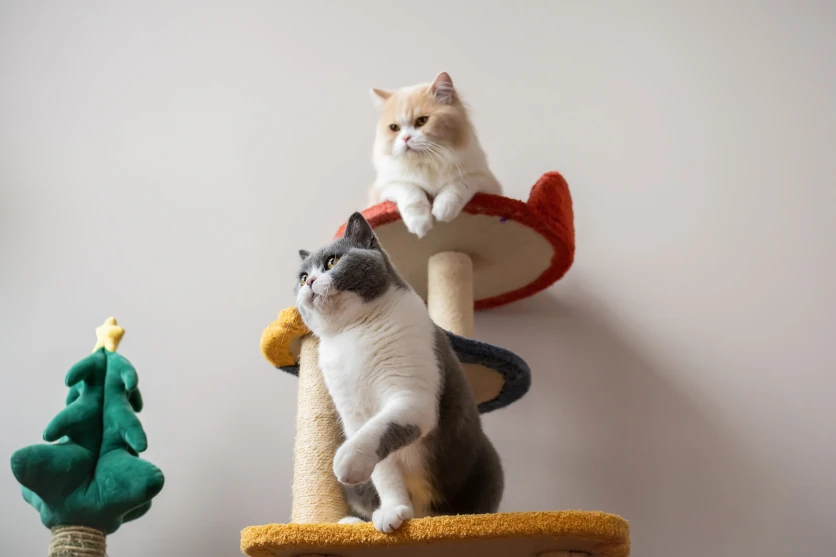
Start by looking for areas with good natural light.
A window can provide a soft and attractive source of illumination. You can also position your pet near a light-colored wall that can reflect some light back toward the subject.
If the room is still too dark:
- Open the aperture
- Increase ISO
- Use a faster lens
- Move closer to a window
- Use a slower shutter speed only if your pet is relatively still
A lens with a large maximum aperture can be especially useful indoors.
Keep the background simple
Homes can contain many distracting objects.
Before taking the photograph, look at what’s behind your pet.
Photographing Pets During a Walk
A walk is a great opportunity to capture natural and energetic photographs.
Instead of asking your dog to sit and look at the camera, photograph it while walking, running, sniffing, or exploring.
Try lowering your camera to your dog’s eye level.
A faster shutter speed can help freeze movement, while burst mode gives you more opportunities to capture the right moment.
A zoom lens can also be useful because your shooting distance can change constantly during a walk.
Moving a few objects out of the frame or changing your shooting position can make a surprisingly large difference.
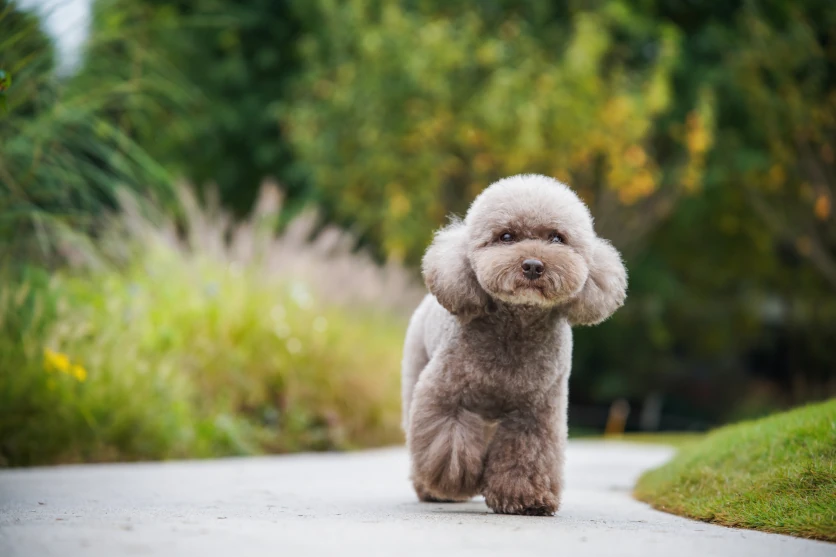
Photographing Pets Outdoors
Outdoor environments provide many opportunities for creative pet photography.
Look for backgrounds such as:
- Trees
- Grass
- Flowers
- Mountains
- Beaches
- Lakes
- Open fields
- Urban environments
Try to use the environment as part of the story.
For example, rather than simply taking a portrait of your dog, show your dog running through a field or sitting beside a scenic landscape.
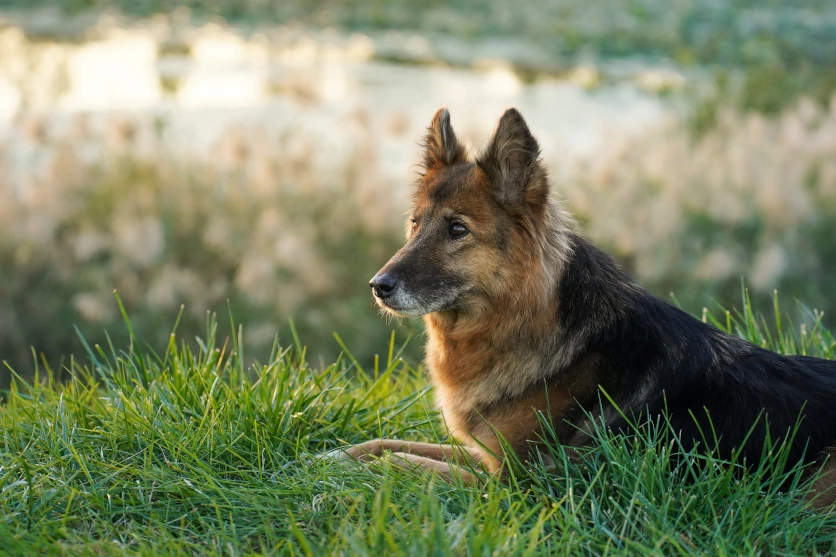
Try backlighting
Backlighting can produce beautiful results outdoors, especially around sunrise or sunset.
However, remember that your pet’s face can become darker when the background is brighter.
Use exposure compensation when necessary, and check the image to make sure your pet’s expression is still visible.
If the sunlight is too harsh, try photographing in open shade or during cloudy conditions.
Cloudy weather can produce softer, more even lighting that is often flattering for pet portraits.
How to Choose a Lens for Pet Photography
There isn’t one lens that is perfect for every pet photography situation.
Instead, think about how and where you normally photograph your pet.
Here are several lens features worth considering.
1. Focal Length
Your choice of focal length affects how close you need to be and how much of the surroundings appear in the frame.
Wide-angle lenses are useful for:
- Environmental portraits
- Indoor photography
- Low-angle shots
- Showing the surroundings
- Dynamic perspectives
Standard zoom lenses are useful for:
- Everyday photography
- Indoor and outdoor shooting
- Portraits
- General-purpose use
Telephoto lenses are useful for:
- Outdoor pets
- Action shots
- Natural expressions
- Photographing from a distance
- Background compression and bokeh
A versatile zoom lens can be particularly useful if you photograph your pet in many different situations.
2. Maximum Aperture
A lens with a large maximum aperture can be useful when photographing pets.
A larger aperture allows more light into the camera, which can help when shooting indoors or in lower-light environments.
It can also create a shallower depth of field and softer background blur.
However, remember that extremely shallow depth of field can make it more difficult to keep the entire face in focus.
3. Autofocus Performance
Pets don’t always cooperate with the photographer.
Fast and accurate autofocus can make it easier to track a moving dog or capture a cat’s expression before it changes.
If your pet is sensitive to sounds, a quiet autofocus system can also be beneficial.
When choosing a lens, look for autofocus performance that complements your camera’s subject-detection and tracking capabilities.
4. Image Stabilization
Image stabilization can help reduce blur caused by camera movement.
This can be particularly useful when:
- Shooting handheld
- Using a telephoto lens
- Photographing in lower light
- Walking around with your pet
- Using slower shutter speeds for relatively still subjects
Keep in mind that image stabilization does not freeze a moving pet. If your pet is running, you still need a sufficiently fast shutter speed.
5. Minimum Focus Distance
Minimum focus distance is another useful specification to consider.
A shorter minimum focus distance allows you to get closer to your subject while maintaining focus.
This can be helpful when photographing small pets or capturing details such as:
- Eyes
- Nose
- Paws
- Fur
- Whiskers
It also gives you more flexibility when shooting indoors, where there may not be much space to move backward.
6. Maximum Magnification Ratio
Maximum magnification tells you how large a subject can appear in the frame when photographed at the lens’s minimum focusing distance.
A higher magnification ratio can be useful when you want to capture close-up details.
For small pets, this can provide another creative way to photograph their expressions, paws, eyes, or other details.
7. Compact and Lightweight Design
Pet photography often requires movement.
You may need to crouch, walk, run, change positions, or move quickly to keep up with your subject.
For this reason, a compact and lightweight lens can make the experience more comfortable.
Portability becomes even more important when you’re taking your pet on a trip or spending an entire day outdoors.
8. Moisture-Resistant Construction
Outdoor pet photography can expose your camera equipment to changing weather, moisture, dust, and other conditions.
A lens with moisture-resistant construction can provide additional protection when shooting outdoors, although it should not be treated as waterproof.
A fluorine coating on the front element can also make it easier to clean fingerprints, dust, or other marks from the glass.
This can be particularly useful with pets because they may occasionally get very close to the front of the lens.
Capture Your Pet’s Personality
The best pet photographs aren’t necessarily the ones with the most complicated camera settings.
They are often the photographs that capture personality.
Pay attention to your pet’s behavior. Learn when they’re playful, relaxed, curious, sleepy, or energetic. Instead of constantly asking them to pose, observe what they naturally do and be ready when an interesting moment happens.
Start by getting down to your pet’s eye level, focus on the eyes, use an appropriate shutter speed, and pay attention to the available light.
Then experiment with different focal lengths, angles, backgrounds, and compositions.
Whether you’re photographing a playful puppy running through a field or a cat relaxing beside a window, a little preparation and patience can help you create photographs that you’ll want to keep for years to come.
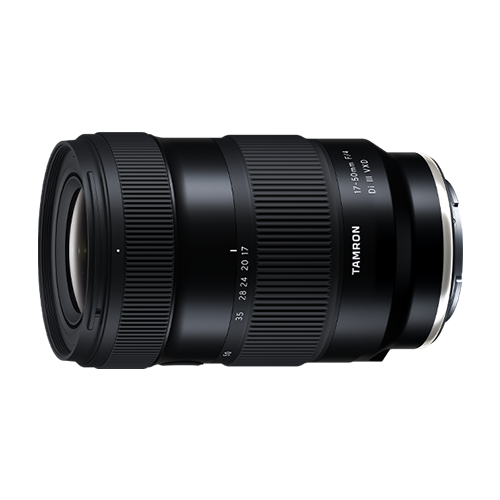
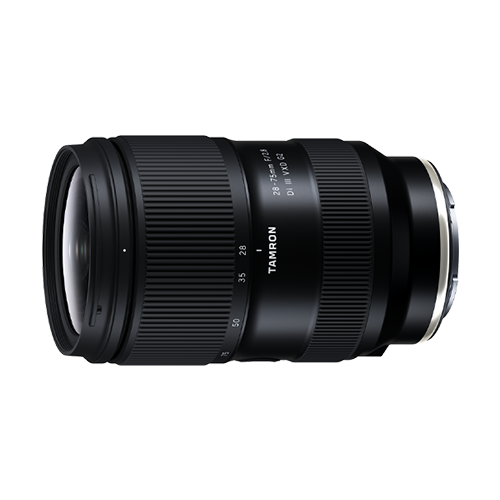
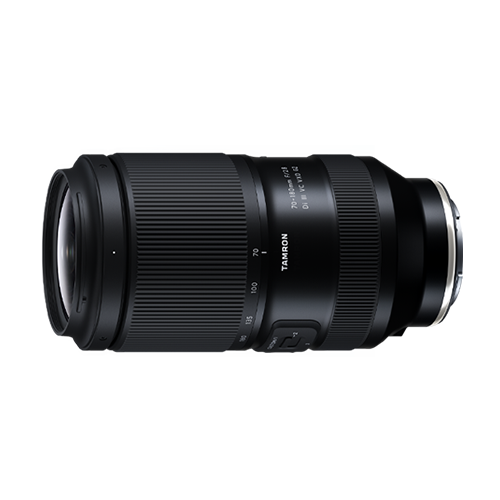
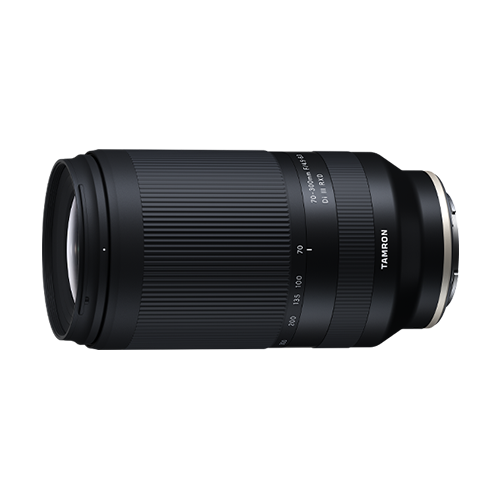
TAMRON products mentioned in this article