What Is Magic Hour Photography? Tips for Beautiful Photos
Some of the most beautiful photographs can be created during a short period around sunrise and sunset, when the quality of natural light changes dramatically. This period is commonly known as the magic hour.
The soft, directional light during this time can transform ordinary landscapes, portraits, city streets, and everyday scenes. Warm golden tones, long shadows, colorful skies, and glowing highlights can add depth and emotion to photographs without requiring complicated lighting equipment.
Magic hour photography is not limited to one particular look, either. Depending on when you shoot, you can capture the warm tones of the golden hour or the cool, atmospheric colors of the blue hour.
In this guide, we’ll explain what magic hour is, how golden hour and blue hour differ, and share practical magic hour photography tips covering preparation, camera settings, composition, backlighting, and different types of scenes.
What Is Magic Hour in Photography?
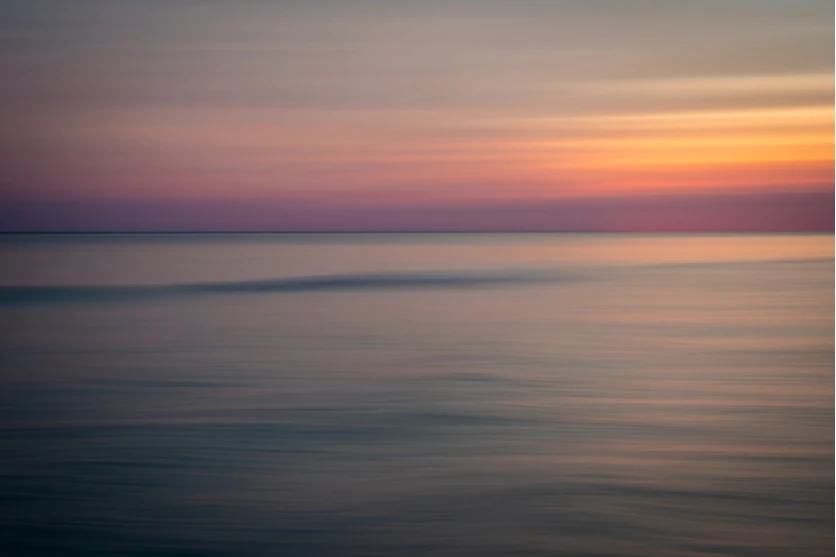
The magic hour refers to the period around sunrise and sunset when the sun is low near the horizon and natural light takes on a softer, more dramatic character.
Rather than producing the harsh overhead light commonly seen around midday, the low position of the sun creates longer shadows, softer illumination, and gradual transitions between light and dark.
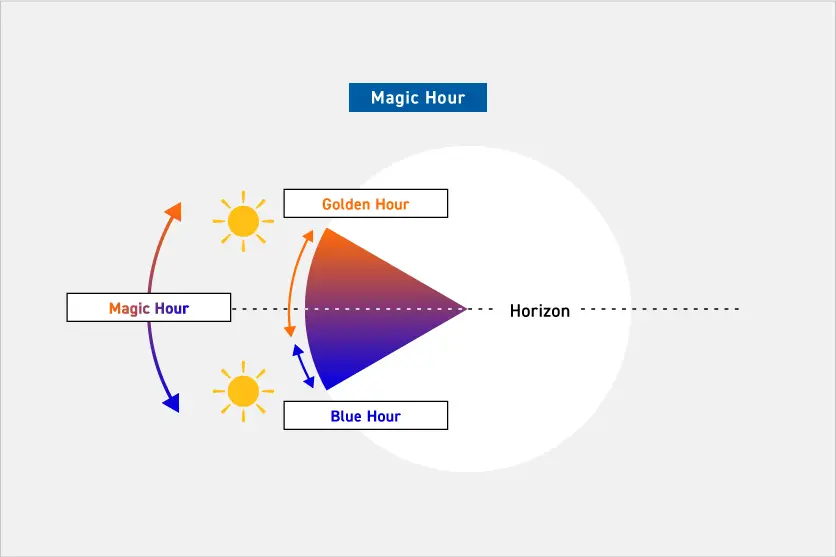
Magic hour is commonly associated with two distinct periods:
- Golden hour, which produces warm, golden light
- Blue hour, which produces cooler blue and purple tones
Both can produce beautiful photographs, but they create very different moods.
The exact duration and appearance of these periods depend on your location, season, weather, and the time of year. For this reason, it’s important to check local sunrise and sunset times rather than assuming that magic hour will always last exactly one hour.
Golden Hour Photography
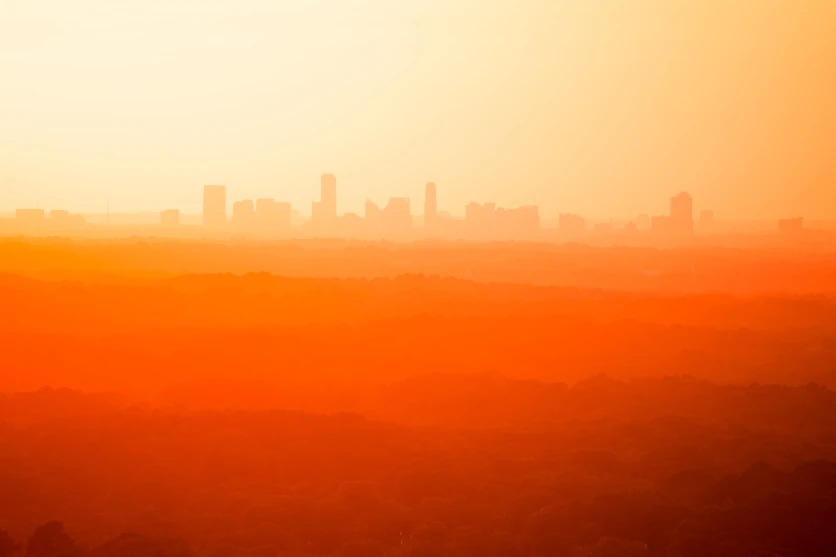
Golden hour occurs around sunrise and sunset, when the sun is low above or near the horizon.
The sunlight travels through more of the Earth’s atmosphere at this low angle. The resulting light is softer and warmer than the direct light of midday.
This creates the familiar golden, orange, and reddish tones associated with sunset photography.
Why Is Golden Hour So Beautiful?
The low angle of the sun creates several characteristics that photographers can use creatively.
Warm colors:
Sunlight takes on a warm golden or orange appearance, adding emotion and atmosphere to photographs.
Soft light:
The light is generally less harsh than midday sunlight, making it particularly flattering for portraits.
Long shadows:
The low sun creates long shadows that can add depth and texture to landscapes, streets, and architectural scenes.
Backlighting:
Placing the sun behind your subject can create glowing edges, silhouettes, and atmospheric flare.
Colorful skies:
Clouds can reflect the warm sunlight, producing dramatic gradients across the sky.
Golden hour is especially effective for portraits, landscapes, travel photography, street photography, and outdoor scenes.
Blue Hour Photography
Blue hour occurs around twilight, shortly before sunrise or after sunset, when the sun is below the horizon and the sky takes on deeper blue and purple tones.
Unlike golden hour, the light during blue hour is cooler and more subdued.
This makes it particularly effective for:
- Cityscapes
- Architecture
- Night landscapes
- Street photography
- Buildings with illuminated windows
- Bridges and landmarks
One of the advantages of blue hour is that the brightness of the sky can be relatively close to the brightness of artificial lights.
This makes it possible to capture a balanced image in which both the sky and illuminated buildings retain useful detail.
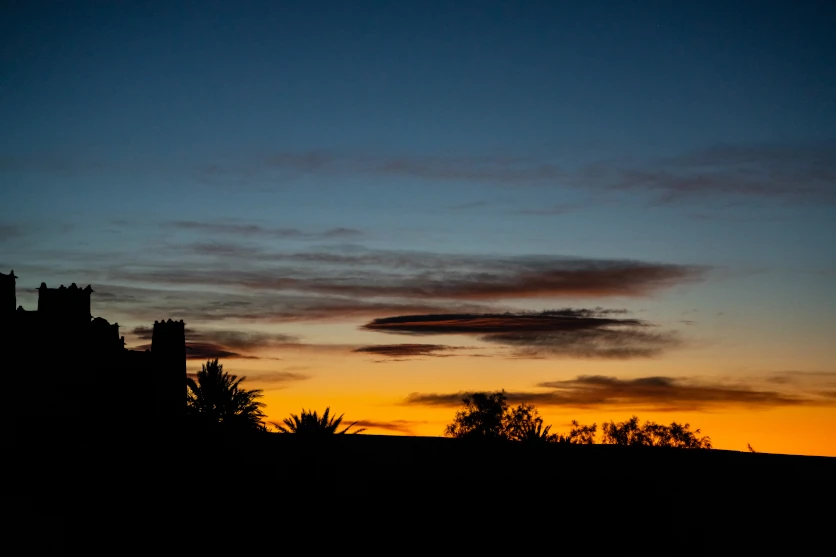
Golden Hour vs. Blue Hour
Although both are part of the magic hour experience, they are useful for different visual styles.
Golden hour: warm, soft, emotional, bright, and energetic.
Blue hour: cool, calm, atmospheric, sophisticated, and mysterious.
Try photographing the same location during both periods. You may be surprised by how dramatically the mood changes even though the composition remains similar.
Prepare Before the Magic Hour Begins
One of the biggest mistakes in magic hour photography is arriving after the best light has already appeared.
The light changes quickly, so preparation is important.
Scout Your Location
If possible, visit the location before your actual shoot.
Look for:
- Interesting foreground elements
- Strong subjects
- Clear views of the horizon
- Buildings or structures that catch the light
- Possible silhouettes
- Reflections
- Leading lines
- Places where you can safely position yourself and your equipment
Think about where the sun will be and how its direction will affect the scene.
Check Sunrise and Sunset Times
Use a reliable weather or sunrise/sunset application to determine when the sun will rise or set at your chosen location.
Remember that the most interesting light doesn’t necessarily occur at the exact moment of sunrise or sunset.
The color and direction of light can change significantly before and after the sun reaches the horizon.
Arriving around 30 minutes to an hour early gives you time to set up and experiment before the light reaches its most dramatic stage. The original article similarly recommends arriving early because the window is limited.
Check the Weather
Clouds can completely change the appearance of magic hour light.
A clear sky can produce a clean gradient, while scattered clouds can catch warm sunlight and create dramatic patterns.
Don’t automatically cancel a shoot because clouds are present. Some of the most interesting sunset photographs happen when clouds interact with the low-angle sunlight.
Recommended Camera Settings for Magic Hour Photography
There is no single set of camera settings that works for every magic hour photograph. The available light changes rapidly, so treat these settings as starting points rather than fixed rules.
Use Aperture Priority or Manual Mode
If you’re still learning, Aperture Priority can be a convenient way to control depth of field while allowing the camera to adjust shutter speed.
For greater control, especially when the light changes quickly, use Manual mode and adjust aperture, shutter speed, and ISO together.
Choose the Aperture Based on Your Subject
For landscapes where you want a large portion of the scene to remain sharp, try starting around F8 to F11.
For portraits or subjects where you want stronger background separation, a wider aperture such as F2.8 to F4 can produce attractive bokeh.
However, don’t choose an aperture simply because it is considered a “magic hour setting.” Your subject and desired depth of field should determine the aperture.
Choose an Appropriate Shutter Speed
For handheld photography, a shutter speed around 1/125 second or faster can be a useful starting point when your subject is relatively still.
If your subject is moving, you may need a faster shutter speed.
When using a tripod for a stationary landscape or cityscape, you can use a much slower shutter speed—even several seconds—to capture more light.
The original article recommends adjusting shutter speed according to whether you’re shooting handheld or using a tripod.
Adjust ISO as Light Changes
Keep ISO as low as practical when light is sufficient.
Starting around ISO 100–400 can help preserve image quality, but don’t be afraid to increase ISO as the light fades.
During blue hour, ISO 800, 1600, or higher may be necessary depending on your aperture and shutter speed.
A slightly higher ISO is often preferable to a shutter speed that is too slow for handheld shooting.
Use Exposure Compensation
Magic hour scenes can contain significant differences between bright skies and darker subjects.
If a person’s face is too dark during a backlit portrait, try positive exposure compensation.
If you’re deliberately creating a silhouette, negative exposure compensation can help preserve the darker shape of the subject while retaining the brighter sky.
The goal isn’t always to make everything evenly exposed. Sometimes allowing parts of the scene to fall into shadow creates a stronger photograph.
Adjust White Balance for Different Looks
White balance can change the perceived color of magic hour photographs.
Auto White Balance can be a good starting point when you want natural-looking colors.
For warmer golden-hour photographs, a Cloudy white-balance setting can emphasize warm tones.
For blue-hour photography, experimenting with a cooler white-balance setting can strengthen the blue atmosphere.
If you’re shooting RAW, you can make more precise white-balance adjustments during post-processing without permanently committing to the camera’s initial setting.
Use Backlighting to Create a Glow
Backlighting is one of the most effective techniques for magic hour photography.
Place the sun behind your subject so that light comes toward the camera.
During golden hour, this can create a warm glow around hair, leaves, buildings, and other edges.
For portraits, backlighting can create a soft rim of light around the subject and produce a dreamy atmosphere.
Be careful with exposure. Because the bright sky is behind the subject, the camera may render the subject too dark.
You can either embrace this and create a silhouette or use exposure compensation or fill light to retain detail.
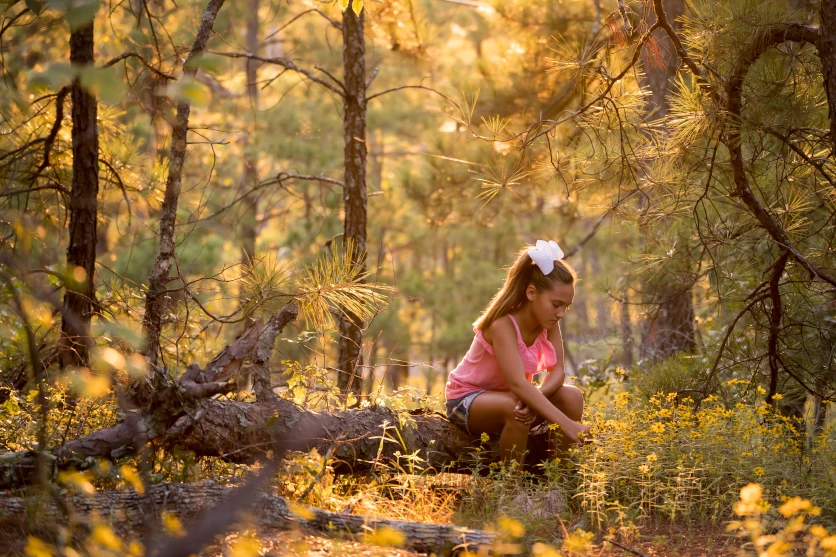
Try Silhouettes
Silhouettes are particularly effective during sunrise and sunset.
Look for subjects with recognizable outlines, such as:
- People
- Trees
- Buildings
- Mountains
- Vehicles
- Bridges
Expose primarily for the brighter sky and allow the foreground subject to become darker.
Simple silhouettes often work better than complicated ones because the viewer can immediately recognize the shape.
Composition Techniques for Magic Hour Photography
Beautiful light is only part of a successful photograph. Composition determines how that light interacts with your subject.
Rule of Thirds
The rule of thirds can help you balance the sky and foreground.
For a dramatic sunset with an interesting sky, place the horizon closer to the lower third of the frame.
If the foreground contains the strongest subject, place the horizon higher and give the foreground more visual importance.
Avoid automatically placing the horizon in the center unless a symmetrical composition is intentional.
Diagonal Composition
Diagonal lines can create movement and guide the viewer through the image.
Look for:
- Roads
- Buildings
- Shadows
- Fences
- Bridges
- Tree branches
- Reflections
The low-angle light of magic hour can make these lines particularly noticeable because of the long shadows they produce.
Central Composition
Central composition can work particularly well for strong, simple subjects.
A setting sun, silhouette, building, or person can be placed in the center of the frame to create a direct and powerful composition.
Because the composition is simple, pay close attention to the subject’s shape and the surrounding negative space.
Use Foreground Elements
Foreground objects can add depth to landscapes and sunset photographs.
Rocks, plants, trees, buildings, people, or other objects can create multiple layers within the frame.
Try combining:
foreground → subject → background → sky
This creates a greater sense of depth than photographing a flat scene with nothing between the camera and the horizon.
Magic Hour Photography Tips for Different Subjects
The same beautiful light can be used in many different types of photography.
Portrait Photography
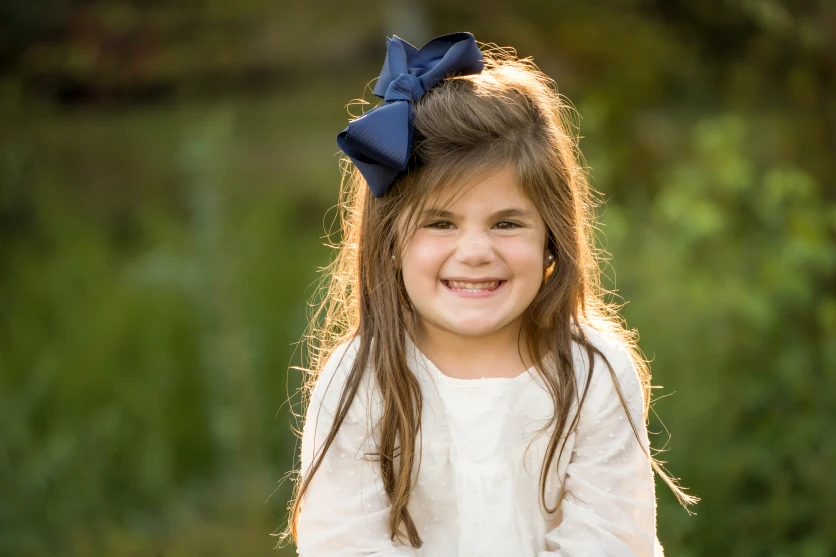
Golden hour is particularly popular for portraits because the warm, directional light can produce flattering results.
Try positioning your subject with the sun behind them to create a glowing rim around their hair and shoulders.
A wide aperture such as F2.8 or F4 can soften the background and produce attractive bokeh.
If the subject’s face becomes too dark, use exposure compensation or fill light.
You can also position the subject so that the sun is slightly to one side, producing more dimensional side lighting.
Landscape Photography
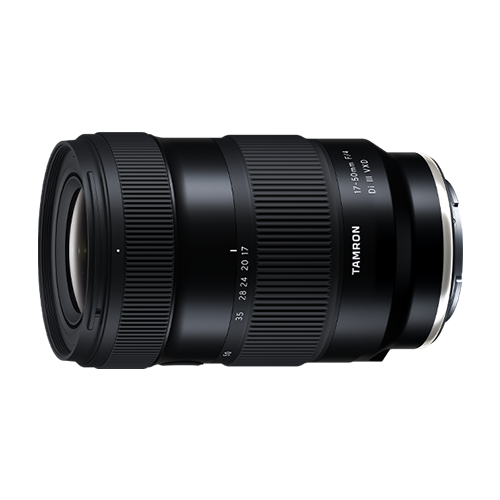
Wide-angle lenses are particularly useful for capturing expansive landscapes during magic hour.
Include both the colorful sky and foreground to create depth.
Rather than simply photographing the sunset itself, look for foreground subjects that give the viewer a sense of place.
Rocks, trees, buildings, roads, and bodies of water can all become strong compositional elements.
A tripod can be particularly useful as the light becomes darker.
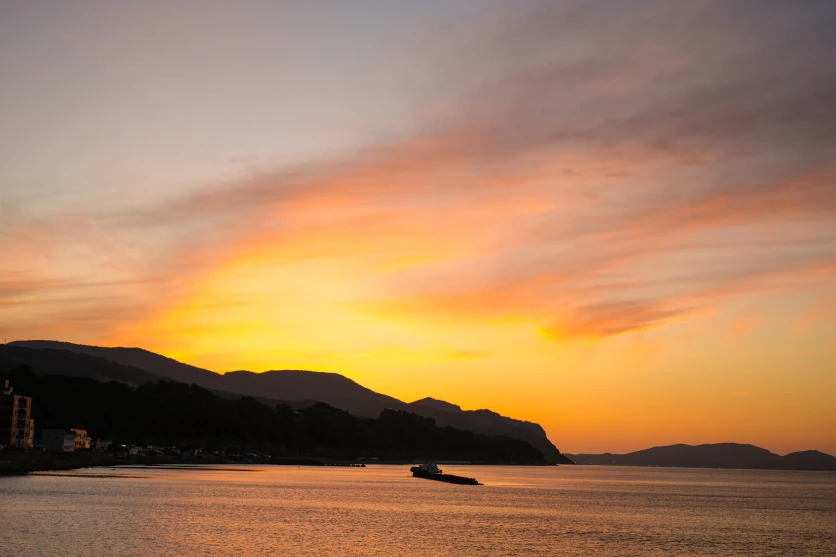
Sunset Photography
When photographing a sunset, don’t stop shooting immediately after the sun disappears.
The sky can continue changing color after sunset, sometimes producing beautiful gradients that are more subtle than the light before sunset.
Try different focal lengths and compositions as the light changes.
A telephoto lens can compress the appearance of the sun against distant subjects, while a wide-angle lens can capture the entire landscape and sky.
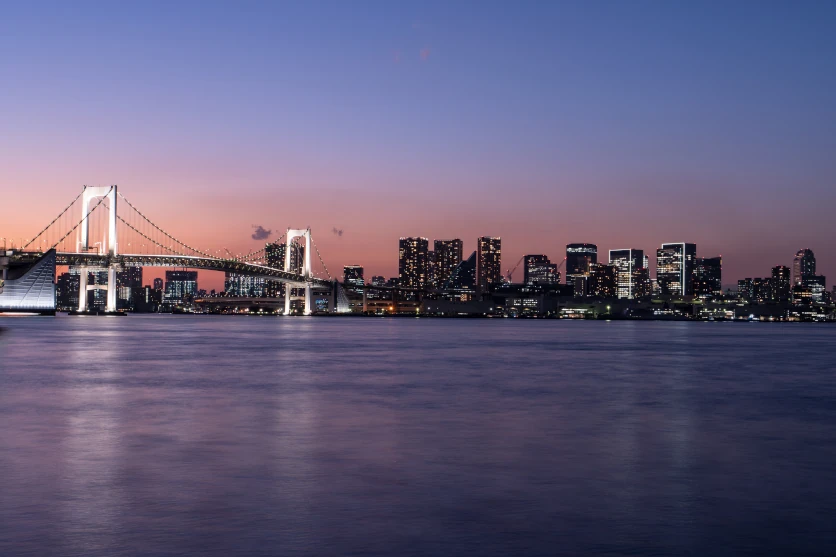
Cityscapes and Nightscapes
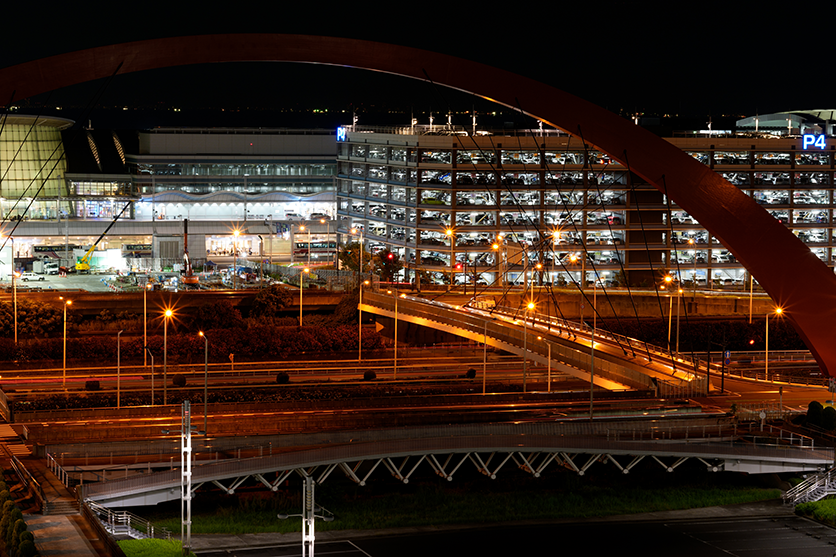
Blue hour is particularly effective for city photography.
The remaining natural light in the sky can balance the brightness of streetlights, buildings, and signs.
A tripod allows you to use slower shutter speeds and keep the camera steady.
You can also experiment with moving vehicles to capture light trails.
Try including reflections from water, glass, or wet streets to add another layer of visual interest.
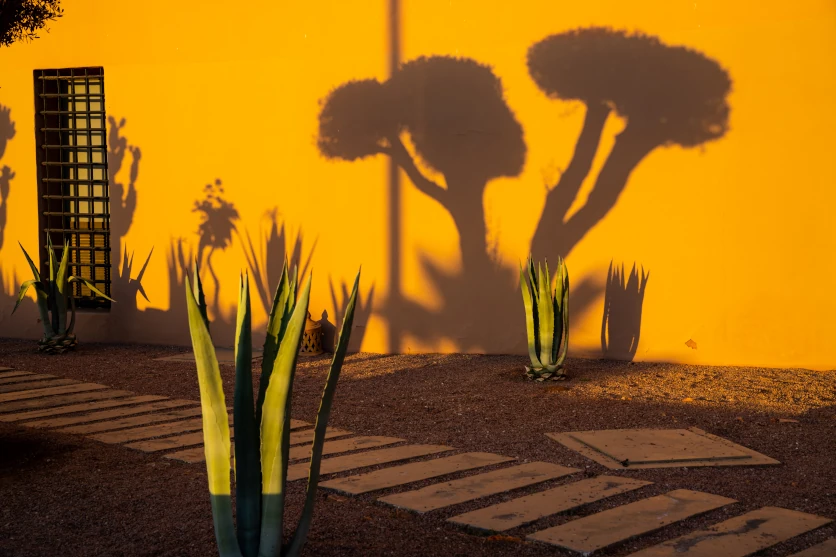
Street Photography
Magic hour can transform ordinary streets.
Low-angle sunlight creates long shadows and strong patterns, while warm or cool colors can change the atmosphere of familiar locations.
Look for people walking through shafts of light, silhouettes against the sunset, reflections, and interesting interactions between natural and artificial light.
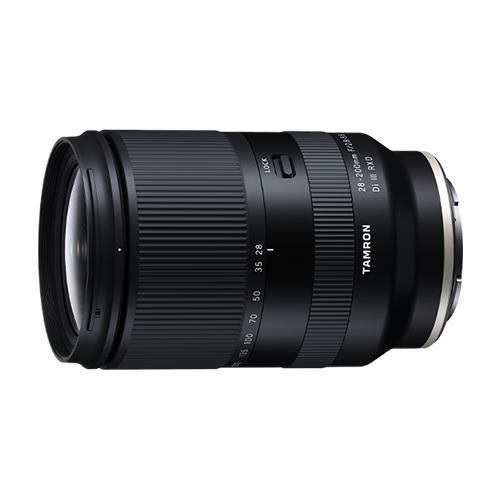
A standard zoom can be particularly useful because you can quickly adjust your framing without changing lenses.
Choosing a Lens for Magic Hour Photography
The best lens for magic hour depends on the subject and the type of photograph you want to create.
Wide-Angle Lenses
Wide-angle lenses are excellent for landscapes and expansive sunset scenes.
They allow you to include more of the sky and foreground, making it easier to create layered compositions.
Standard Lenses
Standard focal lengths provide a natural perspective and are useful for street photography, portraits, travel, and everyday scenes.
They are a versatile choice when you don’t know exactly what you’ll encounter during a shoot.
Telephoto Lenses
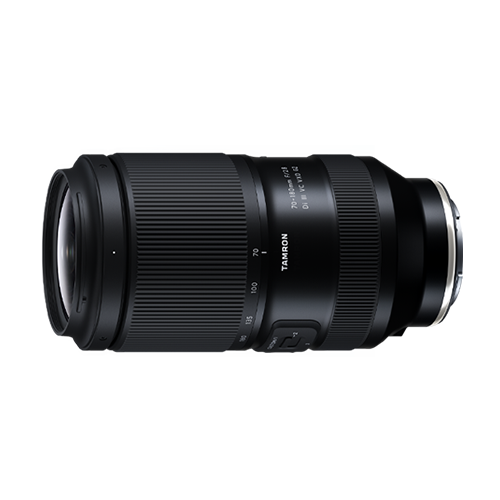
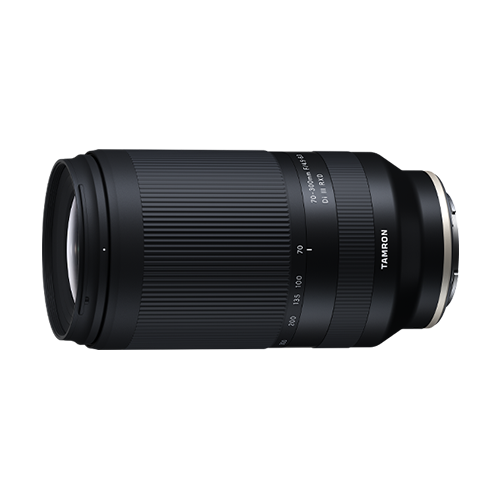
Telephoto lenses allow you to isolate distant subjects and compress the appearance of the scene.
They are particularly useful for photographing the sun near the horizon, distant buildings, vehicles, wildlife, and portraits.
Longer focal lengths can also produce attractive background compression and bokeh.
Wide-Aperture Lenses
A lens with a wide maximum aperture such as F2.8 can be useful as light levels decrease.
A wide aperture lets more light reach the sensor and can also produce shallow depth of field and attractive background blur.
Image Stabilization
Image stabilization can be helpful when shooting handheld in fading light.
As the available light decreases, you may need to use slower shutter speeds. Stabilization can help reduce camera shake and improve the chances of getting a sharp image.
It does not, however, freeze subject movement. If your subject is moving, shutter speed still needs to be fast enough to capture that movement.
Autofocus Performance
Autofocus becomes increasingly important as light levels fall.
A lens with fast and accurate autofocus can make it easier to capture moving subjects during the short magic hour window.
This is especially useful for street photography, portraits, vehicles, and other subjects that cannot be carefully posed.
Plan for Changing Light
One of the defining characteristics of magic hour photography is that the light is constantly changing.
A scene can look completely different every few minutes.
Instead of staying with one composition for the entire shoot, move around and experiment.
Try:
- Changing your focal length
- Moving closer or farther away
- Shooting toward and away from the sun
- Changing your camera angle
- Photographing both horizontal and vertical compositions
- Switching between silhouettes and exposed subjects
- Capturing both golden-hour and blue-hour scenes
This gives you a much better chance of finding a photograph that truly takes advantage of the changing light.
Capture the Magic Hour Before It Disappears
Magic hour gives photographers a relatively short window in which natural light becomes soft, colorful, and highly expressive.
Golden hour can create warm and emotional images, while blue hour can transform the same location into something cooler and more atmospheric.
The key is preparation. Scout your location, check sunrise and sunset times, arrive early, and decide what type of image you want before the best light arrives.
Then experiment with exposure, backlighting, silhouettes, composition, and different focal lengths as the light changes.
You don’t need complicated equipment to get started. What matters most is understanding how the direction, color, and intensity of light affect your subject.
Once you learn to recognize the opportunities presented by magic hour, even familiar locations can take on an entirely new appearance.
Final Thoughts
Magic hour photography is less about a specific camera setting and more about learning to recognize and use changing natural light.
Golden hour gives you warm tones, long shadows, and glowing highlights. Blue hour offers cooler colors and an excellent balance between ambient and artificial light.
Prepare before the light arrives, experiment with your exposure and composition, and don’t be afraid to photograph the same scene in different ways.
Whether you’re shooting landscapes, portraits, city streets, vehicles, or everyday subjects, magic hour can turn ordinary scenes into photographs with greater depth, color, and emotion.
The more you practice, the better you’ll become at anticipating those brief moments when the light is at its most beautiful.
TAMRON products mentioned in this article