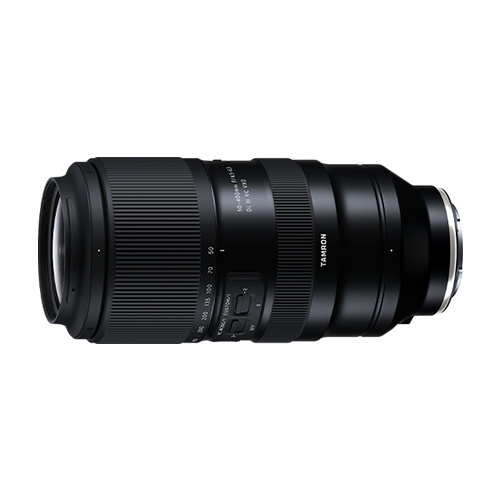
Moon Photography: How to Capture the Moon Beautifully
The moon is one of the most fascinating subjects in night photography.
It is familiar, yet every phase can create a completely different scene. A bright full moon can dominate the night sky, while a crescent moon can appear delicate against the blue tones of twilight. When combined with mountains, buildings, trees, or cityscapes, the moon can become an important part of a much larger composition.
However, photographing the moon can be surprisingly challenging.
You may find that the moon looks much smaller in your photograph than it did to your eyes, or that its surface appears completely white with no visible detail. Camera shake and inaccurate focus can also make the moon appear soft.
Fortunately, you don’t need an extremely complicated setup to get started.
With the right lens, appropriate moon photography settings, careful focusing, and some planning, you can capture detailed and visually interesting images of the moon.
In this guide, we’ll explain how to photograph the moon, from choosing your equipment and setting exposure to planning the moon’s position and incorporating it into a larger composition.
Can You Photograph the Moon with a Smartphone?
Modern smartphones have become remarkably capable, and computational photography can produce impressive results in many situations.
However, photographing the moon presents a particular challenge.
The moon is relatively small in the sky but extremely bright compared with the surrounding night sky.
Smartphone cameras generally have limited optical telephoto capability compared with interchangeable-lens cameras.
As a result, the moon may appear very small in the final image, and heavy digital enlargement can reduce fine detail.
If your goal is to clearly show the moon’s surface and craters, an interchangeable-lens camera paired with a telephoto lens provides much greater flexibility.
This doesn’t mean a smartphone cannot photograph the moon.
It simply means that a dedicated camera and suitable lens give you considerably more control over magnification, exposure, focus, and image quality.
What Equipment Do You Need for Moon Photography?
You can begin with relatively simple equipment, but a few items can make a significant difference.
The most useful equipment includes:
- Interchangeable-lens camera
- Telephoto or ultra-telephoto lens
- Tripod
- Remote shutter release or self-timer
- Spare battery
- Memory card
You don’t necessarily need every item for every type of moon photograph.
For example, handheld shooting is possible with a stabilized telephoto lens when using a sufficiently fast shutter speed.
A tripod becomes particularly useful when you want maximum stability, longer exposures, or precise compositions.
Choose a Telephoto Lens
The most important piece of equipment for detailed moon photography is the lens.
Because the moon is so far away, a longer focal length makes it easier to fill more of the frame with the moon.
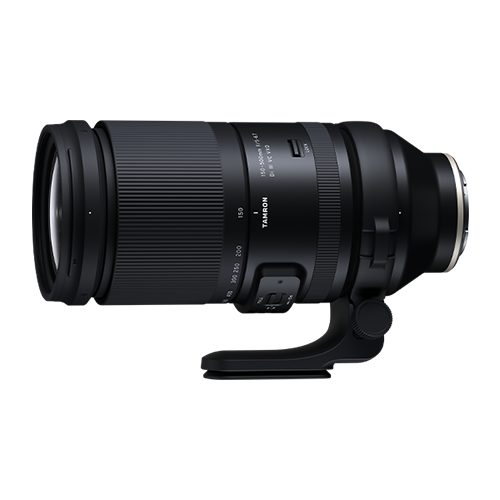
A telephoto lens in the 200mm to 300mm range can capture recognizable lunar detail, while longer focal lengths can provide significantly greater magnification.
Ultra-telephoto lenses can reveal more of the moon’s surface, including craters and subtle variations in tone.
However, there is an important point to remember:
You don’t necessarily need the moon to fill the entire frame.
If the moon occupies only part of the image, you can crop the photograph afterward.
A high-resolution image captured with a good telephoto lens can retain enough detail for a substantial crop.
This gives you considerably more flexibility when you’re starting out.
Use a Teleconverter When Appropriate
A teleconverter can increase the effective focal length of a compatible lens.
For example, attaching a compatible teleconverter to a telephoto lens can provide additional magnification without requiring an entirely different lens.
However, teleconverters are not universally compatible.
They can also reduce the maximum aperture and may affect autofocus performance.
Before using one, check compatibility between your camera, lens, and teleconverter.
For beginners, a native telephoto lens may be the simpler option.
Use a Tripod for Maximum Stability
Camera shake is one of the most common causes of soft images.
This becomes particularly noticeable with long focal lengths.
A tripod provides a stable platform and makes it easier to carefully compose the moon.
It is especially useful when photographing:
- Crescent moons
- Moon landscapes
- Moon and star scenes
- Hazy moons
- Long exposures
- Multiple-image compositions
If you don’t have a tripod, use a stable surface whenever possible.
A remote shutter release or the camera’s self-timer can also reduce vibration caused by pressing the shutter button.
Recommended Camera Settings for Moon Photography
One of the most important parts of learning how to photograph the moon is understanding exposure.
The moon may be surrounded by darkness, but its surface is actually receiving direct sunlight.
This means the moon can be much brighter than you might expect.
If you allow the camera to expose for the dark sky, the moon can easily become a featureless white circle.
Manual exposure gives you greater control.
Shooting Mode
Manual mode is a good starting point because it allows you to independently control:
- Aperture
- Shutter speed
- ISO
This prevents the camera from making large exposure adjustments based on the surrounding darkness.
If you’re not comfortable with manual mode yet, don’t worry.
Use the settings below as starting points and adjust them while reviewing your photographs.
Aperture
For a bright full moon, you generally don’t need to use the widest aperture available.
Starting around F8 to F11 can provide a useful balance between sharpness and exposure.
Stopping down can also help reveal surface detail.
However, avoid automatically using an extremely narrow aperture.
A very small aperture may require a slower shutter speed, increasing the possibility of blur caused by the moon’s movement and camera shake.
For crescent or half-moon photography, you may need to open the aperture somewhat to compensate for the reduced brightness.
Shutter Speed
The moon may appear stationary to the naked eye, but it is constantly moving relative to the Earth.
The Earth’s rotation also means that the moon’s position changes during an exposure.
With a long focal length, even small movements can become visible.
As a starting point, try a shutter speed around:
1/200 to 1/400 second
If you’re shooting handheld, you may need a faster shutter speed such as 1/500 or 1/800 second.
The exact setting depends on your focal length, camera, lens stabilization, moon phase, and atmospheric conditions.
If the moon appears blurred, try increasing the shutter speed.
ISO
Start with a relatively low ISO.
For a bright full moon, ISO 100-200 is often a good starting point.
A low ISO helps minimize noise and preserve fine detail.
For a crescent moon or other darker scenes, you may need to increase ISO to ISO 400, 800, or higher.
Don’t be afraid to adjust ISO if the scene requires it.
The goal is to maintain enough shutter speed to keep the moon sharp while preserving useful detail.
A Simple Starting Point for Full Moon Photography
For a clear full moon, try starting with:
- Aperture: F8-F10
- Shutter speed: 1/100-1/400 sec
- ISO: 100-200
- Focus: Manual or carefully controlled autofocus
Then take a test photograph.
If the moon is too bright and lacks surface detail, increase the shutter speed.
If it is too dark, slow the shutter speed slightly or increase ISO.
The settings are only a starting point.
The brightness of the moon, atmospheric conditions, camera sensor, lens, and desired composition will all affect the final exposure.
Focus Carefully
Accurate focus is extremely important in moon photography.
The moon is a distant subject, and the combination of long focal lengths and fine surface detail makes focusing errors easy to notice.
Autofocus can work well when the moon is bright and clearly visible.
However, manual focus can provide more consistency once you have established the correct focus point.
One useful approach is to magnify the live-view image and carefully focus on the moon’s surface.
Avoid assuming that simply turning the focus ring all the way to infinity will always produce the sharpest possible result.
Check the image at high magnification and fine-tune the focus.
Check Your Images at 100%
The moon may look sharp on the camera’s rear screen but reveal softness when viewed at full resolution.
After taking a test image, zoom in and inspect:
- Moon edges
- Craters
- Surface patterns
- Fine details
If these areas appear soft, check your focus and shutter speed.
This is particularly important when using a long telephoto lens.
Don’t Worry If the Moon Looks Small
A common beginner mistake is assuming that the moon needs to fill the entire frame.
It doesn’t.
If you’re using a 200mm or 300mm lens, the moon may still appear relatively small depending on the camera’s sensor and your composition.
That’s completely normal.
A high-quality photograph can be cropped afterward.
Cropping allows you to enlarge the moon while retaining a strong composition.
However, there are limits.
If you crop an extremely small moon from a low-resolution image, fine details may disappear.
This is one reason why a longer focal length and good optical quality can be valuable.
Plan the Moon Before You Shoot
Great moon photographs often begin before you take the camera outside.
The moon’s position changes from day to day.
Its phase, altitude, direction, and rising and setting times also change.
Planning these details allows you to anticipate where the moon will appear.
Useful information includes:
- Moon phase
- Moonrise time
- Moonset time
- Direction
- Altitude
- Weather
- Cloud coverage
There are many astronomy and moon-tracking apps that can help you plan.
The goal is to know where the moon will be and when it will be there.
Choose Your Location Carefully
Your shooting location depends on the type of moon photograph you want.
If your goal is simply to capture a detailed full moon, you mainly need a clear view of the sky.
However, if you want to photograph the moon together with a building, mountain, tree, bridge, or cityscape, location becomes much more important.
Scout the location ahead of time.
Check:
- Where the moon will rise
- Where the moon will set
- The surrounding buildings
- Foreground objects
- Available viewpoints
- Possible obstructions
Online maps and planning applications can help you identify suitable locations before you arrive.
Think Beyond a Moon-Filling Frame
A large, detailed moon photograph can be impressive.
But don’t limit yourself to photographing the moon by itself.
Some of the most memorable moon photographs combine it with another subject.
Try including:
- Mountains
- Buildings
- Trees
- Bridges
- Water
- City skylines
- People
- Clouds
- Stars
This creates a stronger sense of place and scale.
The moon becomes part of a larger story rather than simply being the subject.
Photographing the Full Moon
The full moon is bright and highly visible, making it one of the easiest phases to recognize.
It is also one of the most challenging to expose correctly because its surface can easily become overexposed.
Start with:
- F8-F10
- 1/100-1/400 sec
- ISO 100-200
Then adjust based on your test images.
If the moon appears as a featureless white circle, increase the shutter speed.
The goal is to preserve the subtle variations in brightness across the lunar surface.
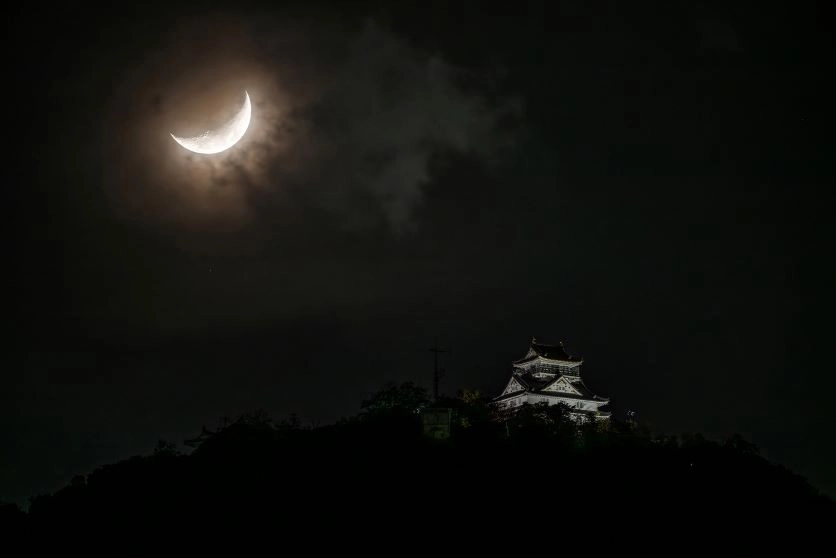
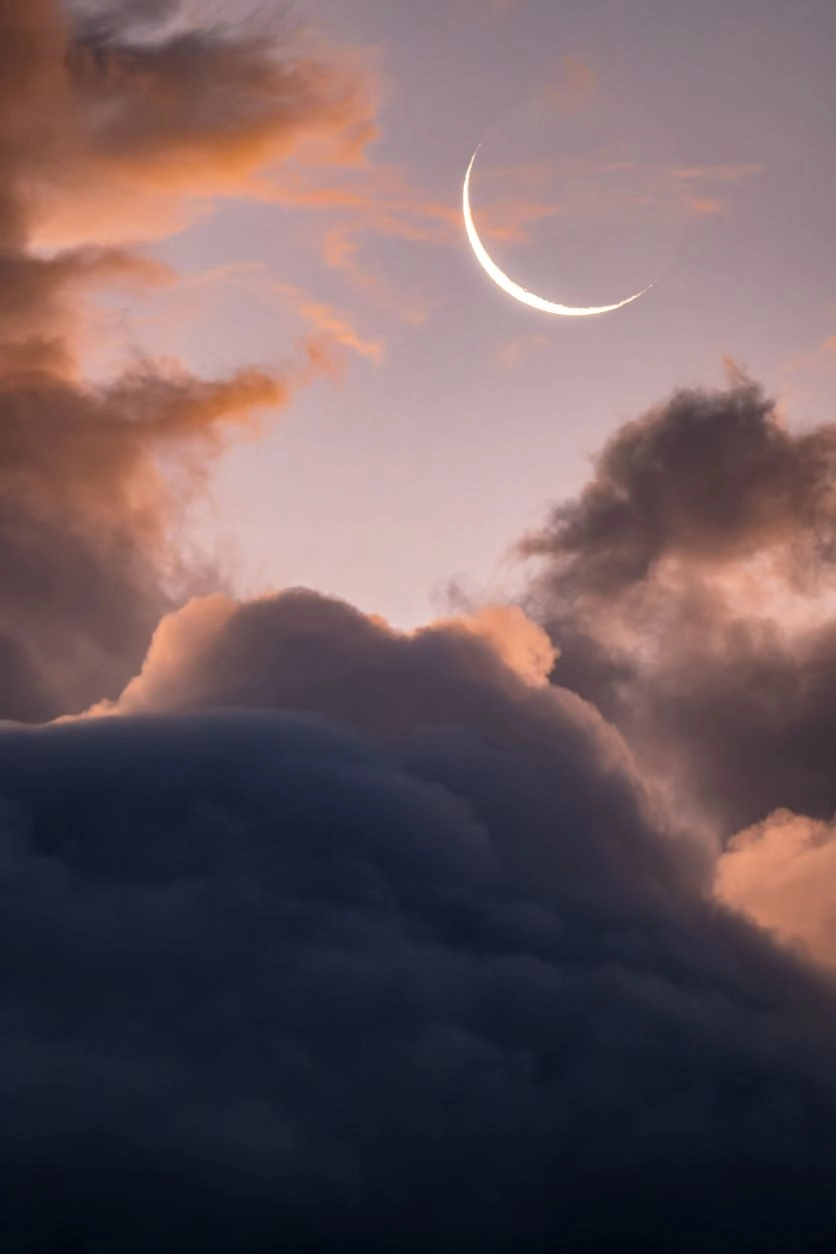
Photographing a Crescent Moon
A crescent moon presents a completely different challenge.
There is less illuminated surface area, and the surrounding sky can still be relatively bright or dark depending on the time of day.
A slightly wider aperture can help gather additional light.
Try starting around:
- F4-F6
- 1/100-1/400 sec
- ISO 100-400
If the moon is still too dark, increase ISO or slow the shutter speed carefully.
Because the crescent is thinner, the surrounding sky becomes more important to the composition.
Photographing a Half Moon
A half moon can be particularly interesting because the boundary between light and shadow reveals surface relief.
This transition line is called the terminator.
The angled light along the terminator can make craters and lunar surface features appear more prominent.
Try photographing the moon at different phases rather than only during a full moon.
You may find that partially illuminated phases produce more visible texture.
Photographing the Moon with Buildings and Landscapes
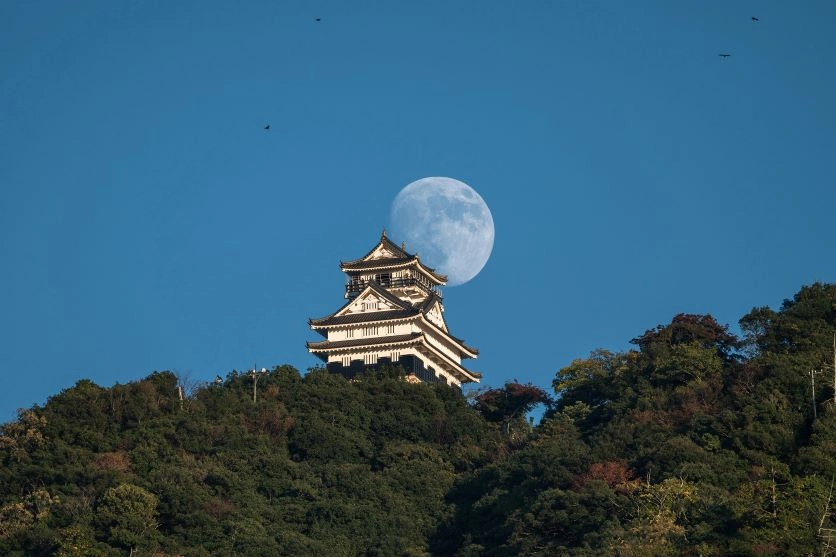
Combining the moon with a recognizable foreground subject can create a powerful composition.
For example:
- A moon behind a skyscraper
- A moon above a mountain
- A moon between buildings
- A moon above a tree line
- A moon reflected in water
The key is balancing the brightness of the moon with the surrounding environment.
This is difficult because the moon is significantly brighter than most nighttime subjects.
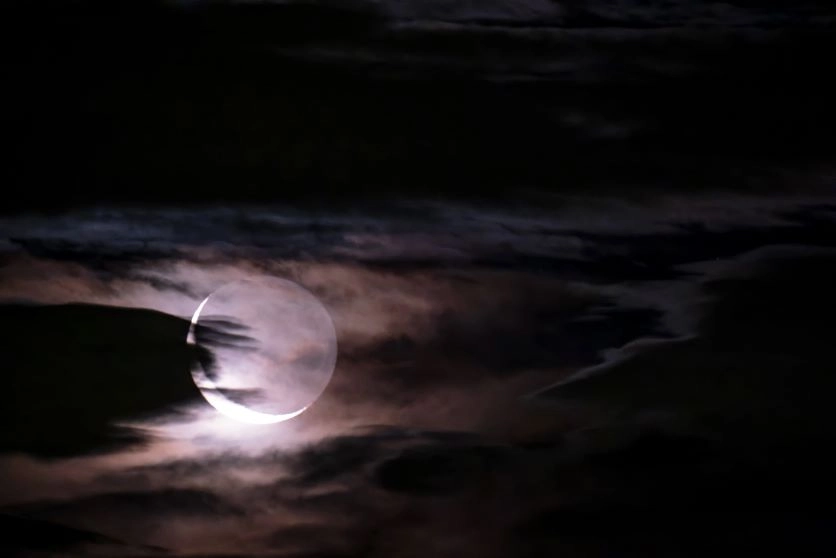
Photographing a Hazy Moon
Clouds don’t always have to ruin a moon photography session.
Thin clouds can create an atmospheric effect around the moon.
This can produce a soft, glowing appearance.
A hazy moon can look particularly interesting when:
- Clouds are thin
- The moon is partially obscured
- The sky contains subtle color
- The surrounding landscape remains visible
For a softer effect, you may experiment with a slightly slower shutter speed and wider aperture.
Be careful with longer exposures, however, because both the moon and clouds are moving.
Choosing a Lens for Moon Photography
Lens choice has a major influence on the type of moon photograph you can create.
Consider these factors:
- Focal length
- Maximum aperture
- Image stabilization
- Autofocus
- Size and weight
- Optical quality
Focal Length
Longer focal lengths make the moon appear larger in the frame.
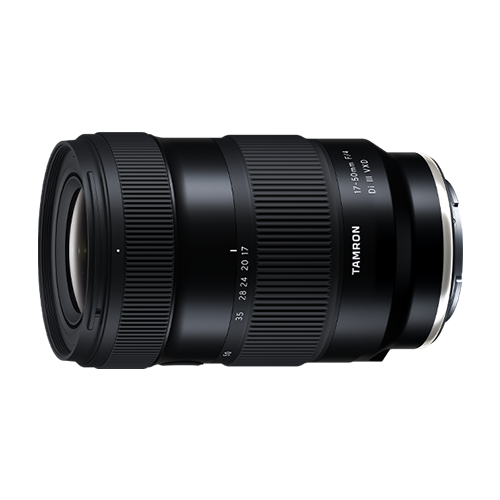
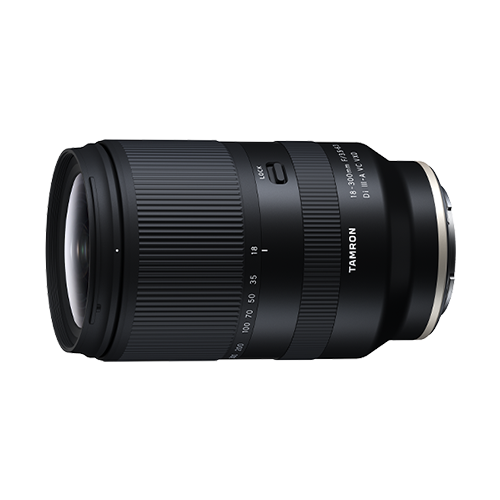
For detailed lunar images, telephoto and ultra-telephoto lenses are particularly useful.
A 300mm lens can capture significantly more lunar detail than a standard lens.
Longer focal lengths provide even greater magnification but can also increase the challenges associated with camera shake and precise focusing.
Maximum Aperture
A wider maximum aperture can be useful when photographing:
- Crescent moons
- Moon and landscape scenes
- Moon and stars
- Low-light environments
However, the moon itself is bright, so you don’t always need a very wide aperture for detailed lunar photography.
In many situations, stopping down somewhat can provide excellent sharpness.
Image Stabilization
Image stabilization can be valuable when photographing handheld.
This is particularly useful with long focal lengths.
TAMRON’s VC mechanism, available on applicable lenses, can help reduce the effects of camera shake when shooting handheld.
However, stabilization doesn’t eliminate the need for good technique.
Use an appropriate shutter speed and support the camera properly.
Autofocus
Autofocus performance can be helpful when tracking the moon or quickly changing your composition.
A fast and accurate AF system can make it easier to acquire focus.
However, manual focus is also a valuable technique for moon photography.
Once you’ve established accurate focus, you may prefer to maintain it rather than allowing the camera to refocus between frames.
Common Moon Photography Mistakes
The Moon Is Completely White
This usually means the exposure is too bright.
Try a faster shutter speed, lower ISO, or narrower aperture.
The Moon Is Too Small
Use a longer focal length or crop the image afterward.
If you want a large moon in the frame, a telephoto lens is the simplest solution.
The Moon Is Blurry
Check your:
- Shutter speed
- Focus
- Camera stability
- Tripod
- Image stabilization
A faster shutter speed is often the easiest first adjustment.
The Moon Has No Surface Detail
Reduce exposure.
The moon’s surface contains subtle variations in brightness that disappear when highlights are clipped.
The Landscape Is Completely Black
If you’re trying to photograph the moon together with a landscape, the difference in brightness may be too large.
Try shooting during moonrise, moonset, or blue hour.
You can also experiment with exposure blending during post-processing if appropriate.
A Simple Moon Photography Workflow
If you’re photographing the moon for the first time, follow this basic process.
Step 1: Check the Moon Phase
Decide whether you want a full moon, half moon, crescent, or another phase.
Step 2: Check Moonrise and Moonset
Find out when and where the moon will appear.
Step 3: Scout Your Location
If you’re including a landscape or building, determine where you need to stand.
Step 4: Choose Your Lens
Use a telephoto lens for detailed moon images.
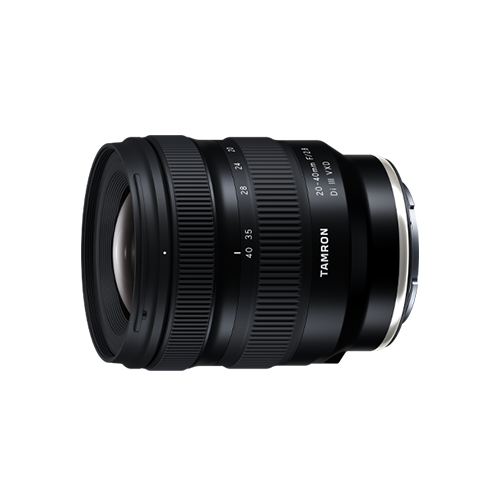
Use a wider lens if the surrounding environment is part of the composition.
Step 5: Stabilize Your Camera
Use a tripod when practical.
Step 6: Start with Manual Exposure
Try:
- F8
- 1/200 sec
- ISO 100
Then adjust based on your results.
Step 7: Focus Carefully
Magnify the moon using live view and check focus.
Step 8: Take Several Images
Change shutter speed and composition slightly.
Don’t rely on a single exposure.
Step 9: Review at Full Magnification
Check the moon’s surface detail and edges.
Step 10: Crop and Edit
A moderate crop can make the moon appear much larger.
Adjust contrast, highlights, shadows, and white balance to achieve the desired appearance.
Experiment with White Balance
The moon doesn’t always have to look neutral white.
Atmospheric conditions, moon altitude, and surrounding light can influence its apparent color.
You can experiment with white balance to create different moods.
A warmer setting can produce a golden appearance.
A cooler setting can create a blue-toned night atmosphere.
If you’re photographing RAW files, you can make these adjustments later without permanently changing the original image.
Photograph More Than One Moon Phase
Don’t limit yourself to full moon photography.
Each phase has different visual characteristics.
Full Moon
Bright and highly detailed.
Half Moon
The terminator creates strong shadows across the lunar surface.
Crescent Moon
Delicate and atmospheric, especially during blue hour.
Moonrise
Excellent for combining the moon with landscapes.
Moonset
Useful for incorporating the moon into a brighter environment.
Hazy Moon
Clouds can create a soft and atmospheric appearance.
The best phase depends on the story you want the photograph to tell.
Final Thoughts
Moon photography combines preparation, exposure control, lens selection, and composition.
The most important thing is not simply having the longest lens.
It’s understanding what kind of photograph you want to create.
If you want to capture lunar craters and surface details, use a telephoto lens, fast enough shutter speed, low ISO, and careful focus.
If you want to photograph the moon together with mountains, buildings, or landscapes, think more about location, timing, and composition.
And if the moon looks too small in your first photographs, don’t worry.
Move farther away from your foreground subject, try a longer focal length, or crop the image afterward.
Most importantly, experiment.
Photograph different moon phases.
Try different exposure settings.
Shoot during blue hour, moonrise, and moonset.
Include buildings, mountains, trees, water, or people.
The moon may be the subject, but the best moon photographs are often about the relationship between the moon and everything around it.
TAMRON products mentioned in this article