Mountain Photography: Choosing the Right Camera and Lens for Hiking
Mountain climbing offers countless opportunities for photography. From dramatic ridgelines and vast valleys to delicate alpine plants, clouds, sunrise, and star-filled skies, the landscape can change dramatically from one moment to the next.
Capturing these scenes requires more than simply bringing a camera. The right combination of camera body, lens, accessories, and shooting technique can make it easier to respond to changing light, weather, distance, and terrain.
In this guide, we’ll explore the essentials of mountain photography, including how to choose a camera for hiking, what to look for in a lens, and practical tips for photographing landscapes, distant subjects, sunrise, clouds, and the night sky.
We’ll also look at the advantages of using an interchangeable-lens camera when you want greater flexibility while keeping your hiking setup as light and practical as possible.
Why Bring a Camera on a Mountain Hike?
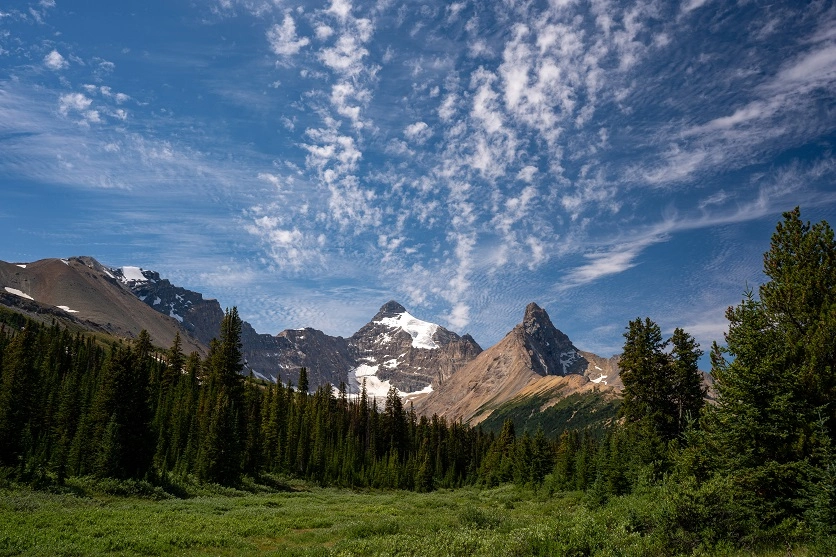
One of the rewards of mountain climbing is reaching a viewpoint that cannot easily be experienced anywhere else.
The scenery can change throughout the climb. A trail may begin in a forest, open onto a rocky ridge, reveal a distant mountain range, and eventually reach a summit overlooking a sea of clouds.
A dedicated camera can help preserve these details with greater flexibility than a smartphone.
An interchangeable-lens camera also gives you the ability to choose a lens according to the scene. A wide-angle lens can emphasize the scale of a mountain landscape, while a telephoto lens can isolate a distant ridge, animal, or alpine plant.
This flexibility makes an interchangeable-lens camera particularly useful for photographers who want to explore different approaches to mountain landscape photography.
What Makes a Good Camera for Mountain Photography?
Mountain photography presents some unique challenges.
You may be carrying your equipment for several hours, shooting in changing weather, working in cold temperatures, and moving between bright sunlight and low-light conditions.
For that reason, the best camera for mountain photography isn’t necessarily the camera with the most specifications.
Portability, durability, battery life, image quality, and ease of operation are all important.
Before choosing a camera, think about what you actually plan to photograph.
Will you mainly capture:
- Wide mountain landscapes?
- Distant ridgelines?
- Wildlife?
- Flowers and plants?
- Sunrise and sunset?
- Night landscapes?
- Stars and the Milky Way?
- Video as well as still images?
The answer will help determine what type of camera and lens combination makes the most sense for your trip.
Mountain Landscape Photography: Subjects to Look For
Once you’re on the trail, almost everything around you can become a photographic subject.
Rather than photographing only the summit, look for changes in texture, light, scale, and distance throughout the climb.
Photographing Dramatic Mountain Slopes
Mountain surfaces can reveal the character of a landscape through rock, snow, vegetation, and changing light.
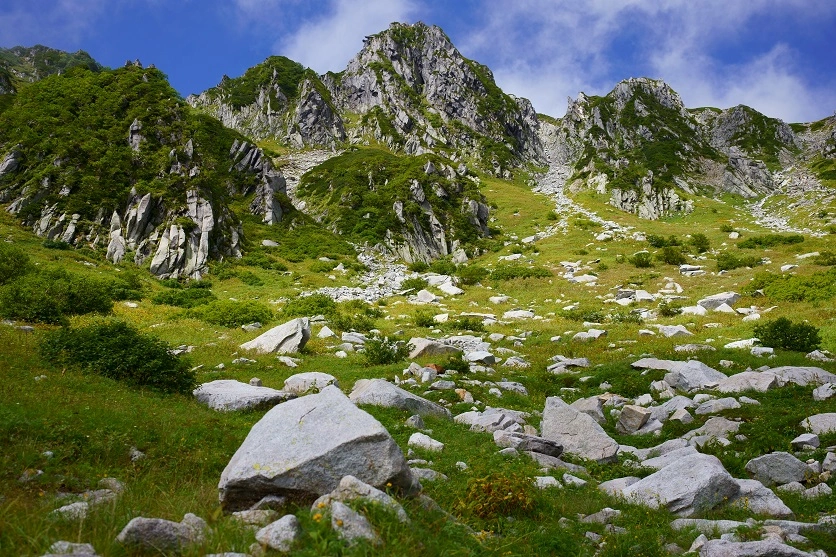
The fine details of rocks, moss, snow, and other textures can become more visible when the light strikes the mountain from an angle.
Early morning and late afternoon are particularly useful because the lower angle of the sun can create shadows across the mountain surface.
These shadows emphasize texture and depth, giving the landscape a more three-dimensional appearance.
When photographing detailed mountain surfaces, pay attention to exposure. Bright snow or sunlit rock can easily cause highlights to become overexposed, while deep shadows can lose detail.
The goal is to preserve as much information as possible across the scene.
Photographing Mountain Ridges
A mountain ridge is a strong subject because of its distinctive shape and scale.
A wider lens can emphasize the surrounding landscape and create a stronger sense of depth.
One useful mountain photography technique is to include an object in the foreground, such as a rock, flower, tree, or trail.
The foreground provides a sense of scale and helps lead the viewer into the scene.
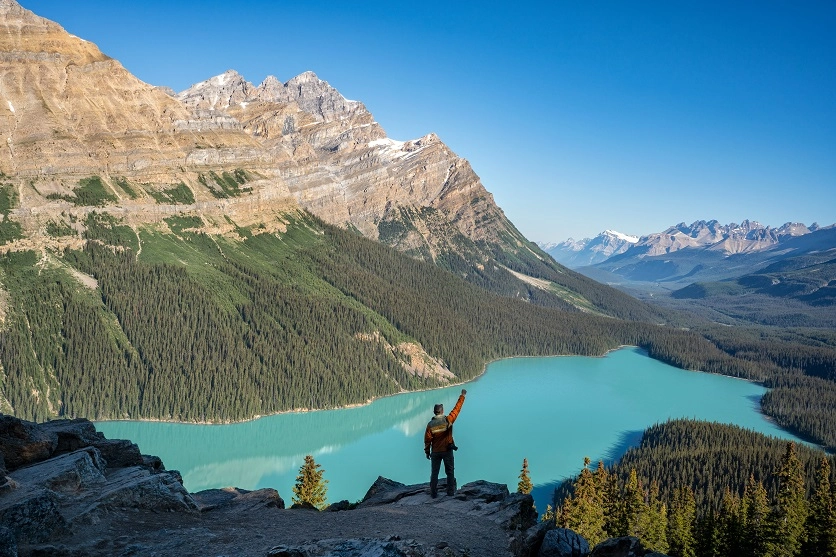
A telephoto lens provides another approach.
Instead of showing the entire environment, you can isolate a distant ridgeline and emphasize its shape, texture, or relationship with the surrounding mountains.
Changing your focal length can therefore completely change how the same landscape is perceived.
Photographing the Landscape at the Foot of the Mountain
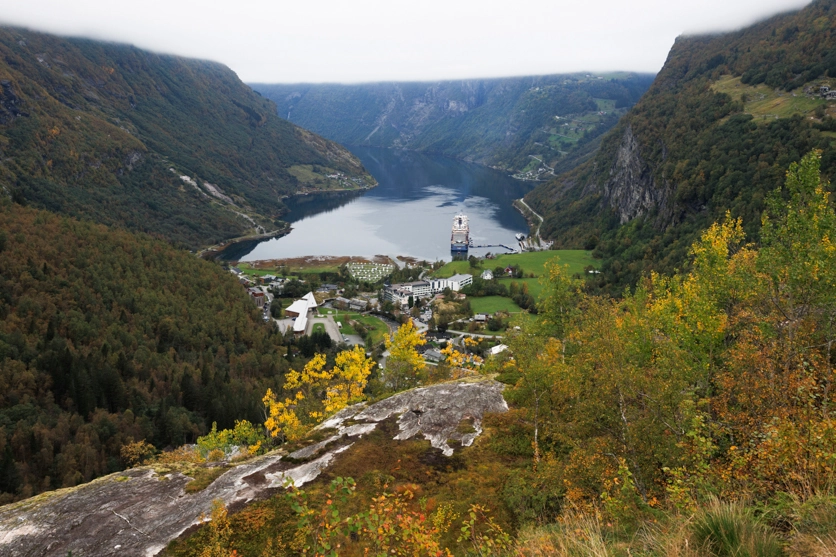
The scenery below the summit can be just as interesting as the mountain itself.
From a high viewpoint, villages, roads, farmland, and forests can form patterns across the landscape.
A wide-angle lens can emphasize the relationship between the mountain and the surrounding environment.
A telephoto lens, meanwhile, can compress distant layers and make the mountain ranges appear closer together.
Atmospheric haze can also become an important visual element.
Differences in altitude and distance can produce layers of color and tone, particularly on hazy days.
Instead of treating haze as something to avoid, use it as part of the composition.
Photographing a Sea of Clouds
For many hikers, reaching a viewpoint above a sea of clouds is one of the highlights of a mountain trip.
Cloud formations change constantly, so timing is particularly important.
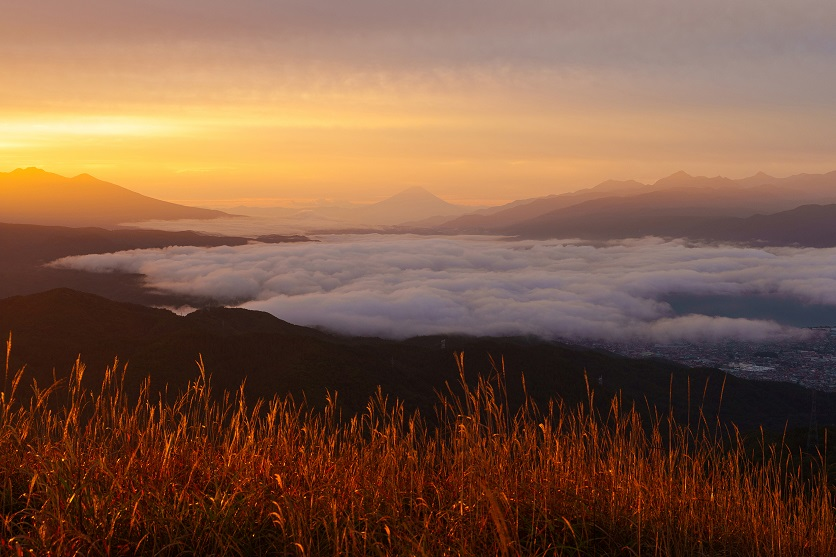
Rather than photographing the clouds as a flat white surface, look for moments when mountain peaks emerge through them.
These moments can create layers within the composition and give the scene a stronger sense of depth.
Try different focal lengths and compositions as the clouds move.
The scene may look completely different only a few minutes later.
Photographing Mountain Sunrises
Sunrise is one of the most rewarding subjects for mountain landscape photography, but it can also be technically challenging.
The difference between the bright sky and darker foreground can be significant.
When photographing toward the sun, monitor your exposure carefully.
Exposure compensation can help you control the brightness of the overall image, while careful metering can prevent highlights from becoming completely blown out.
An ND filter can also be useful when you need to reduce the amount of light entering the lens.
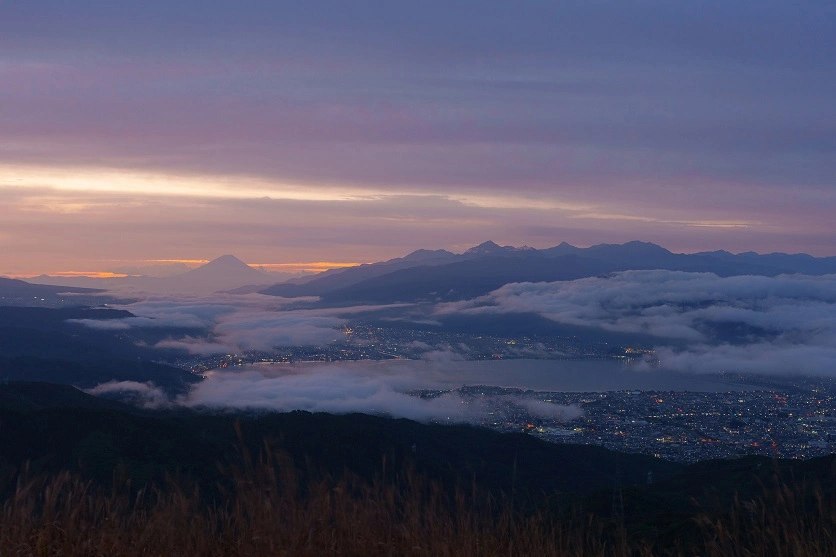
Don’t overlook the period before sunrise.
The blue hour can produce soft, cool tones across the landscape before the sun appears. This can create a completely different mood from the warmer light that follows.
Photographing Mountains at Night
Mountain environments can be excellent locations for night photography because they often have much less light pollution than cities.
With the right conditions, you may be able to photograph a clear star-filled sky or even the Milky Way.
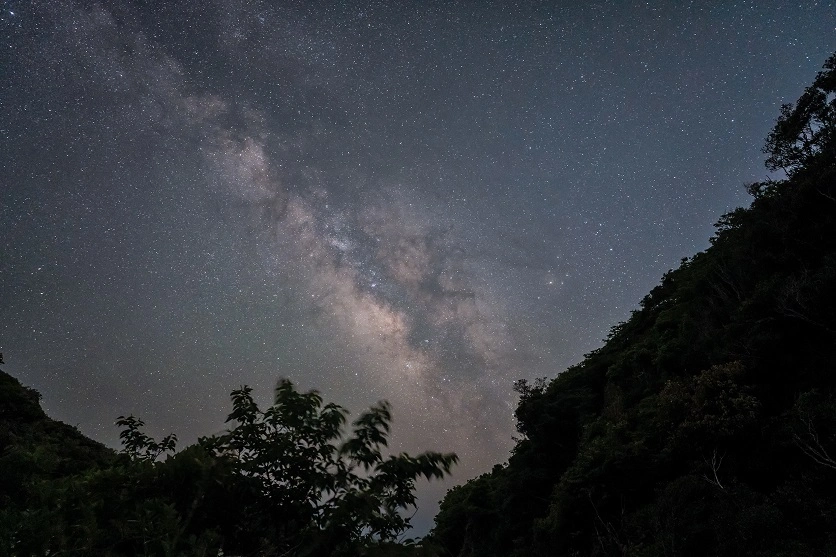
A tripod is essential for long exposures.
A wide-angle lens can help include both the sky and surrounding landscape, while a bright maximum aperture allows more light to reach the sensor.
You’ll generally need to balance shutter speed, aperture, and ISO according to the scene.
Longer shutter speeds allow more light to reach the sensor but can cause stars to appear as trails because of the Earth’s rotation.
If you want pinpoint stars, experiment with shorter exposure times and higher ISO settings.
For star trails, much longer exposures or a series of images can create a completely different visual effect.
Before attempting night photography in the mountains, check the weather and plan your equipment carefully.
How to Choose a Camera for Hiking
Choosing a camera for hiking requires balancing image quality with portability.
A camera that produces excellent images but is too heavy to carry comfortably may end up staying inside your bag.
Consider these factors before your trip.
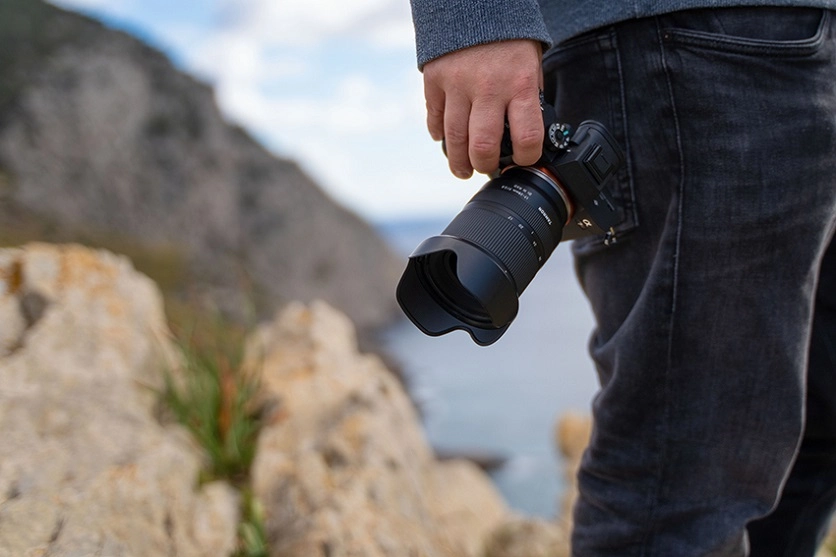
1. Decide What You Want to Photograph
Start by identifying your primary subjects.
A photographer who mainly captures sweeping landscapes may prioritize a lightweight wide-angle lens.
Someone interested in wildlife or distant mountain details may need more telephoto reach.
If you’re planning to shoot both photographs and video, autofocus and image stabilization become additional considerations.
Modern mirrorless cameras can provide strong performance for both stills and video, making them versatile options for outdoor creators.
For serious night photography, sensor performance at higher ISO settings can also become important.
2. Choose the Right Camera Type
Mirrorless interchangeable-lens cameras are particularly attractive for hiking because many models offer a good balance between image quality, size, and weight.
DSLRs remain capable cameras, but their larger bodies and optical viewfinder systems can make them less convenient for photographers who prioritize a lightweight hiking setup.
Compact cameras provide another option when portability is the highest priority.
However, interchangeable-lens cameras provide greater flexibility because you can select different lenses for different subjects.
3. Consider Sensor Size
Sensor size affects image quality, low-light performance, depth of field, and the overall size of the camera system.
Full-frame cameras generally provide strong high-ISO performance and can be particularly useful for low-light mountain photography and large prints.
APS-C cameras can offer an attractive balance between image quality and portability.
Because both the camera and lenses can be smaller, an APS-C system can be particularly appealing for hikers who want to minimize the weight of their equipment.
The best choice ultimately depends on the type of photography you want to do and how much equipment you’re comfortable carrying.
4. Prioritize Lightweight and Compact Equipment
Weight matters when you’re carrying equipment uphill for several hours.
A smaller camera and lens can reduce fatigue and make it more likely that you’ll actually take the camera out when an interesting scene appears.
Compact equipment is also easier to store inside a hiking bag.
For beginners, a lightweight setup can be a particularly good starting point because it allows you to concentrate on learning photography rather than managing a heavy load.
5. Look for Weather Resistance
Mountain weather can change quickly.
Rain, fog, snow, dust, and sudden temperature changes can all affect your equipment.
A camera and lens with appropriate weather-resistant construction can provide additional protection during outdoor shooting.
However, weather resistance does not mean the equipment is waterproof.
If prolonged rain is expected, use an appropriate rain cover or protective equipment and follow the manufacturer’s recommendations.
6. Check Image Quality
Good mountain photography often involves scenes with a wide range of brightness.
Bright snow, sunlight, deep shadows, and atmospheric haze can all appear in the same frame.
A camera with good dynamic range can help preserve information in both bright and dark areas.
High-ISO performance is also important if you plan to photograph before sunrise, after sunset, or under a star-filled sky.
Don’t judge image quality from specifications alone.
Whenever possible, examine real sample images to see how the camera renders fine textures, colors, shadows, and highlights.
7. Consider Battery Life
There may be nowhere to recharge a camera during a mountain hike.
Battery life therefore becomes an important part of your planning.
Cold temperatures can also reduce battery performance.
If you’re hiking in winter or planning to photograph before sunrise, carry at least one spare battery and keep unused batteries somewhere warm, such as an inner pocket of your clothing.
USB charging can also be useful if your camera supports it and you’re carrying a compatible power bank.
8. Check the Controls and Handling
You may need to operate the camera while wearing gloves, particularly in winter.
Before buying a camera, physically handle it if possible.
Check:
- Button placement
- Dial size
- Grip
- Menu accessibility
- Viewfinder
- Touchscreen operation
- Ease of changing exposure settings
Large physical controls can be especially useful when your fingers are cold or when you’re wearing thick gloves.
How to Choose a Lens for Mountain Photography
The lens is just as important as the camera body.
One of the major advantages of an interchangeable-lens system is the ability to select a lens according to the scene.
When choosing a lens for landscape photography, consider the focal length, size, maximum aperture, autofocus, stabilization, weather resistance, and overall rendering.
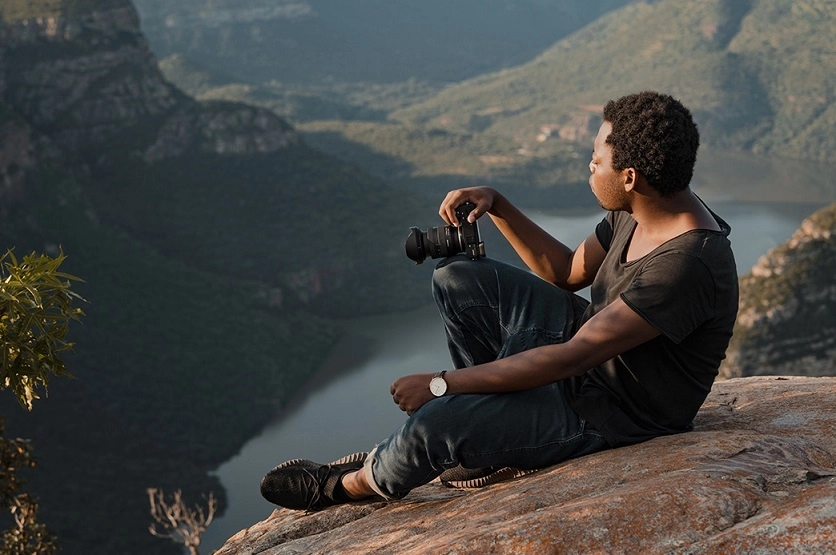
1. Make Sure the Lens Matches Your Camera
First, confirm that the lens mount is compatible with your camera.
You should also check whether the lens is designed for the camera’s sensor format.
A full-frame lens can generally be used on an APS-C camera, although the field of view will change.
An APS-C lens may not cover the entire sensor area of a full-frame camera.
Always check compatibility before purchasing.
2. Consider Lens Weight and Size
A heavy lens can quickly become tiring during a long hike.
For mountain trips, a compact lens can provide a significant practical advantage.
Think about the complete camera-and-lens combination rather than evaluating the lens by itself.
A slightly heavier lens may be worthwhile if its capabilities are essential to your photography, but unnecessary weight should generally be avoided.
3. Choose a Lens Type Based on Your Subject
Your choice of focal length should reflect what you want to photograph.
Wide-Angle Lenses
Wide-angle lenses are ideal for expansive landscapes.
They can emphasize the scale of mountains and include more of the surrounding environment.
Including a strong foreground element can create additional depth.
Standard Lenses
A standard lens provides a more natural perspective and can be useful for a wide range of subjects.
It can photograph landscapes, people, plants, trails, and everyday scenes without the strong perspective effect of an ultra-wide lens or the compression of a telephoto lens.
Telephoto Lenses
Telephoto lenses are useful when your subject is far away.
They can isolate:
- Distant peaks
- Wildlife
- Alpine flowers
- Rock formations
- Layers of mountains
They can also compress distant elements, creating a striking layered appearance.
All-in-One Zoom Lenses
An all-in-one zoom can be particularly convenient for hiking.
Instead of carrying several lenses and changing them throughout the day, one lens can cover multiple perspectives.
This can reduce both the weight of your camera bag and the time spent changing equipment in dusty, wet, or windy environments.
For hikers who prioritize versatility, this can be one of the most practical lens choices.
4. Consider Weather Resistance
Just like the camera body, the lens may be exposed to changing mountain weather.
A lens with moisture-resistant construction can provide additional protection during outdoor shooting.
If rain is expected, combine weather-resistant equipment with appropriate protection rather than relying on the lens alone.
5. Check the Maximum Aperture
The maximum aperture determines how much light can enter the lens.
A brighter lens can be particularly useful before sunrise, after sunset, or when photographing the night sky.
A large aperture can also provide more control over background blur when photographing flowers, people, or wildlife.
For landscape photography in bright daylight, however, you may choose to stop the lens down to achieve the desired depth of field and overall sharpness.
6. Look at Lens Rendering and Image Quality
When choosing a lens for landscape photography, don’t focus only on resolution.
Look at:
- Fine detail
- Contrast
- Color reproduction
- Corner performance
- Flare resistance
- Bokeh
- Distortion
- Overall rendering
Mountain scenes often contain extremely fine textures in rocks, snow, grass, and trees.
A lens with strong resolution and contrast can help preserve those details.
Sample images are one of the best ways to understand how a lens actually renders a landscape.
7. Check Autofocus Performance
Autofocus may not be the first thing that comes to mind for landscape photography, but it becomes important when your subjects are moving.
Clouds, animals, birds, hikers, and vegetation can all require quick and accurate focusing.
A quiet autofocus system is especially useful when photographing wildlife or shooting video.
8. Consider Vibration Compensation
Mountain photography is often performed handheld.
A lens with Vibration Compensation can help reduce the effects of camera shake, particularly when using telephoto focal lengths.
This can be useful when you want to maintain a relatively slow shutter speed without a tripod.
However, stabilization should always be used according to the camera and lens manufacturer’s recommendations, particularly when the camera is mounted on a tripod.
9. Check Lens Operability
The controls should be comfortable to use in real outdoor conditions.
Focus and zoom rings should be easy to locate and operate, even when you’re wearing gloves.
Before buying, try the lens if possible.
Check how smoothly the rings turn and how easily you can switch between AF and MF.
Small handling details can make a major difference during a long day on the trail.
Essential Accessories for Mountain Photography
A good camera and lens are only part of a successful mountain photography setup.
The right accessories can protect your equipment and make shooting more practical.
Camera Backpack
A dedicated camera backpack can protect your equipment while keeping your hands free.
Look for a bag with:
- Camera protection
- Weather resistance
- Comfortable straps
- Easy camera access
- Space for spare batteries and memory cards
A backpack that allows quick access to your camera is particularly useful when you’re walking through changing scenery and don’t want to stop for long.
Tripod
A tripod becomes particularly valuable for:
- Sunrise
- Sunset
- Night photography
- Star trails
- Long exposures
- Low-light landscapes
For hiking, choose a tripod that provides a good balance between stability and weight.
A compact tripod or tabletop tripod can also be useful when a full-size tripod is impractical.
Spare Batteries
Carry at least one spare battery, especially when shooting in cold conditions.
Keep spare batteries somewhere protected from extreme cold.
If your camera supports USB charging, a compact power bank can provide an additional charging option.
Spare Memory Cards
High-resolution cameras and 4K video can consume large amounts of storage.
Carrying spare memory cards reduces the risk of running out of storage during a trip.
Using multiple cards can also reduce the risk of losing all your images if a card becomes damaged.
For important trips, consider backing up your images whenever practical.
Final Thoughts
Mountain photography combines technical skill with timing and observation.
The landscape is constantly changing as the sun moves, clouds shift, weather develops, and the perspective changes along the trail.
A well-chosen camera and lens can help you respond to those changes.
When selecting your equipment, prioritize the subjects you want to photograph, portability, image quality, weather resistance, battery life, and ease of operation.
For the lens, consider whether a wide-angle, standard, telephoto, or all-in-one zoom best matches your style.
Most importantly, spend time observing the landscape before pressing the shutter.
Look for changing light on mountain surfaces, layers of distant peaks, interesting foreground subjects, breaks in the clouds, and moments when the landscape takes on a completely different character.
With the right preparation and a lightweight, capable camera system, you can spend less time worrying about your equipment and more time capturing the mountains.
The best mountain photography setup is not necessarily the biggest one—it is the one you can comfortably carry, quickly operate, and confidently use when the perfect moment appears.
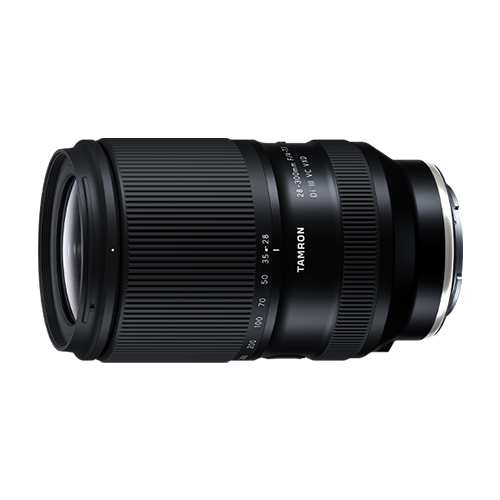
TAMRON products mentioned in this article