Night Sky Photography: How to Capture Stars, the Moon and Nightscapes
The night sky offers some of the most rewarding subjects for photography. Stars, the moon, illuminated buildings, fireworks, and dark landscapes can all create photographs with a completely different character from daytime images.
However, night sky photography also presents unique challenges. There is less available light, exposure times can become longer, autofocus may struggle, and even small camera movements can introduce blur.
The good news is that you don’t need complicated equipment or advanced techniques to get started. Understanding a few fundamental camera settings, choosing an appropriate lens, and carefully planning your shooting location can make a significant difference.
In this guide, we’ll explain how to photograph the night sky, from capturing stars and the moon to photographing nightscapes and fireworks. We’ll also cover focusing, exposure, composition, equipment preparation, and what to consider when choosing a lens for nighttime photography.
What Can You Photograph in the Night Sky?
The night sky contains many different photographic subjects, and each requires a slightly different approach.
Some of the most common include:
- Starry skies
- The moon
- Night landscapes
- Cityscapes and illuminations
- Fireworks
- Mountains and natural landscapes at night
- Buildings and architectural scenes
The key is to adjust your camera settings according to the brightness and movement of your subject.
A starry sky, for example, requires substantially more exposure than the moon because stars are relatively faint. The moon, by contrast, is illuminated by the sun and can be surprisingly bright.
How to Photograph Stars
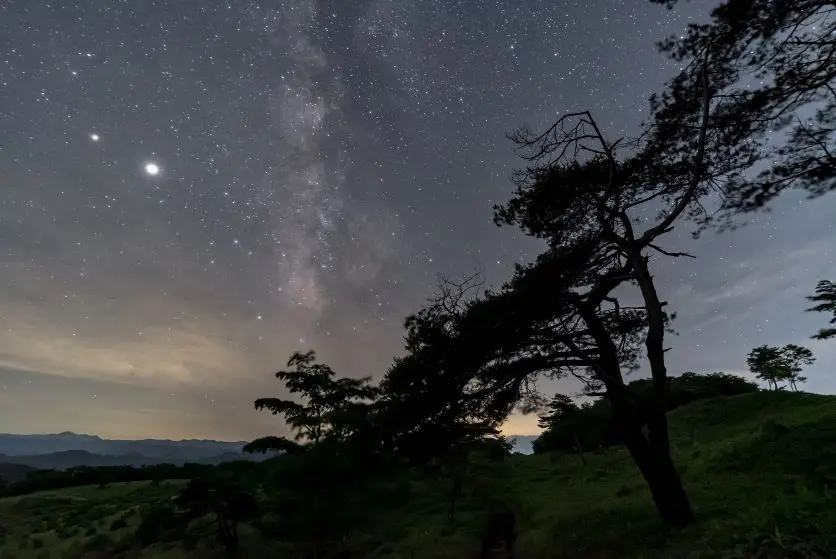
Photographing stars is one of the most popular forms of night sky photography.
Because stars are relatively faint, it is important to minimize competing sources of light. Locations away from cities and other strong artificial light sources can provide darker skies and make more stars visible.
Mountains, beaches, rural areas, and other locations with limited light pollution can therefore be particularly useful.
Recommended Settings for Star Photography
As a starting point, try the following settings:
- Aperture: Use the lens’s widest practical aperture
- Shutter speed: Approximately 20–30 seconds
- ISO: Around ISO 1600–6400
- Focus: Manual focus
- Shooting mode: Manual
- Support: Tripod and remote shutter release
These are starting points rather than fixed rules. The appropriate exposure will depend on the brightness of the sky, ambient light, camera, lens, and the look you want to create.
A wide aperture allows more light to reach the camera sensor, which is particularly important when photographing faint stars.
The original TAMRON guide demonstrates star photography using a 20mm F2.8 lens at F2.8, 6 seconds, and ISO 12800, showing that significantly different settings can also be appropriate depending on the conditions and desired result.
Why Use a Tripod?
A stable tripod is one of the most useful accessories for star photography.
Long exposures make even small movements visible. Handholding the camera can therefore result in blurred stars and an unstable foreground.
Mount the camera securely on the tripod and avoid touching it while the exposure is being made.
A remote shutter release can further reduce vibration caused by pressing the camera’s shutter button.
If your camera provides a self-timer, that can also be useful when a remote release is unavailable.
How to Focus on Stars
Autofocus can have difficulty finding focus in a dark sky.
For this reason, manual focus is often the better choice.
Use your camera’s Live View or electronic display to magnify a bright star or distant light source. Adjust the focus manually until the star appears as a small, sharp point.
Do not simply turn the focus ring to infinity and assume the result will always be perfectly focused. Check the image at high magnification whenever possible.
Once you have achieved accurate focus, avoid accidentally moving the focus ring during the rest of the shoot.
Choosing a Location for Star Photography
The darker the environment, the easier it is to photograph faint stars.
Artificial light from buildings, streets, vehicles, and other sources can brighten the sky and reduce the visibility of stars.
The moon can also have a significant effect. A bright moon can illuminate the landscape beautifully, but it can make faint stars more difficult to see.
If your goal is to photograph as many stars as possible, consider shooting around the new moon and choosing a location away from strong sources of artificial light.
Photographing the Moon
The moon is one of the brightest subjects in the night sky, so photographing it requires a very different approach from photographing stars.
You don’t necessarily need to travel to an extremely dark location. The moon can often be photographed even when some city or street lighting is present.
Recommended Moon Photography Settings
As a starting point, try:
- Aperture: F8–F11
- Shutter speed: Approximately 1/100–1/250 second
- ISO: ISO 100–400
- Focus: Manual focus
The relatively low ISO helps preserve detail, while a faster shutter speed helps prevent motion blur.
The moon is moving across the sky, and although its movement may appear slow to the eye, it becomes important when using longer focal lengths or slower shutter speeds.
The original TAMRON guide recommends approximately F8–F11, 1/100–1/250 second, and ISO 100–400 as a starting point for photographing the moon.
Photographing the Full Moon
The full moon is an obvious subject, but it can sometimes appear relatively flat because the sunlight illuminates its surface almost directly.
Try photographing the moon during other phases as well.
A half moon, for example, can reveal stronger shadows across the craters. These shadows help emphasize the texture and three-dimensional appearance of the moon’s surface.
Photographing the Moon with a Landscape
You don’t always have to photograph the moon as a close-up.
Including mountains, buildings, trees, or other foreground elements can provide context and create a stronger sense of scale.
A wide-angle lens can be useful for these compositions because it allows you to include both the landscape and the moon.
However, remember that the moon will appear relatively small when photographed with a wide field of view.
If you want the moon to occupy a much larger portion of the frame, a telephoto or super-telephoto lens is more appropriate.
Nightscape and Illumination Photography
Night photography isn’t limited to stars and the moon.
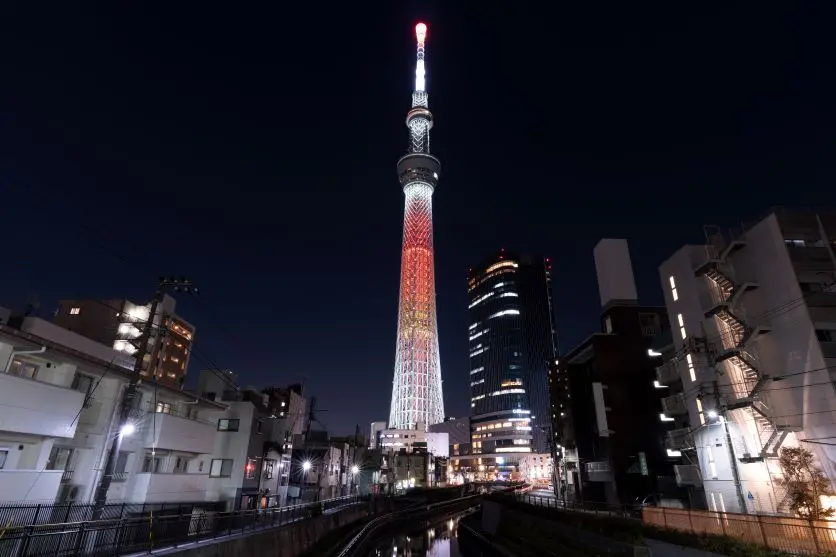
Cities, buildings, bridges, harbors, streets, and illuminated landmarks can all become excellent subjects.
For nightscape photography, the goal is often to balance bright artificial lights with darker areas of the scene.
Recommended Nightscape Settings
As a starting point:
- Aperture: F8–F11
- Shutter speed: Approximately 1–30 seconds
- ISO: ISO 100–800
- Shooting mode: Manual or Aperture Priority
- Support: Tripod
Stopping down the aperture can help produce a sharper image with greater depth of field.
A longer shutter speed allows enough light to reach the sensor while keeping ISO relatively low.
A tripod is especially useful when shutter speeds become slow enough that handheld shooting would introduce camera shake.
Photographing Fireworks at Night
Fireworks are another challenging but rewarding nighttime subject.
Their brightness, movement, and constantly changing shapes make exposure difficult to predict.
A tripod is essential because fireworks photography often involves longer exposures.
Fireworks Photography Settings
A useful starting point is:
- Aperture: Around F8–F11
- ISO: Around ISO 100
- Shutter: Bulb mode or a long exposure
- Focus: Manual
- Support: Tripod
- Trigger: Remote shutter release
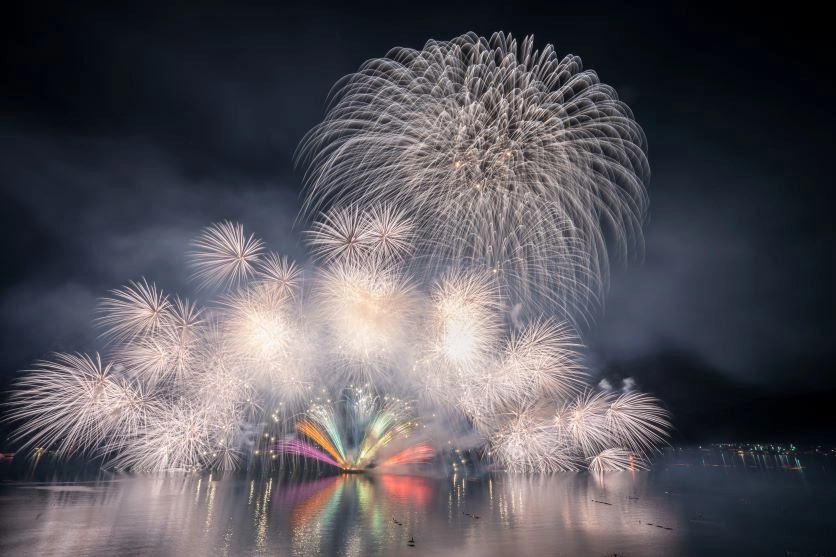
Bulb mode allows you to control the duration of the exposure and capture the trails of fireworks from launch to their disappearance.
The original TAMRON article demonstrates a long-exposure fireworks example using F22, 67 seconds, and ISO 100, illustrating how long exposures can be used to combine multiple fireworks trails into a single image.
Leave Room for the Fireworks
When composing fireworks photographs, don’t frame the shot too tightly.
Fireworks can expand much farther than expected, and their launch position may change.
Leave some space around the expected burst area. You can crop the image later if necessary.
This is generally safer than cutting off the edges of a firework because you framed too tightly.
How to Choose the Right Lens for Night Sky Photography
Lens selection plays an important role in nighttime photography.
The ideal lens depends on what you want to photograph.
For expansive landscapes and star fields, a wide-angle lens is generally useful.
For the moon and distant subjects, telephoto and super-telephoto lenses provide the magnification needed to fill more of the frame.
When choosing a lens for night sky photography, consider four major factors:
- Maximum aperture
- Focal length
- Weight and portability
- Ease of operation
Image quality and resolution performance are also important considerations, particularly when photographing small stars across a large portion of the frame.
Maximum Aperture
One of the most important characteristics of a lens for nighttime photography is its maximum aperture.
A lens with a larger maximum aperture—represented by a smaller F-number—allows more light to reach the camera sensor.
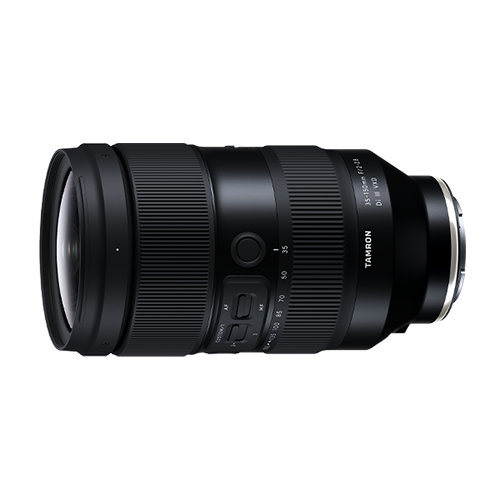
For star photography, a fast lens such as F2.8 can be particularly useful because stars are relatively faint.
Lenses with maximum apertures around F2, F2.8, or F4 and wider can provide greater flexibility when working in low light.
A fast aperture can also allow you to keep shutter speeds shorter or ISO lower, depending on the scene.
Focal Length
The appropriate focal length depends largely on the subject.
Wide-Angle Lenses
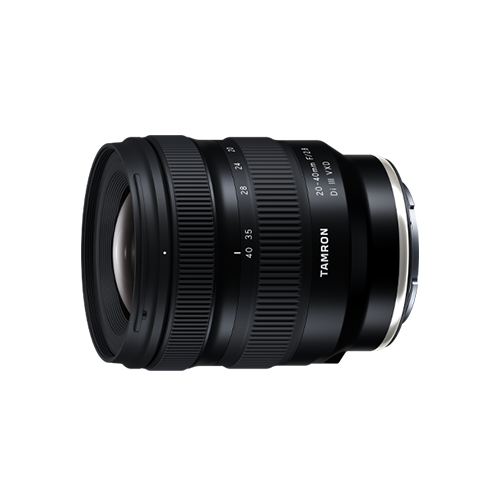
Wide-angle and ultra-wide-angle lenses are useful for photographing expansive night landscapes and star fields.
They allow you to include more of the sky and surrounding landscape within the frame.
They are particularly useful when you want the viewer to experience the scale of the environment rather than focusing on an individual celestial object.
Telephoto Lenses
Telephoto lenses are useful for distant subjects such as the moon.
If your goal is to capture the moon’s surface and crater details, longer focal lengths can make a significant difference.
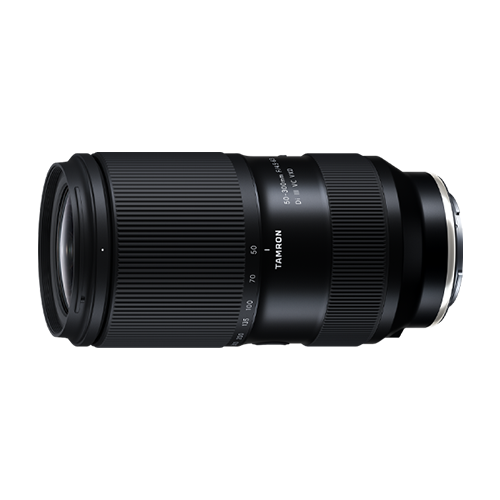
The original TAMRON guide recommends telephoto focal lengths around 200–300mm or longer when detailed moon photographs are the objective.
Super-Telephoto Lenses
Super-telephoto lenses can provide even greater magnification for distant subjects.
They are especially useful when you want the moon to occupy a substantial portion of the frame or when you need to isolate distant subjects against the night sky.
Lightweight Equipment Matters
Night sky photography can require traveling away from convenient locations.
You may need to hike to a darker area, carry a tripod, and remain outside for extended periods.
For this reason, lens size and weight are worth considering.
A lightweight lens can make it easier to travel to remote shooting locations and carry your equipment for longer periods.
Compact equipment can also be useful when space inside a camera bag is limited.
The best lens isn’t necessarily the largest or heaviest option. Consider the balance between optical performance, maximum aperture, focal length, and portability.
Ease of Manual Focus
Manual focusing is frequently useful for photographing stars and the moon.
For this reason, the physical design of the lens matters.
A smooth, easy-to-operate focus ring can make precise manual adjustments easier, particularly when working in darkness.
If you’re photographing outdoors in cold weather, controls that remain easy to operate while wearing gloves can also be useful.
TAMRON’s TAMRON Lens Utility Mobile™ includes an Astro Focus Lock (Astro FC-L) function that can lock the focus position at infinity, helping simplify focusing for starry landscape photography.
Resolution and Corner Performance
Stars are small points of light, which makes image quality particularly noticeable in night sky photography.
A lens with strong resolution can help render stars and other fine details clearly.
For wide-angle star photography, don’t look only at the center of the image. The corners are also important because a large portion of the frame may contain stars.
A lens that maintains good rendering toward the edges can help produce a more consistent image across the entire frame.
Camera Settings for Night Sky Photography
There is no universal set of night sky photography settings.
The correct settings depend on the subject.
Here’s a useful starting reference:
| Subject | Aperture | Shutter Speed | ISO |
|---|---|---|---|
| Stars | Wide open | 20–30 sec | 1600–6400 |
| Moon | F8–F11 | 1/100–1/250 sec | 100–400 |
| Nightscape | F8–F11 | 1–30 sec | 100–800 |
| Fireworks | F8–F11 | Bulb/long exposure | Around 100 |
These values should be treated as starting points rather than strict rules. The actual exposure will change according to ambient light, weather, camera, lens, and the desired result.
Which Shooting Mode Should You Use?
For stars and the moon, Manual mode is generally useful because it gives you direct control over aperture, shutter speed, and ISO.
Automatic exposure and autofocus can have difficulty interpreting extremely dark scenes or bright isolated subjects.
For nightscapes and illuminations, Aperture Priority can also be convenient, particularly when you want to control depth of field while allowing the camera to determine an appropriate shutter speed.
As you become more comfortable with nighttime photography, Manual mode gives you greater control over the final exposure.
Exposure Compensation for Night Scenes
Night scenes can contain extremely bright areas next to almost completely dark areas.
Streetlights, buildings, signs, and other artificial lights may occupy a relatively small portion of the frame while the majority of the image remains dark.
This can make automatic exposure behave differently from what you expect.
If your image appears too dark, try increasing exposure compensation when using an automatic exposure mode.
However, don’t assume that a brighter photograph is always better. Night scenes often depend on darkness and contrast to create their atmosphere.
Check the image and histogram and decide how much shadow detail and highlight detail you want to preserve.
Shoot in RAW
RAW files provide greater flexibility when adjusting photographs after the shoot.
Night scenes can contain subtle changes in brightness and color, and you may want to fine-tune exposure or white balance later.
The original TAMRON guide specifically recommends RAW when you want to make detailed exposure and color adjustments after photographing the scene.
If your camera supports RAW capture, it can be especially useful when you are still experimenting with night photography and want greater flexibility during editing.
Adjusting White Balance
White balance can dramatically change the appearance of a night photograph.
A cooler white balance can produce a blue-toned atmosphere that works well for stars and nighttime landscapes.
A warmer white balance can emphasize the orange and yellow tones often produced by streetlights and illuminated buildings.
The original guide suggests experimenting with fluorescent or bulb/tungsten-style white balance settings to change the mood of the photograph.
If you photograph in RAW, you can make more detailed white-balance adjustments during post-processing.
Composition Tips for Night Sky Photography
Technical settings are only one part of a successful night photograph.
Composition can transform a technically sharp image into a more engaging photograph.
Include a Foreground
Instead of photographing only the sky, include something in the foreground.
Mountains, trees, rocks, buildings, roads, and bodies of water can all provide context.
A foreground element also gives the viewer a sense of scale.
For example, placing a tree or mountain below a large field of stars can emphasize how expansive the night sky appears.
Use Leading Lines
Roads, rivers, paths, fences, and architectural structures can guide the viewer’s eye toward the main subject.
At night, illuminated paths and buildings can become particularly effective leading lines.
Try Different Compositions
Don’t assume that the first composition you find is the strongest.
Move your camera higher or lower. Change your position. Try including more sky or more foreground.
Even small changes in position can significantly alter the relationship between stars, mountains, buildings, and other elements.
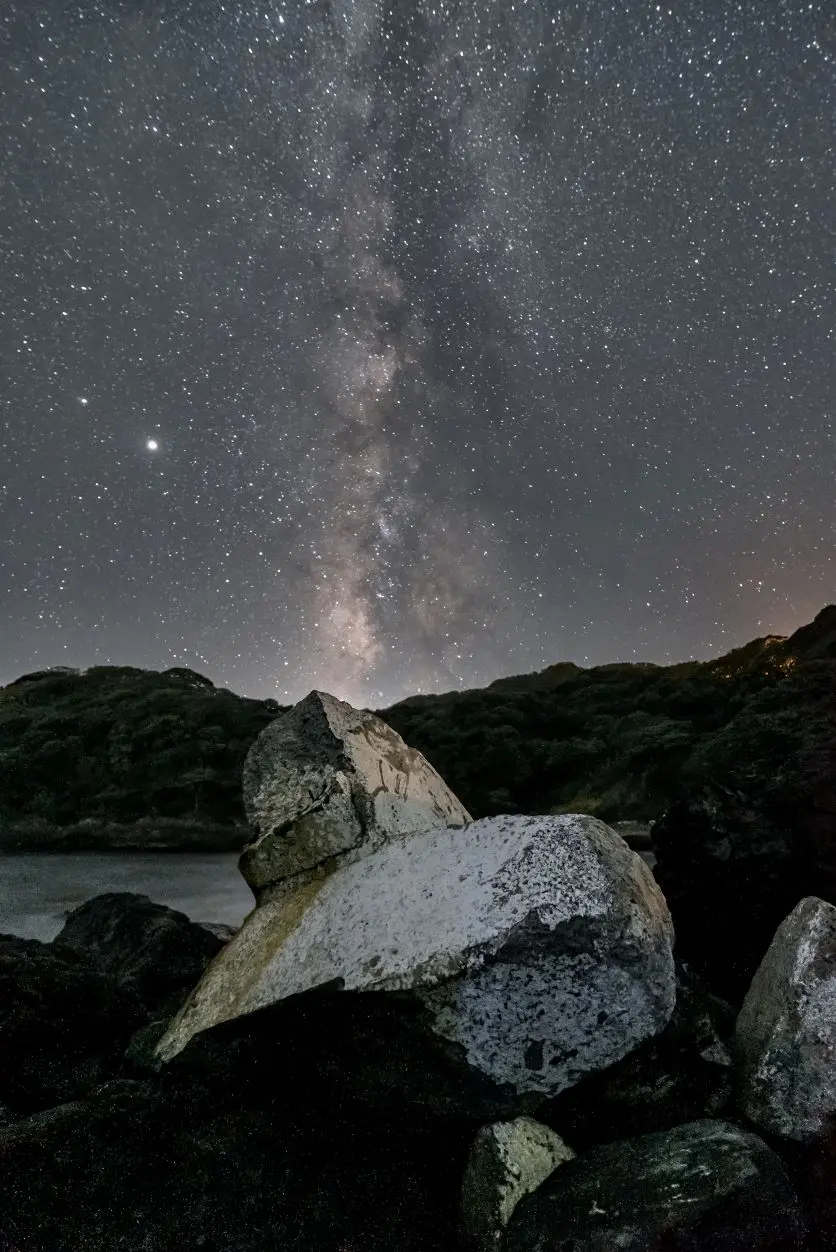
Consider the Rule of Thirds
A simple three-part composition can help balance the sky and landscape.
For example, you might place the horizon around the lower third of the frame when the sky is the primary subject.
If the landscape is more visually interesting, you can reverse the balance and give the foreground more space.
The important thing is to consider which part of the scene should receive the most visual attention.
Plan Before You Shoot
Planning is especially important for night sky photography.
During the day, a location may appear ordinary, but after dark, you may have difficulty finding safe paths, determining your composition, or identifying potential foreground elements.
If possible, visit the location during daylight first.
Look for:
- Potential foreground subjects
- Clear views of the sky
- Mountains or buildings that can frame the composition
- Safe places to set up a tripod
- Sources of artificial light
- Potential reflections
- Convenient access and parking
Planning ahead allows you to spend more time photographing once the sky becomes dark.
Check the Weather and Sky Conditions
Weather conditions can dramatically affect the result.
Clouds can obscure stars, while haze can reduce contrast.
Clear skies are generally preferable when your goal is to capture stars, but clouds can still be useful for nightscapes and illuminated city scenes.
For star photography, also consider the moon phase and the amount of artificial light in the area.
The best conditions depend on the photograph you want to create.
Avoid Condensation
Condensation is an important equipment consideration when photographing outdoors at night.
Rapid temperature changes can cause moisture to form on or inside photographic equipment.
This can happen particularly when moving between a warm indoor environment and a cold outdoor shooting location, or when temperatures change significantly during a shoot.
When arriving at your shooting location, allow your camera and lens to gradually acclimate rather than immediately exposing them to the outside environment.
Keeping the equipment inside your camera bag while it adjusts can help reduce sudden temperature changes.
A lens heater may also be useful in conditions where condensation is a concern.
Final Thoughts
Night sky photography becomes much easier once you understand how to adjust your settings according to the subject.
For stars, prioritize light gathering, a stable tripod, manual focus, and a dark shooting location.
For the moon, lower ISO and faster shutter speeds can help preserve its surface details.
For nightscapes and illuminated buildings, longer exposures, smaller apertures, and careful composition can create sharp and atmospheric photographs.
Fireworks require another approach, with long exposures and careful timing to capture their trails.
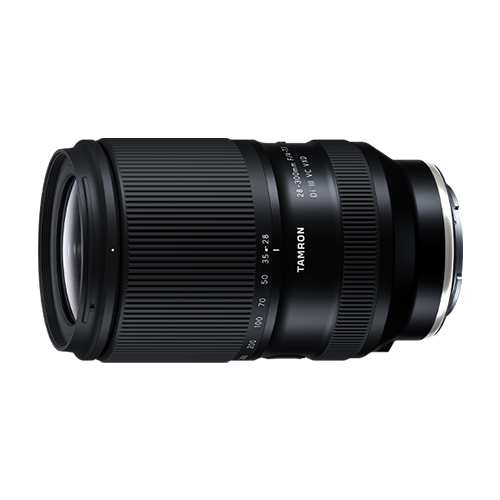
Lens selection is equally important. A fast wide-angle lens is useful for expansive star fields and landscapes, while a telephoto or super-telephoto lens is better suited to distant subjects such as the moon.
Most importantly, experiment.
Try different exposure settings, compositions, focal lengths, and white-balance settings. Photograph the same location at different times and under different conditions.
The night sky changes constantly, and that variety is part of what makes nighttime photography so rewarding.
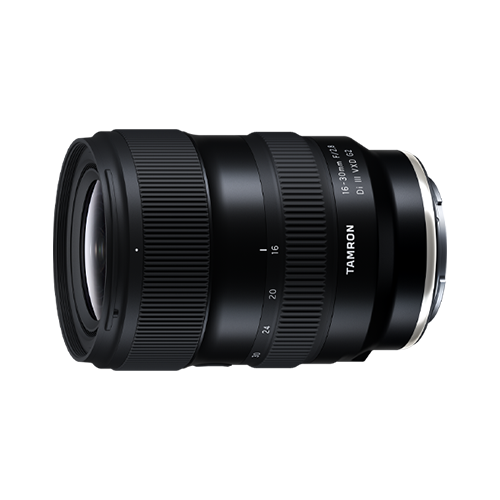
TAMRON products mentioned in this article