What Is Perspective in Photography? Tips for Better Photos
Have you ever taken a photo that looked flat even though the scene looked impressive in person? One way to make your images feel more three-dimensional and engaging is to understand perspective in photography.
Perspective helps communicate the relationship between subjects at different distances. It can make a road appear to stretch toward the horizon, make a building look imposing, or make a nearby object appear dramatically larger than something in the background.
The good news is that you don’t need complicated equipment to start using perspective. By changing your camera position, shooting angle, composition, and lens choice, you can create very different visual impressions from the same subject.
In this guide, we’ll explain what perspective means in photography, how vanishing points and perspective lines work, how different shooting positions affect an image, and how to choose a lens for different perspective photography techniques.
What Is Perspective in Photography?
Perspective in photography refers to the way the position, size, and relationship of objects appear in an image based on their distance from the camera.
Objects that are closer to the camera generally appear larger, while objects farther away appear smaller. This difference in apparent size helps create a sense of depth in a two-dimensional photograph.
For example, imagine photographing a road that stretches into the distance. The road may appear wide near the camera and gradually become narrower toward the horizon. The surrounding buildings, trees, or utility poles may also appear smaller as they move farther away.
These visual relationships give the viewer a sense of distance and depth.
Perspective can be used intentionally to make an image:
- Feel more three-dimensional
- Emphasize depth and distance
- Make a subject appear larger or smaller
- Create a strong sense of scale
- Guide the viewer’s eyes through the image
- Make ordinary scenes more visually interesting
Perspective vs. Focal Length: What’s the Difference?
One of the most important things to understand is that camera position is what changes perspective.
Changing the focal length of a lens changes your field of view and framing. However, when photographers move farther away and use a longer focal length to maintain similar framing, the relative distances between foreground and background subjects change in appearance.
This is why wide-angle photographs often appear to have exaggerated depth, while photographs taken from farther away with a telephoto lens can appear more compressed.
For example, if you move very close to a foreground subject with a wide-angle lens, that subject can appear dramatically larger than the background. If you step farther away and use a telephoto lens to achieve similar framing, the difference in apparent size between foreground and background can become less pronounced.
This is commonly referred to as telephoto compression or the compression effect.
So, when experimenting with perspective, don’t think only about changing lenses. Move your camera.
Try photographing the same subject:
- From very close
- From a moderate distance
- From farther away with a longer focal length
You’ll quickly see how the relationship between foreground and background changes.
How Wide-Angle Lenses Can Enhance Perspective
Wide-angle lenses are popular for perspective photography because their broad field of view makes it possible to include a large amount of the scene.
When you move close to a foreground subject, the difference in apparent size between the foreground and background can become especially noticeable.
For example, you could photograph:
- A flower close to the camera with mountains in the distance
- A person standing near a building
- A road extending toward the horizon
- A dramatic foreground rock in a landscape
- A large architectural structure from a low position
The closer foreground element can become a strong visual anchor while the background provides context.
This technique can make photographs feel much more dynamic.
A wide-angle lens can also be useful when photographing interiors, architecture, narrow streets, and expansive landscapes where you want to show the relationship between multiple elements within the scene.
What Is Telephoto Compression?
Telephoto lenses can create a different visual effect.
When photographing from a greater distance with a longer focal length, distant subjects can appear visually closer together. Mountains, buildings, trees, or other background elements may seem to form a denser layer behind the main subject.
This is commonly called compression.
For example, when photographing a mountain range, a telephoto lens can isolate distant peaks and make several layers of mountains appear visually stacked together.
Compression can be useful for:
- Landscapes
- Wildlife
- Sports
- Cityscapes
- Mountains
- Architectural details
- Portraits
It is important to remember that compression isn’t simply a special property that a telephoto lens applies to a scene. The effect is strongly related to the shooting distance required to achieve a particular composition.
This gives you another reason to experiment with both your position and focal length rather than relying on the lens alone.
What Is a Vanishing Point?
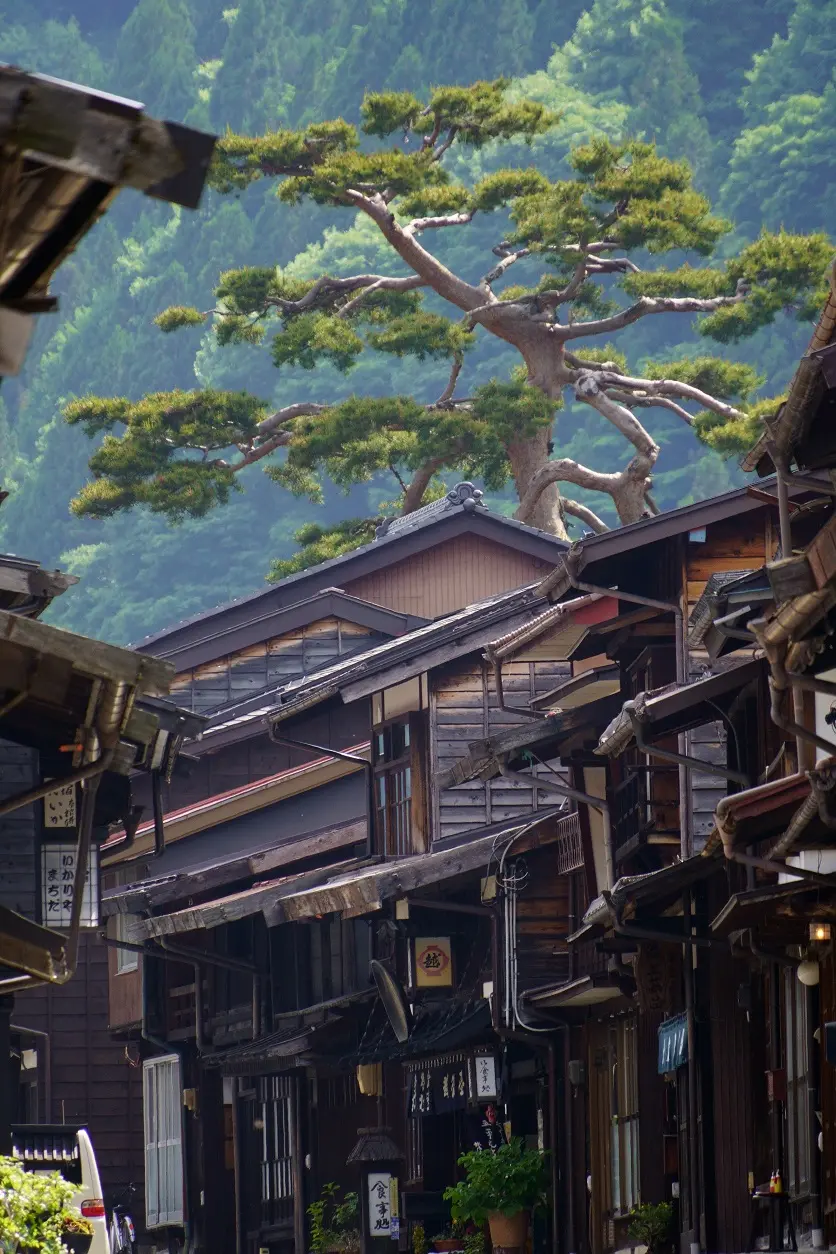
A vanishing point is a point where parallel lines appear to converge as they extend into the distance.
This is one of the easiest ways to recognize perspective in a photograph.
Think about:
- Straight roads
- Railway tracks
- Hallways
- Bridges
- Rows of buildings
- Fences
- Utility poles
- Long sidewalks
As these lines move farther from the camera, they appear to get closer together and eventually converge toward a point.
You can use this effect to guide the viewer’s attention deeper into your photograph.
Centered Vanishing Point
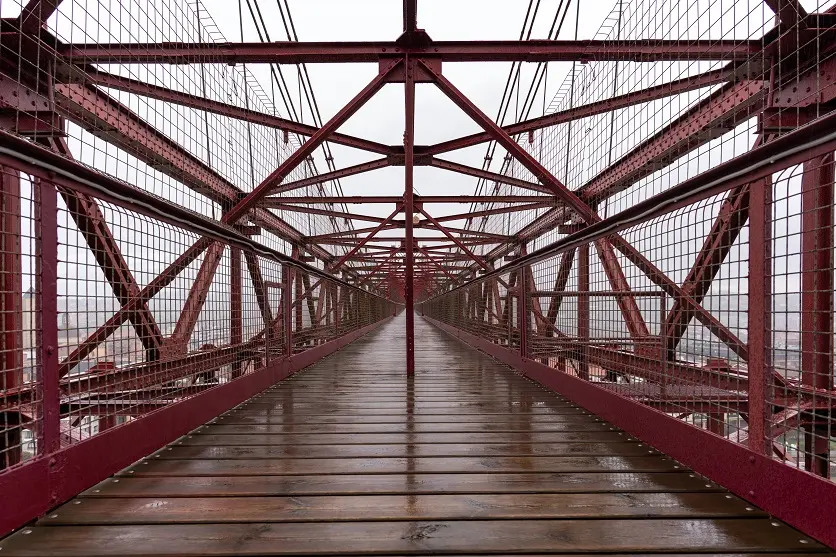
Placing the vanishing point near the center of the frame can create a strong sense of symmetry and stability.
This works particularly well with:
- Corridors
- Roads
- Tunnels
- Railway tracks
- Symmetrical architecture
Off-Center Vanishing Point
Moving the vanishing point toward one side of the frame can create a more dynamic composition.
Instead of leading the viewer directly into the center, the lines can guide the viewer diagonally through the image.
Experiment with both approaches to see which better suits your subject.
Types of Linear Perspective
There are several ways to use perspective in photography. Three particularly useful forms of linear perspective are one-point, two-point, and three-point perspective.
One-Point Perspective
One-point perspective occurs when lines converge toward a single vanishing point.
A straight road disappearing toward the horizon is a classic example.
Other examples include:
- Long corridors
- Railway tracks
- Tunnels
- Bridges
- Straight streets
- Rows of trees
To create a strong one-point perspective photograph, position yourself so that the main lines in the scene lead toward the same area of the frame.
You can place the vanishing point in the center for a symmetrical composition or move it slightly off-center for a more dynamic result.
Adding an interesting foreground element can also prevent the photograph from looking too empty.
Two-Point Perspective
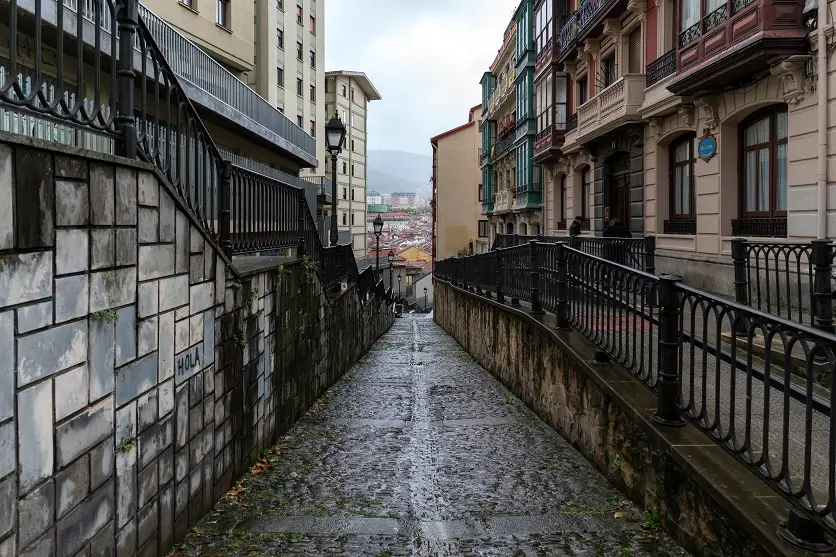
Two-point perspective occurs when lines converge toward two different vanishing points.
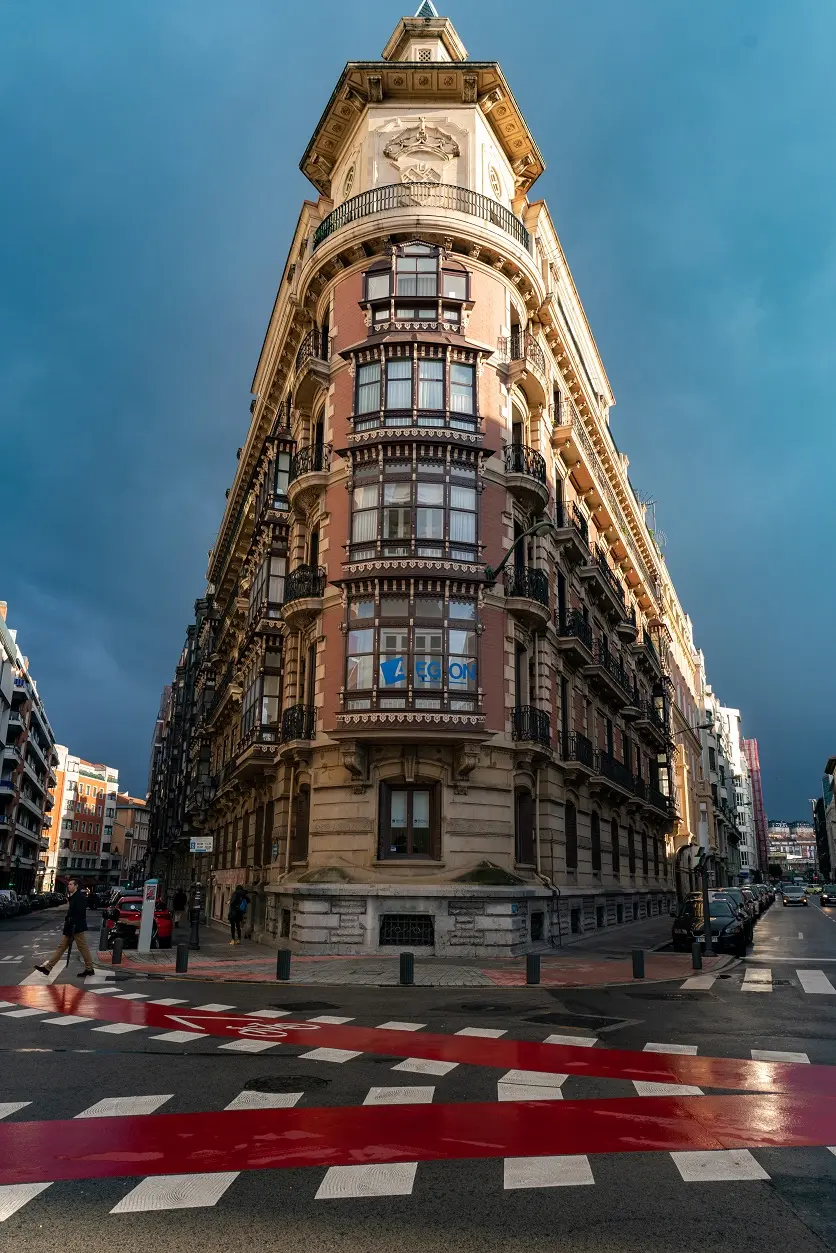
A common example is photographing the corner of a building.
Instead of looking directly at a flat wall, position yourself at an angle so that two sides of the structure extend away from you.
This can create a strong sense of width and depth.
Two-point perspective works particularly well with:
- Buildings
- Streets
- Interior spaces
- Bridges
- Architectural details
Try moving around the subject rather than photographing it straight on. Even a small change in your position can significantly alter the geometry of the photograph.
Three-Point Perspective
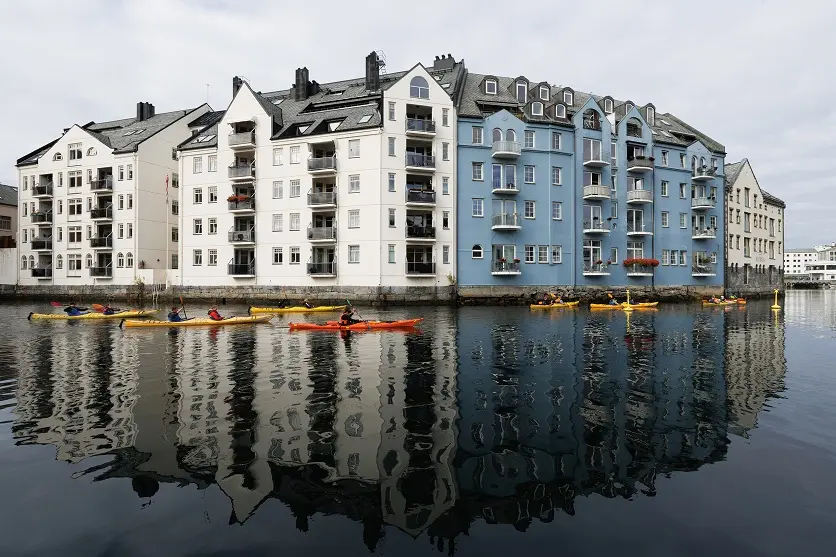
Three-point perspective adds another vanishing point, usually because the camera is pointed significantly upward or downward.
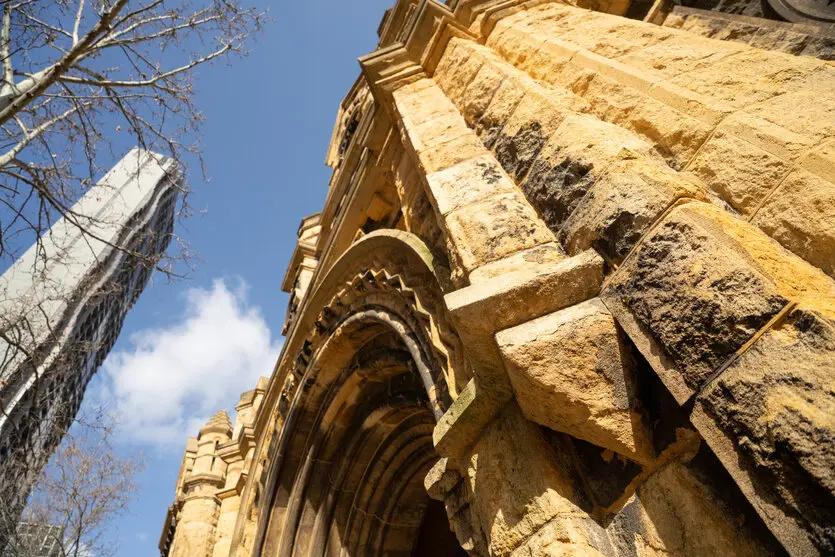
This is particularly noticeable when photographing tall buildings from a low angle.
For example, stand near the base of a skyscraper and point the camera upward. The vertical lines of the building can appear to converge as they extend toward the sky.
This technique can make architecture feel:
- Taller
- More imposing
- More dramatic
- More dynamic
You can also use a high shooting position to create a downward perspective, depending on the scene.
Make the Foreground More Interesting
Don’t be afraid to move closer to a foreground element.
A rock, flower, tree branch, fence, or architectural detail can become a strong compositional element.
With a wide-angle lens, moving close to the foreground can make it appear significantly larger compared with the background.
This can create a dramatic sense of scale.
Change Your Shooting Angle
Your camera height and shooting angle can dramatically change perspective.
Instead of taking every photograph from eye level, try deliberately changing your position.
Try a Low Angle
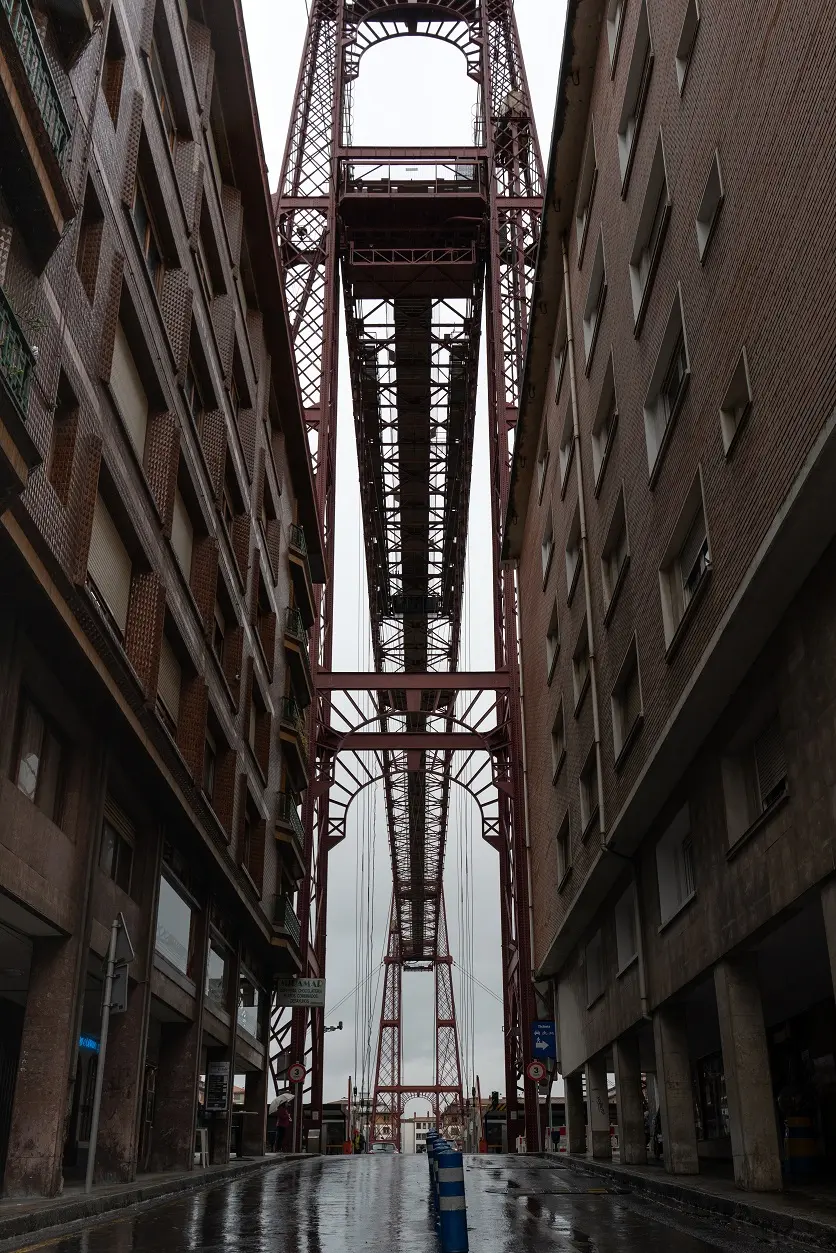
A low angle can make subjects appear taller or more imposing.
It works particularly well for:
- Buildings
- Statues
- Trees
- Bridges
- Vehicles
- People
- Large objects
When combined with a wide-angle lens and a close foreground position, a low angle can produce a particularly strong sense of depth.
Try a High Angle
A high shooting position can reveal more of the environment.
This can work well for:
- City streets
- Squares
- Landscapes
- Crowds
- Patterns
- Architecture
A higher angle can also make relationships between objects easier to see.
Shoot From an Oblique Angle
Instead of photographing a building or object straight on, move to the side.
An angled viewpoint can introduce diagonal lines and make the subject feel more three-dimensional.
This is especially useful when photographing corners, roads, walls, or architectural structures.
Move Around Your Subject
One of the simplest perspective photography tips is also one of the most effective:
Move.
Don’t assume the first position you find is the best one.
Take a photograph from where you are standing, then move:
- Closer
- Farther away
- Left
- Right
- Higher
- Lower
Look at how the foreground and background relationships change.
You may discover that moving only a few steps completely changes the image.
This is one reason perspective photography is so useful for beginners. You can practice without changing your camera settings or buying additional equipment.
Best Subjects for Perspective Photography
Some subjects naturally contain lines, layers, or repeating elements that make perspective easier to see.
Architecture and Buildings
Buildings are excellent subjects for practicing perspective.
Look for:
- Building corners
- Windows
- Columns
- Staircases
- Hallways
- Ceiling lines
- Roads surrounding buildings
Try photographing a tall building from below to experiment with three-point perspective.
A wide-angle lens can also help you include more of the structure when working in confined spaces.
Landscape Photography
Landscape photography is another excellent opportunity to use perspective.
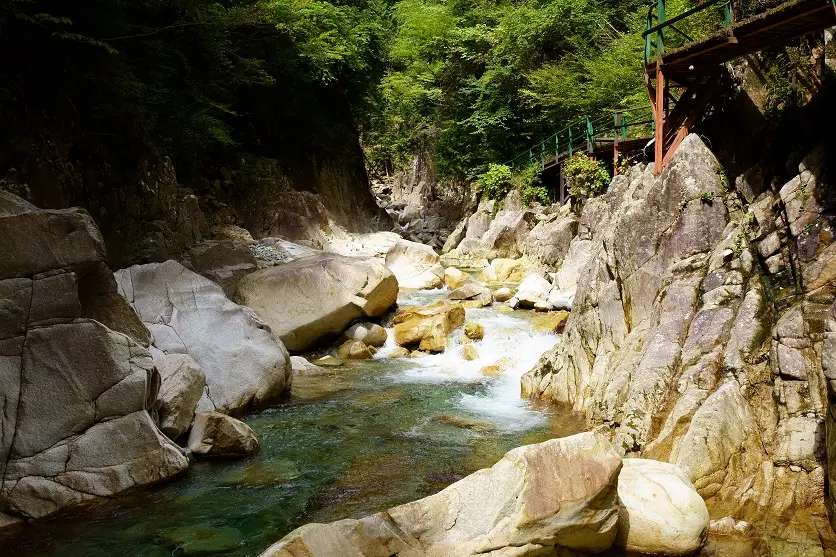
Instead of photographing only distant mountains, look for something interesting in the foreground.
A rock, tree, path, flower, or person can provide a sense of scale.
You can also use a longer focal length to isolate distant mountains and create a layered, compressed appearance.
Streets and Roads
Roads naturally create leading lines.
Look for roads that:
- Extend toward the horizon
- Curve through the landscape
- Pass between buildings
- Include repeating streetlights or poles
Straight roads are especially useful for practicing one-point perspective.
Curved roads can create a different visual journey through the frame.
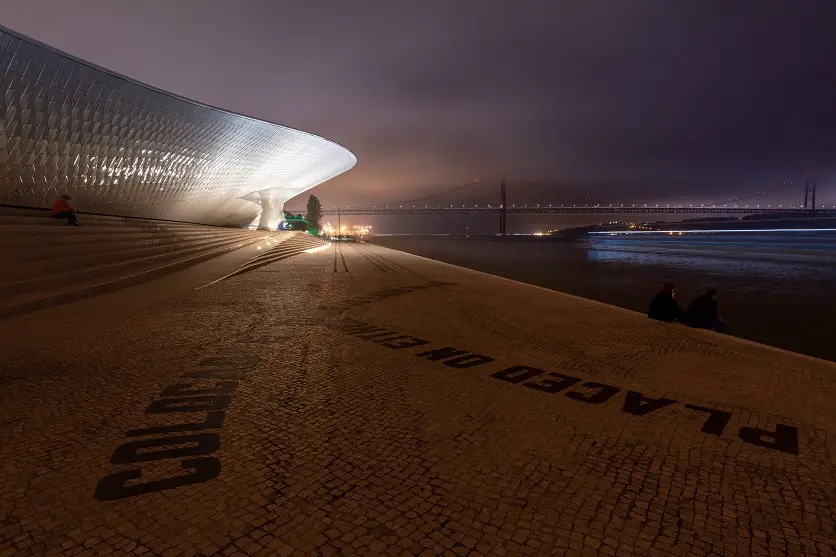
Indoor Spaces
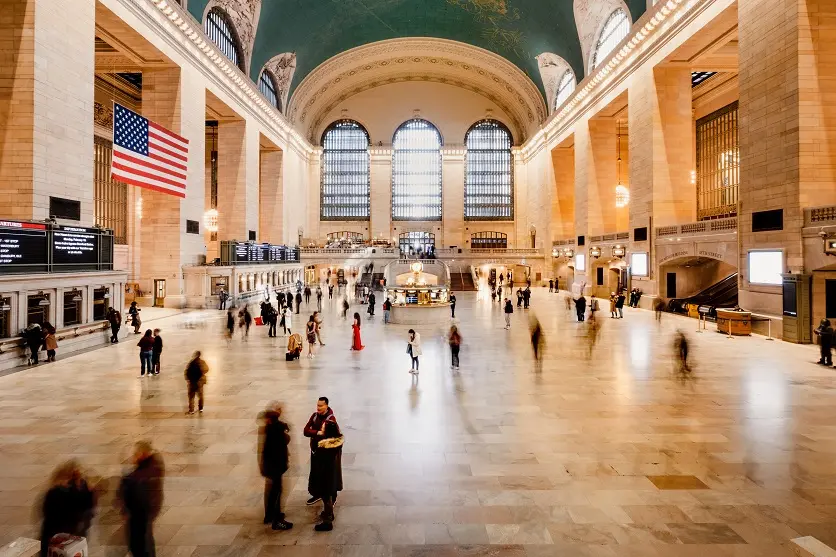
Long indoor spaces are perfect for practicing perspective.
Try:
- Corridors
- Train stations
- Museums
- Shopping centers
- Tunnels
- Stairways
Look for repeating architectural elements and lines that lead toward a vanishing point.
Statues and Large Objects
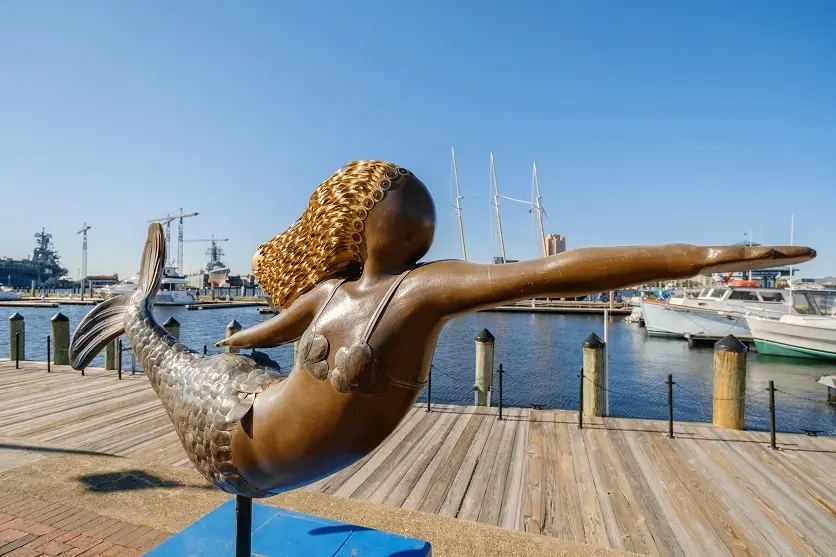
Three-dimensional objects can also benefit from perspective techniques.
Instead of photographing a statue straight on, move around it.
Try a low angle, side angle, or close foreground position.
You may find that a small change in viewpoint makes the subject look dramatically different.
Choosing a Lens for Perspective Photography
You don’t need a particular lens to photograph perspective. However, different focal lengths can make certain approaches easier.
Ultra-Wide and Wide-Angle Lenses
Wide-angle lenses are useful when you want to:
- Include more of the environment
- Get close to foreground subjects
- Photograph architecture
- Photograph interiors
- Create dramatic foreground-to-background relationships
- Emphasize leading lines
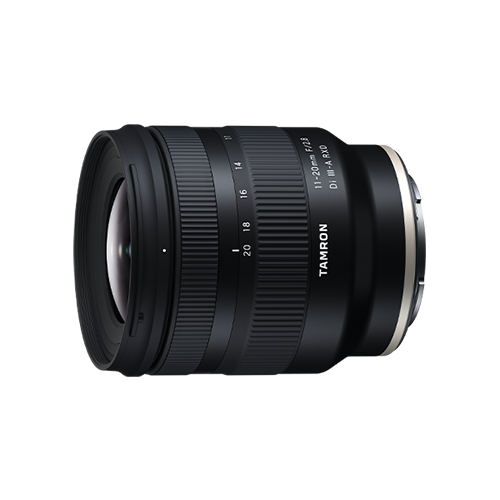
The TAMRON 11-20mm F/2.8 Di III-A RXD (Model B060), for example, provides an ultra-wide field of view that can be useful for architecture, interiors, landscapes, and other scenes where you want to emphasize the relationship between foreground and background.
Standard Zoom Lenses
A standard zoom gives you more flexibility when you want to experiment with perspective without changing lenses.
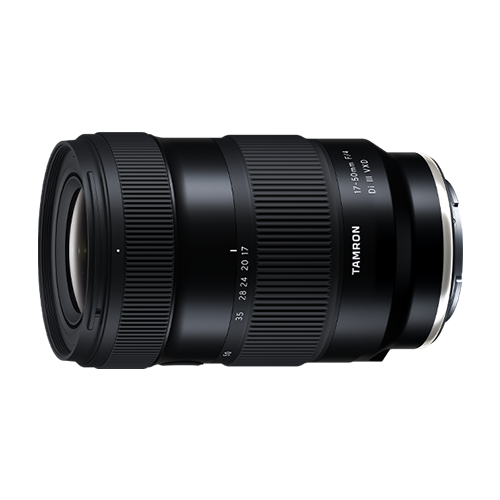
The TAMRON 17-50mm F/4 Di III VXD (Model A068) covers a useful range from wide-angle to standard focal lengths. This makes it practical for experimenting with different compositions while moving around your subject.
Compact Wide-Angle Prime Lenses
A compact prime lens can encourage you to physically move around and explore different viewpoints.
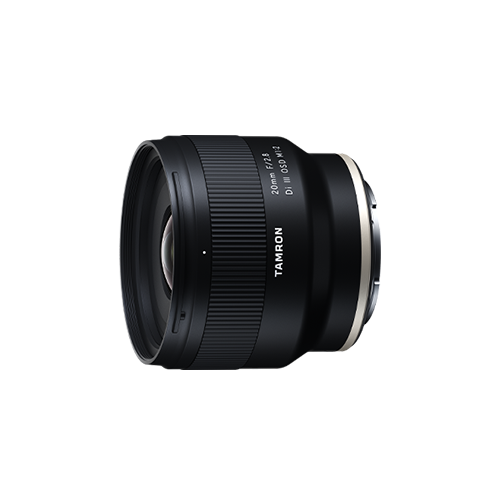
The TAMRON 20mm F/2.8 Di III OSD M1:2 (Model F050) combines a wide-angle field of view with close focusing capability, making it useful for creative foreground compositions and environmental photography.
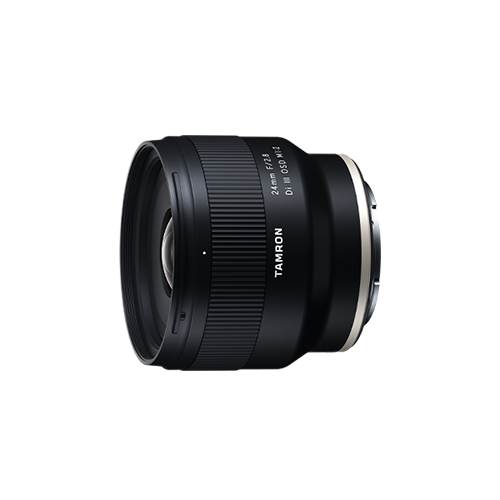
The TAMRON 24mm F/2.8 Di III OSD M1:2 (Model F051) is another compact wide-angle option that can be useful for everyday photography, travel, and close-up compositions.
All-in-One Zoom Lenses
Sometimes you want to experiment with perspective across a wide range of focal lengths without carrying multiple lenses.
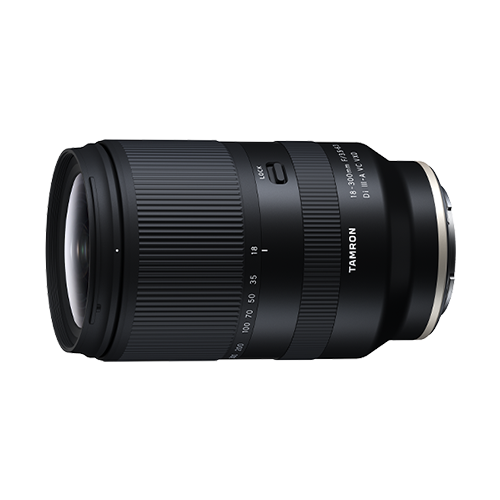
The TAMRON 18-300mm F/3.5-6.3 Di III-A VC VXD (Model B061) offers a broad zoom range that can be useful for comparing wide-angle compositions with tighter, more compressed views.
For example, you can photograph a landscape at the wide end with a strong foreground element and then zoom in on distant mountains to explore a more compressed composition.
A Simple Perspective Photography Exercise
You can practice everything in this article with a single subject.
Find something with depth, such as a road, building, hallway, tree-lined path, or group of objects.
Then take several photographs:
Photo 1: Normal View
Stand at a comfortable distance and photograph the subject normally.
Photo 2: Move Closer
Move significantly closer without changing the lens.
Notice how the foreground and background relationship changes.
Photo 3: Change Your Height
Take another photograph from a low position.
Then try a higher position.
Photo 4: Change Your Angle
Move to the left or right and photograph the same subject from an angle.
Look for new lines and vanishing points.
Photo 5: Change Focal Length
If you have a zoom lens, photograph the subject at a wide focal length and then at a longer focal length.
If you move backward while zooming in to maintain similar framing, compare how the background appears relative to the subject.
This exercise will help you understand the difference between simply changing your focal length and changing your shooting position.
Common Perspective Photography Mistakes
Always Shooting From Eye Level
Eye-level photographs are natural, but they can become repetitive.
Try changing your height or position to find a more interesting perspective.
Standing Too Far From the Foreground
If you want dramatic foreground-to-background depth, move closer to the foreground element.
A wide-angle lens can be particularly effective when you are close to the subject.
Ignoring Background Elements
Before pressing the shutter, check what is happening behind your main subject.
Background buildings, poles, trees, or other objects can either strengthen or distract from your composition.
Using a Wide-Angle Lens Without a Strong Foreground
A wide field of view doesn’t automatically create a strong photograph.
If everything is far away, the image can still appear flat.
Look for an interesting foreground element to anchor the composition.
Forgetting to Experiment
Perspective is highly dependent on where you stand.
If you only take one photograph from one position, you may miss a much stronger composition nearby.
Final Tips for Using Perspective in Photography
Perspective is one of the most effective ways to make photographs feel deeper, more dynamic, and more three-dimensional.
Keep these ideas in mind when you’re shooting:
- Move closer to exaggerate the relationship between foreground and background.
- Step farther away to create a different sense of depth.
- Use wide-angle lenses when you want to include expansive scenes and emphasize foreground relationships.
- Use longer focal lengths when you want to isolate distant subjects or create a compressed, layered appearance.
- Look for leading lines that guide the viewer through the image.
- Find vanishing points in roads, buildings, corridors, and other linear subjects.
- Include foreground, midground, and background to create layers.
- Change your camera height to alter the visual relationship between subjects.
- Try low and high angles for different impressions of scale.
- Move around your subject before deciding on your final composition.
- Check the background for distracting elements.
- Experiment with different focal lengths and compare the results.
Most importantly, remember that perspective is not simply about choosing a wide-angle or telephoto lens. Where you place the camera has a major influence on how the scene is represented.
The next time you are photographing a landscape, building, road, street, or everyday subject, take a moment to look for lines, layers, foreground elements, and changes in scale. Then move your camera and see how the scene changes.
With practice, you’ll begin to recognize opportunities to use perspective in photography naturally—and turn ordinary scenes into images with greater depth, dimension, and visual impact.
TAMRON products mentioned in this article