Rays of Light and Starburst Photography: Tips for Beginners
Have you ever seen sunlight streaming dramatically through a forest, or a photograph where the sun or a streetlight appears to have sharp rays extending from it?
These are two different optical and atmospheric effects known as rays of light and starbursts.
Both can add atmosphere and visual impact to a photograph, but they are created in different ways.
Rays of light are caused by light scattering through moisture, haze, clouds, dust or other particles in the atmosphere.
Starbursts, on the other hand, are created by diffraction as light passes through the small aperture opening of a camera lens.
Understanding how these effects occur makes it easier to photograph them intentionally.
In this guide, we’ll explain what rays of light and starbursts are, when they are most visible, which camera settings to try and how to compose photographs that make these effects stand out.
What Are Rays of Light?
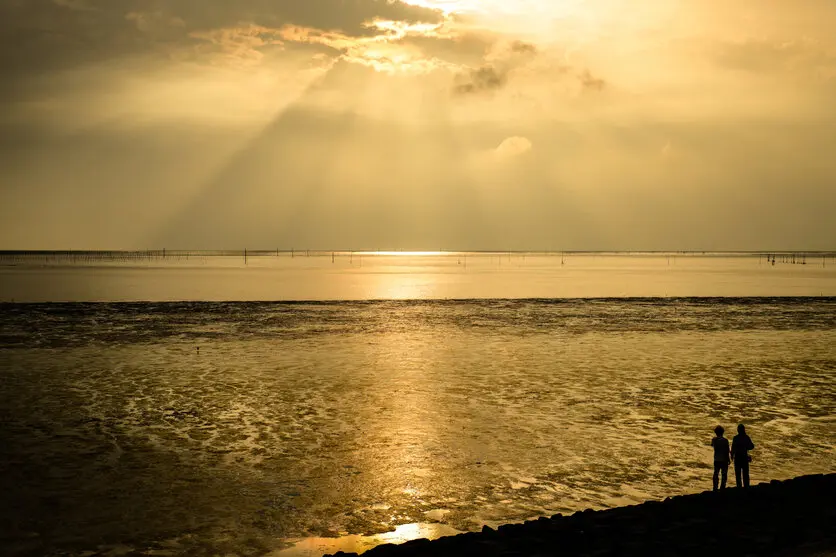
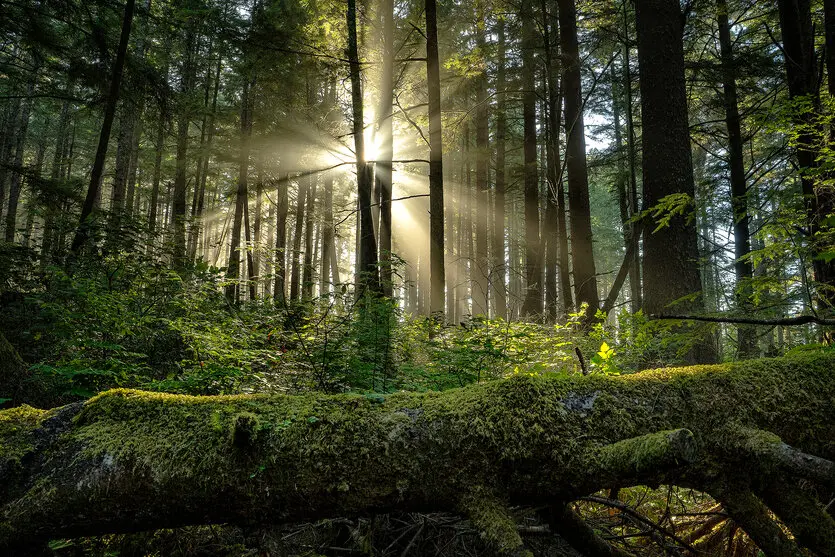
Rays of light are visible beams or shafts of light that appear to extend from a light source.
They are especially noticeable when sunlight passes through:
- Clouds
- Fog
- Mist
- Trees
- Haze
- Atmospheric moisture
- Dust or other particles
You may see them as soft beams stretching through a forest or as dramatic shafts of sunlight breaking through clouds.
These rays are sometimes called crepuscular rays, particularly when they appear around sunrise or sunset.
How Do Rays of Light Form?
Light itself is not normally visible as a beam when traveling through clean air.
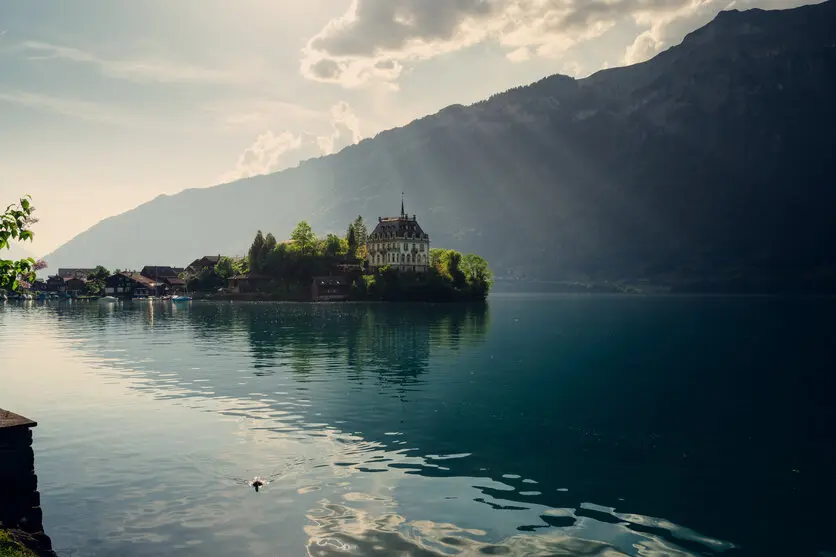
However, when sunlight encounters particles such as water droplets, mist, dust or atmospheric haze, the light can scatter.
This scattering makes the path of the light visible.
The effect is particularly noticeable when:
- The sun is relatively low
- The background is darker
- There is moisture or haze in the air
- Clouds partially block the sunlight
- Trees or buildings create gaps through which sunlight passes
This is why early morning and late afternoon can be particularly productive times for photographing rays of light.
What Are Starbursts?
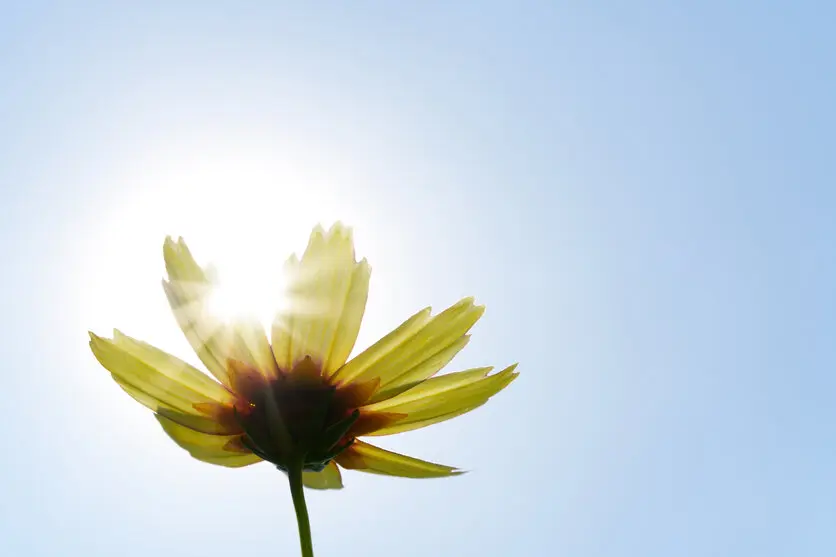
A starburst is an effect where a bright point of light appears to radiate sharp lines or spikes.
You can create starbursts from light sources such as:
- The sun
- Streetlights
- Building lights
- Car headlights
- Other small, bright light sources
Unlike rays of light, starbursts are primarily related to the camera lens and aperture.
How Does the Starburst Effect Occur?
When you stop down the aperture to a smaller opening, light passing through the aperture can diffract.
This diffraction produces the characteristic rays extending outward from a bright point of light.
The appearance of the starburst can vary depending on the lens’s aperture design.
The number and shape of the aperture blades can influence the appearance of the resulting rays.
This means that different lenses can produce noticeably different starburst patterns.
Rays of Light vs. Starbursts
Although both effects involve light, they are created differently.
| Effect | Main Cause | Typical Conditions |
|---|---|---|
| Rays of light | Light scattering through atmospheric particles | Fog, mist, haze, clouds, forests |
| Starburst | Diffraction at the lens aperture | Small aperture and bright point light sources |
A photograph can contain both effects at the same time.
For example, you can photograph the sun through a misty forest while using a stopped-down aperture.
The atmospheric conditions can reveal the rays of light while the aperture can create a starburst around the sun.
When Is the Best Time to Photograph Rays of Light?
Timing is one of the most important factors in rays of light photography.
You cannot create atmospheric rays simply by changing your camera settings.
The right environmental conditions need to be present.
A useful standard zoom can handle:
- Travel
- Street photography
- Family photography
- Portraits
- Landscapes
- Everyday shooting
- Video
When Should You Use an All-in-One Zoom?
An all-in-one zoom is designed to cover a particularly broad focal-length range.
This can be useful when convenience is more important than carrying several specialized lenses.
An all-in-one lens can allow you to photograph:
- Landscapes
- Street scenes
- Portraits
- Family activities
- Wildlife
- Sports
- Distant subjects
without changing lenses.
17-70mm F/2.8 Di III-A VC RXD — Model B070
The 17-70mm F2.8 Di III-A VC RXD (B070) is a standard zoom designed for APS-C mirrorless cameras.
On a Fujifilm X-mount camera, its 17-70mm range provides approximately a 25.5-105mm full-frame-equivalent field of view.
This gives you wide-angle coverage at 17mm and short-telephoto reach at 70mm.
It can be useful for:
- Travel
- Portraits
- Street photography
- Family photography
- Events
- Video
- Everyday photography
The constant F2.8 aperture provides a large maximum aperture throughout the zoom range, while VC image stabilization can help reduce the effects of camera shake when shooting handheld.
Photograph During Early Morning
Early morning can be an excellent time to look for rays of light.
Cooler temperatures can contribute to mist or fog, particularly around forests, rivers, lakes and other areas where moisture is present.
The low position of the sun can also create long, directional beams.
Photograph During Late Afternoon
As the sun gets lower in the sky, sunlight travels through more of the atmosphere.
This can produce dramatic lighting and longer shadows.
Late afternoon can therefore provide good opportunities for photographing rays, particularly when clouds or haze are present.
Look for Fog and Mist
Fog and mist make light rays easier to see because water droplets scatter the sunlight.
Good locations can include:
- Forests
- Mountains
- Rivers
- Lakes
- Waterfalls
- Wetlands
After rainfall can also be worth considering because moisture in the air may increase the chance of visible rays.
Look for Gaps in Clouds
You do not necessarily need fog to photograph rays.
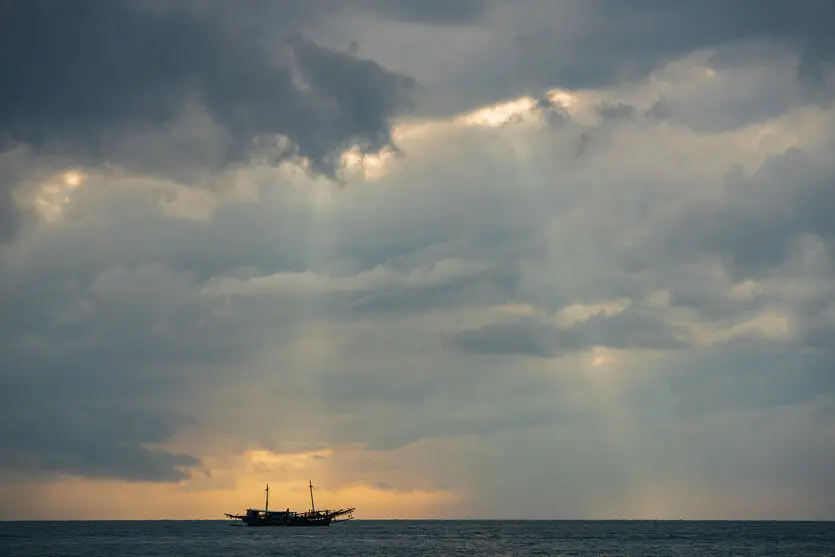
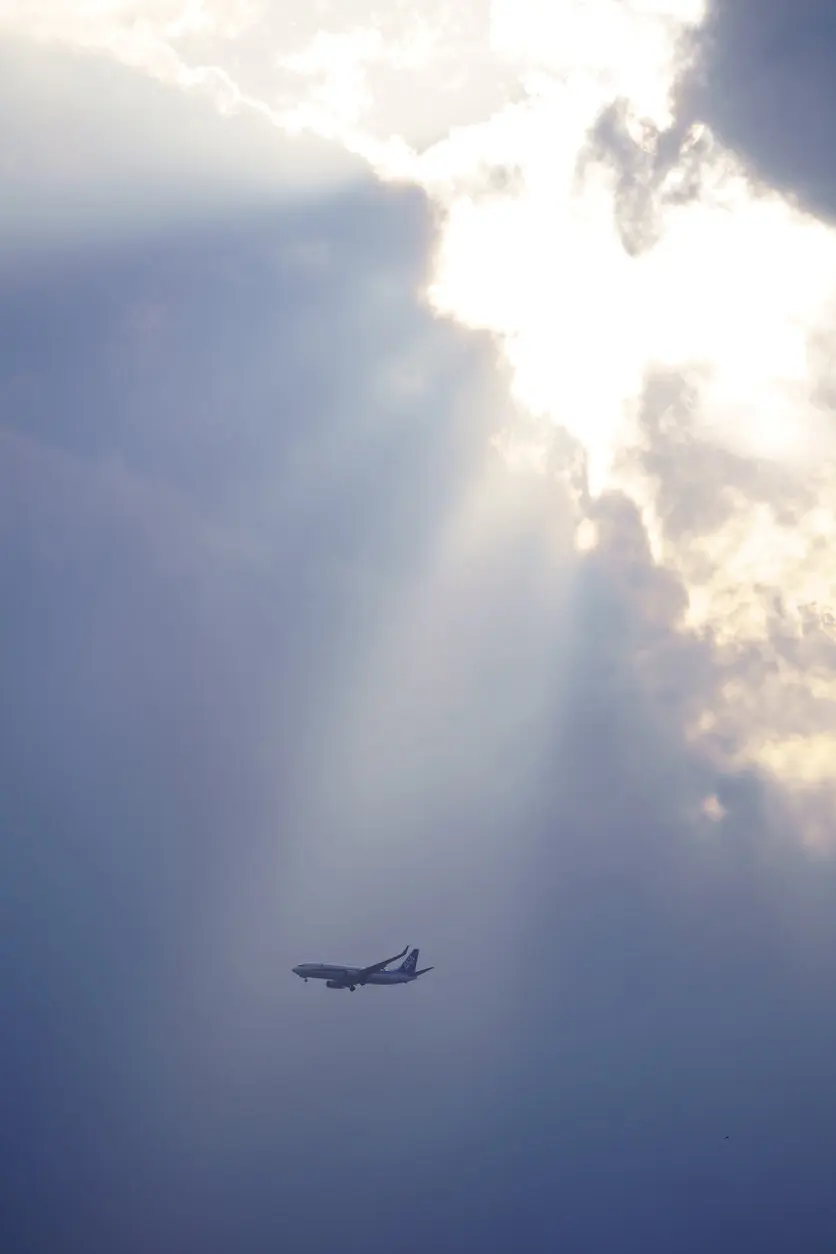
When sunlight passes through gaps in clouds, the surrounding clouds can act as a dark background that makes the beams easier to see.
This can create dramatic landscape photographs.
How to Photograph Rays of Light
Once you find suitable conditions, your camera settings and composition can help emphasize the effect.
Use Aperture Priority Mode
Aperture Priority mode can be a convenient starting point.
Select the aperture yourself while allowing the camera to determine an appropriate shutter speed.
This makes it easier to experiment with the depth of field and the appearance of the light.
Try an Aperture Around F8 to F11
A useful starting point for how to photograph rays of light is around F8 to F11.
This can provide enough depth of field for landscape scenes while allowing you to control how the light is rendered.
However, there is no single correct aperture.
Try different settings and review the results.
For example:
- F5.6 → can provide a brighter exposure and shallower depth of field
- F8 → useful starting point for many landscape scenes
- F11 → greater depth of field and stronger control over bright light
- F16 → may create more diffraction and is not always necessary
The ideal setting depends on the scene and the look you want.
Keep ISO Low When Possible
Start with a low ISO, such as ISO 100 or 200, when there is sufficient light.
A lower ISO can help reduce image noise and preserve image quality.
As the light becomes darker, you may need to increase ISO.
Watch Your Shutter Speed
The shutter speed depends on the available light and whether the camera is handheld.
If the shutter speed becomes too slow for handheld shooting, camera shake can reduce sharpness.
A tripod can be useful when you need a longer exposure.
Protect the Highlights
Bright sunlight can easily create overexposed areas.
Check the camera’s histogram or highlight warning if available.
If the brightest parts of the image are losing detail, consider reducing the exposure.
You can try:
- Negative exposure compensation
- A faster shutter speed
- A smaller aperture
- Lower ISO
Use Backlighting to Emphasize Rays
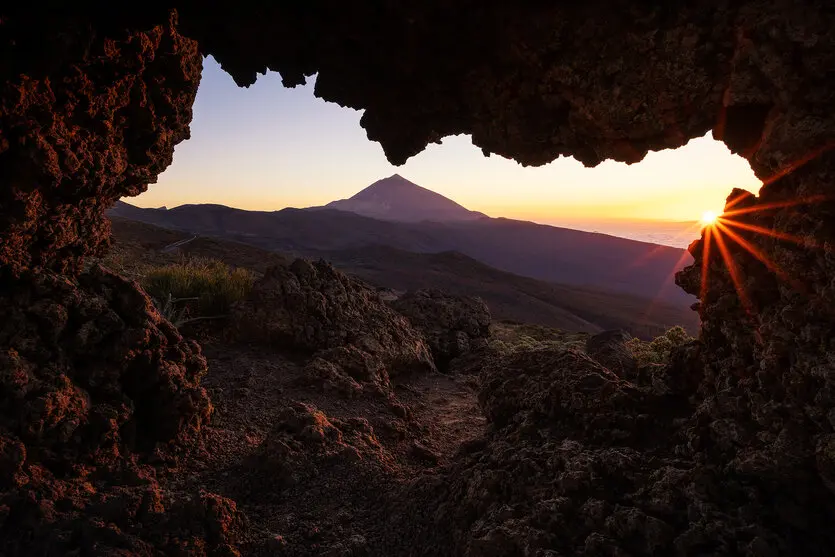
Backlighting is one of the most effective ways to photograph rays of light.
Position yourself so the light source is behind or partially behind the subject.
For example, try photographing:
- Sunlight through trees
- Mountains against the sun
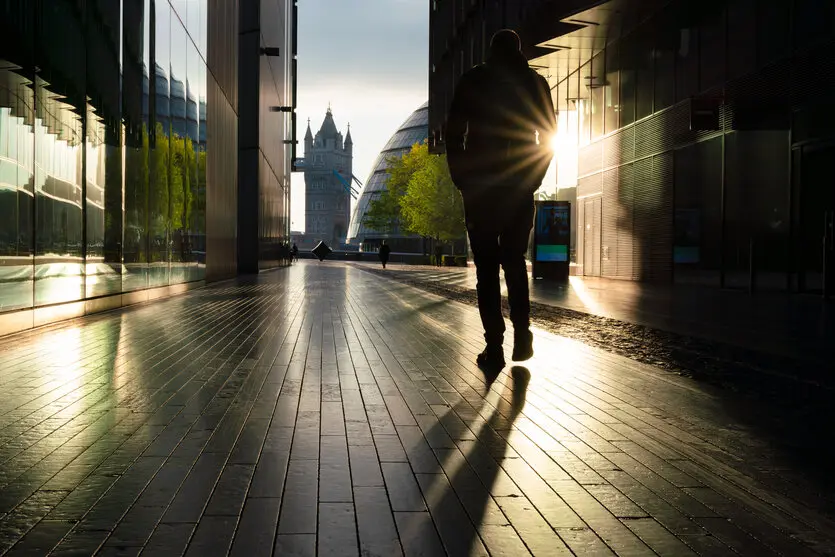
- People in backlight
- Buildings with sunlight behind them
The darker areas of the scene can provide contrast against the bright rays.
Include a Foreground Subject
Rays can sometimes be difficult to see when the entire scene is bright.
Including darker elements in the foreground can provide contrast.
Try using:
- Trees
- Rocks
- Mountains
- Buildings
- People
- Bridges
The foreground also gives the photograph a stronger sense of depth.
Use Composition to Make the Rays Stand Out
Good light does not automatically create a good photograph.
Composition is still important.
Rule of Thirds
Try placing the sun or the main area of light near one of the intersections of the rule-of-thirds grid.
This can prevent the image from feeling too centered.
Diagonal Composition
Light rays naturally create diagonal lines.
Use these lines to guide the viewer’s eye through the image.
For example, rays coming through a forest can lead the viewer from the foreground toward the brighter area in the background.
Vertical Composition
Vertical orientation can work particularly well when rays extend downward through trees or clouds.
It can emphasize the height of the scene and the vertical direction of the light.
How to Photograph Starbursts
Starburst photography is generally easier to control than atmospheric rays because you can influence the effect primarily through your aperture.
Stop Down the Aperture
To create a stronger starburst, try stopping down the aperture.
A useful starting range is approximately:
F8 to F16
For example:
- F5.6 → weaker or softer effect
- F8 → visible starburst
- F11 → stronger rays
- F16 → pronounced effect
However, extremely narrow apertures such as F22 can introduce diffraction and reduce overall sharpness.
Therefore, don’t assume that the smallest available aperture will always produce the best photograph.
Use the Sun as a Light Source
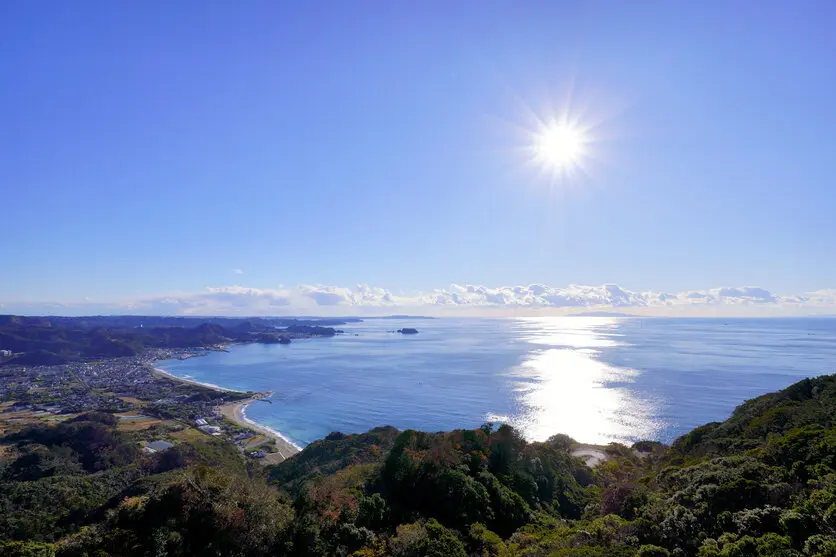
You can photograph a starburst using the sun.
Instead of photographing the sun completely unobstructed, try partially hiding it behind:
- A tree
- A building
- A mountain
- A person
- A rock
Allowing only part of the sun to appear can make the starburst easier to control and can also reduce the amount of intense light entering the frame.
Photograph Streetlights at Night
Starbursts are not limited to daytime.
Streetlights and other artificial light sources can be excellent subjects.
Try photographing:
- City streets
- Bridges
- Buildings
- Streetlights
- Night markets
- Traffic
Stopping the aperture down can turn small points of light into prominent star shapes.
What Determines the Shape of a Starburst?
The shape of a starburst depends partly on the lens’s aperture design.
The number and shape of the aperture blades influence the number and appearance of the rays.
Some lenses can produce pronounced, defined starbursts while others create a softer appearance.
This is one reason why two different lenses can produce different results even when using the same camera settings.
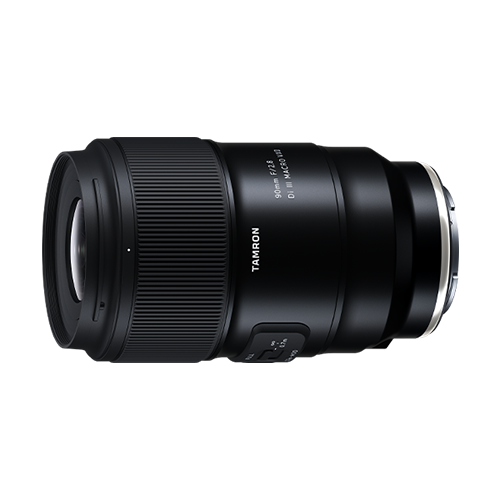
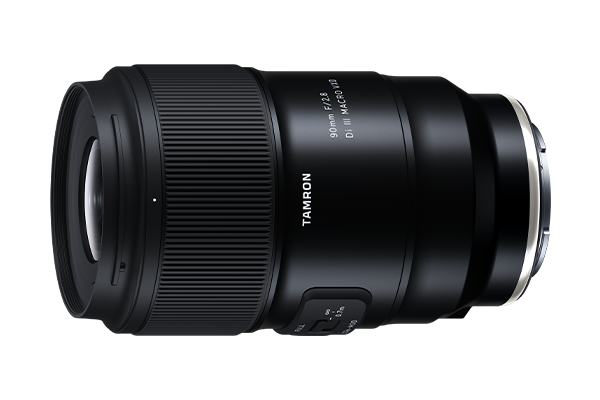
The 90mm F2.8 Di III MACRO VXD (F072), for example, features a 12-blade circular aperture and is designed to produce both attractive bokeh and starburst effects.
How to Photograph Starbursts at Night
Night photography can provide excellent opportunities for starbursts.
Use Streetlights as Your Subjects
Look for a scene containing several small light sources.
A line of streetlights can create a strong sense of depth.
Try photographing along:
- Roads
- Bridges
- Walkways
- City streets
Use a Narrow Aperture
Start around F11 and adjust as necessary.
If the starburst is too weak, try a smaller aperture.
If the image becomes too soft because of diffraction, open the aperture slightly.
Use a Tripod When Necessary
Night scenes can require slower shutter speeds.
A tripod can help keep the camera stable.
It also allows you to use a lower ISO when the available light is limited.
Use Manual Focus When Appropriate
Autofocus can sometimes struggle in very dark environments.
If your subject is static and the camera has difficulty focusing, consider switching to manual focus.
Use the camera’s magnified live view or focus assistance to confirm sharpness.
Photographing the Sun: Important Considerations
The sun is extremely bright and can potentially damage camera equipment and your eyes if viewed improperly.
Avoid looking directly at the sun through an optical viewfinder.
Use your camera’s live view or electronic viewfinder where appropriate, and follow the camera manufacturer’s safety recommendations.
Do not leave the camera pointed toward the sun for extended periods.
Also be aware that intense backlighting can make it difficult to judge exposure.
How to Combine Rays of Light and Starbursts
One of the most interesting techniques is to photograph both effects in the same scene.
For example:
- Find a location with fog or mist.
- Wait until the sun is low.
- Position yourself so the sun is partially visible.
- Stop the aperture down.
- Include trees or another foreground subject.
- Adjust exposure to protect the highlights.
- Take several photographs at different apertures.
The atmospheric conditions can reveal the rays, while the stopped-down aperture can create a starburst around the sun.
This combination can produce a dramatic landscape photograph.
Lens Selection for Rays of Light and Starbursts
The lens you choose depends on the scene.
A wide-angle lens can be useful when you want to show the environment surrounding the light.
A standard zoom provides flexibility when the subject distance changes.
A telephoto lens can isolate distant areas of light.
A macro lens can also be useful for night scenes because bright point sources can create interesting starbursts within a tighter composition.
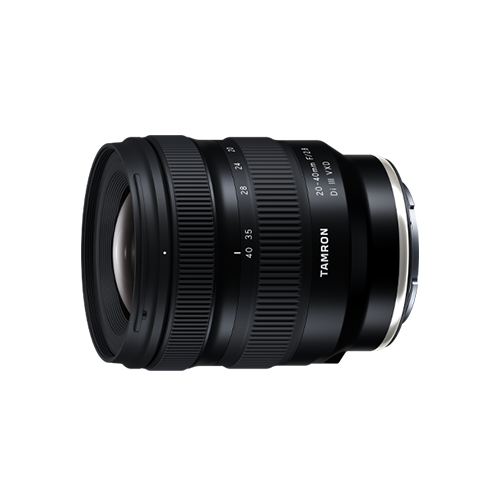
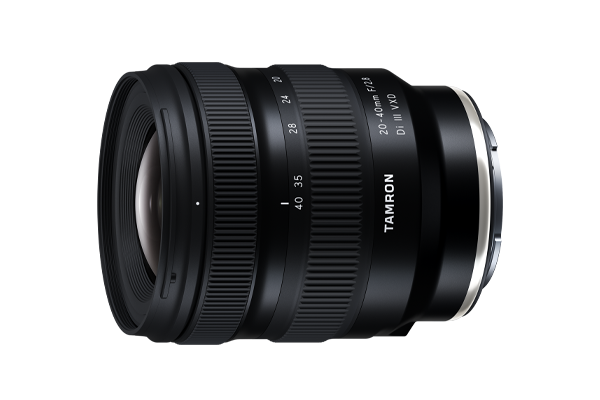
20-40mm F/2.8 Di III VXD — Model A062
The 20-40mm F2.8 Di III VXD (A062) provides a range from ultra-wide 20mm to standard 40mm.
This makes it useful for environmental scenes where you want to include both the light source and surrounding landscape.
It can be useful for:
- Landscapes
- Travel
- Street photography
- Night photography
- Vlogging
- Everyday shooting
The F2.8 aperture also provides flexibility when shooting in changing light conditions. TAMRON lists the A062 among the lenses featured in the original article.
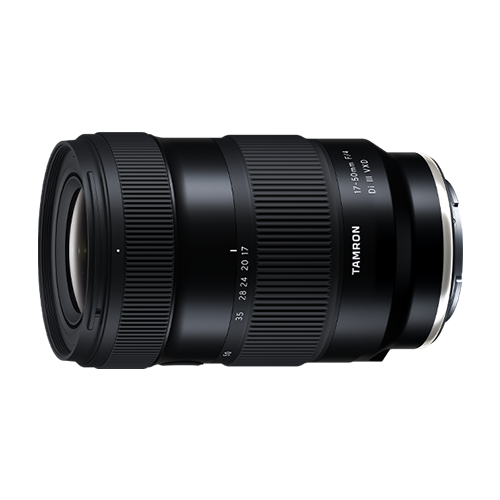
17-50mm F/4 Di III VXD — Model A068
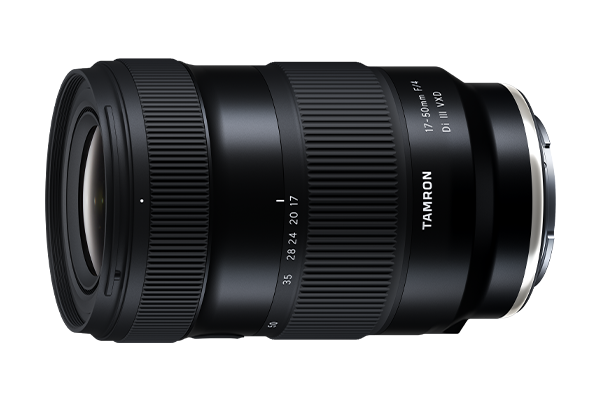
The 17-50mm F4 Di III VXD (A068) provides ultra-wide through standard coverage.
Its broad field of view can be useful when photographing rays of light in landscapes because you can include the surrounding environment while still keeping the light as the main visual element.
It can be useful for:
- Landscapes
- Architecture
- Travel
- Backlit scenes
- Night photography
- Video
90mm F/2.8 Di III MACRO VXD — Model F072
The 90mm F2.8 Di III MACRO VXD (F072) provides a different perspective.
Its 90mm focal length can isolate individual light sources and distant details, making it suitable for more tightly framed starburst photographs.
It can be useful for:
- Night photography
- Detail photography
- Close-up photography
- Portraits
- Starburst effects
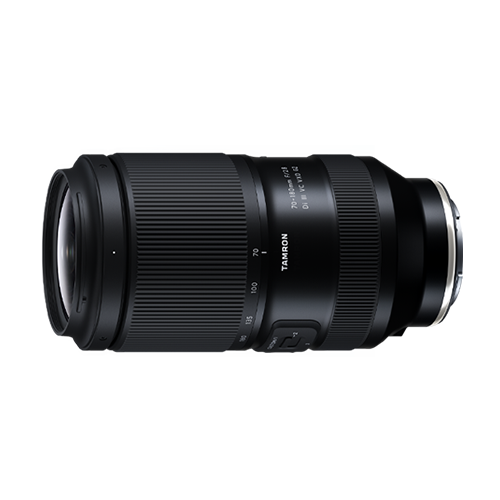
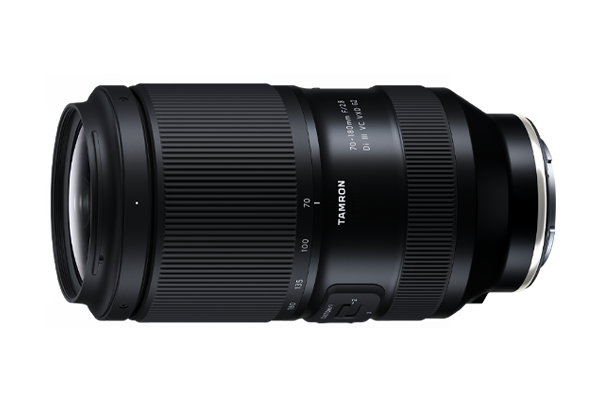
70-180mm F/2.8 Di III VC VXD G2 — Model A065
A telephoto zoom can be useful when you want to isolate a particular area of a landscape.
The 70-180mm F2.8 Di III VC VXD G2 (A065) can help compress the scene and bring distant elements closer within the frame.
This can be useful for:
- Mountain landscapes
- Sunlight through distant trees
- Backlit subjects
- Isolated areas of light
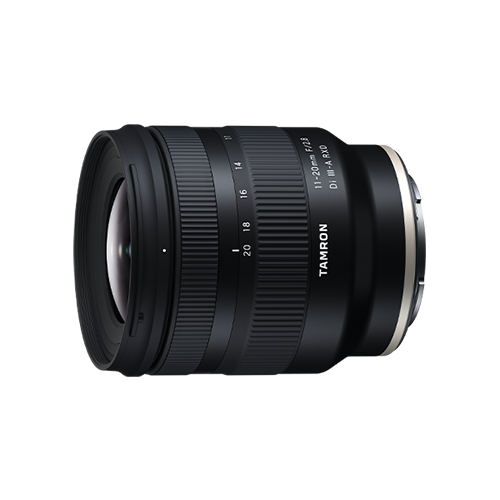
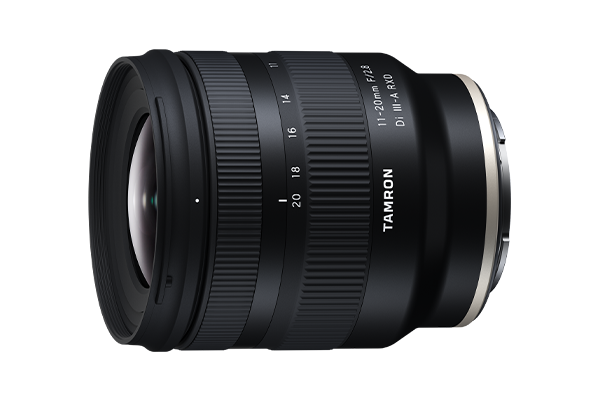
11-20mm F/2.8 Di III-A RXD — Model B060
The 11-20mm F2.8 Di III-A RXD (B060) is an ultra-wide zoom designed for APS-C mirrorless cameras.
Its wide field of view can be particularly useful when you want to show a large landscape around the light source.
It can be useful for:
- Landscapes
- Architecture
- Travel
- Night photography
- Astrophotography
- Video
Recommended Camera Settings
There is no single set of settings that works for every scene.
Use these values as starting points and adjust according to the available light.
For Rays of Light
Aperture: F8-F11
ISO: 100-400
Shutter speed: Adjust according to light and movement
Focus: Autofocus or manual focus depending on the scene
Mode: Aperture Priority or Manual
For Daytime Starbursts
Aperture: F8-F16
ISO: 100-400
Shutter speed: Adjust to maintain highlight detail
Focus: Autofocus or manual focus
Mode: Aperture Priority or Manual
For Night Starbursts
Aperture: F11-F16
ISO: 800-3200 as a starting point
Shutter speed: Adjust according to the scene
Focus: Manual focus can be useful
Support: Tripod recommended
These are starting points rather than fixed rules. The appropriate settings depend on the brightness of the light source, the surrounding environment and the look you want to achieve. TAMRON similarly recommends approximately F8-F16 for starburst effects and emphasizes adjusting shutter speed and ISO according to conditions.
Common Problems When Photographing Light
The Rays Are Difficult to See
If the rays are barely visible, consider the environment.
You may need:
- More atmospheric moisture
- Stronger directional light
- A darker background
- A lower sun angle
Changing camera settings cannot create atmospheric rays if the necessary conditions are not present.
The Sun Is Completely Blown Out
The sun itself is extremely bright.
Try reducing exposure and composing the photograph so that the sun is partially obscured.
Trees, buildings and mountains can also help control the amount of direct sunlight entering the frame.
The Starburst Is Too Weak
Try stopping down the aperture.
For example, move from F5.6 to F8 or F11.
You can also experiment with the position of the light source in the frame.
The Image Is Too Soft
Very small apertures can introduce diffraction.
If you are shooting at F16 or F22 and the entire image appears softer than expected, try opening the aperture slightly.
Camera shake can also reduce sharpness, especially during night photography.
Use a tripod when necessary.
The Photograph Is Too Noisy
If you are shooting at a high ISO, image noise can become more visible.
When possible, use:
- A tripod
- A slower shutter speed
- A lower ISO
This is particularly useful for static night scenes.
Experiment With Different Light Sources
You do not have to wait for the perfect landscape.
Try photographing starbursts with everyday light sources.
During the Day
- Sunlight
- Reflections
- Light through trees
- Buildings
At Night
- Streetlights
- Car headlights
- Building lights
- Bridges
- Illuminated signs
Different light sources can produce very different visual results.
Final Thoughts
Rays of light and starbursts can add a dramatic visual element to your photography, but they are created through different processes.
Rays of light depend primarily on atmospheric conditions.
Look for:
- Fog
- Mist
- Haze
- Clouds
- Low-angle sunlight
Starbursts are primarily created by diffraction at the lens aperture.
To photograph them, try:
- Stopping down to around F8-F16
- Using bright point light sources
- Experimenting with composition
- Using a tripod when necessary
- Adjusting ISO and shutter speed
- Trying different lenses
The most important thing is to experiment.
Try photographing the sun through trees in the morning, sunlight breaking through clouds in the afternoon, or streetlights at night.
By understanding how light behaves and how your lens affects it, you can turn ordinary light sources into striking photographic elements.
TAMRON products mentioned in this article