What Is Exposure in Photography? Camera Exposure & Exposure Triangle
When you take a photo, your camera needs the right amount of light to record the scene. This is known as exposure.
Understanding camera exposure is one of the most important steps in learning photography. It affects not only how bright or dark your image looks, but also how much background blur, motion, and detail you can capture.
In this guide, we’ll explain the basics of exposure, the exposure triangle, and how to use exposure compensation in different shooting situations.
What Is Exposure in Photography?
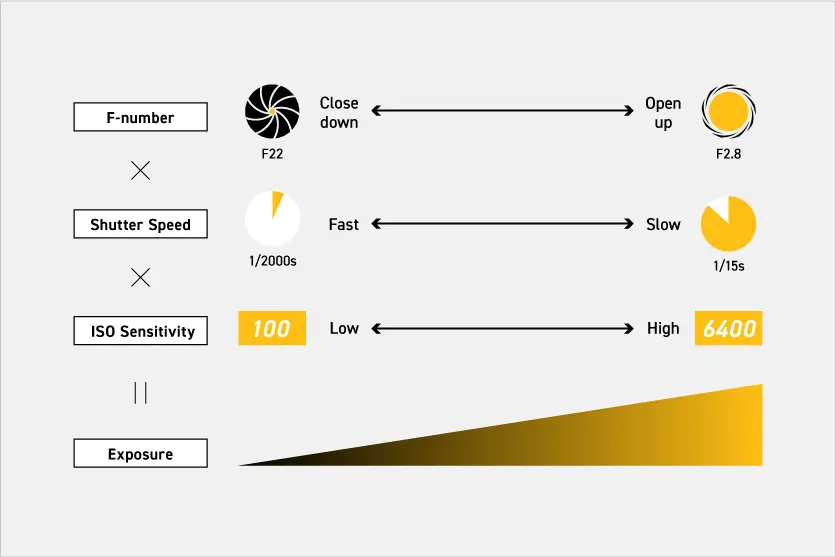
Exposure refers to the amount of light that reaches your camera’s image sensor when you take a photo.
If too much light reaches the sensor, the image can become overexposed, appearing too bright and losing detail in highlights. If too little light reaches the sensor, the image can become underexposed, making shadows and subjects difficult to see.
However, there isn’t always one “correct” brightness. Exposure can also be used creatively. A darker exposure can create a dramatic mood, while a brighter exposure can give a photo a soft and airy feeling.
The goal is to choose the exposure that best matches the scene and your creative intention.
What Is the Exposure Triangle?
Three main settings work together to control exposure:
- Aperture
- Shutter speed
- ISO
Together, these settings are often called the exposure triangle.
Changing one setting affects the amount of light recorded by the camera, but it can also change the appearance of your photo. Understanding how each one works will give you greater control over your images.
Aperture
Aperture controls the size of the opening inside the lens. It is represented by an F-number, such as F2.8, F4, or F8.
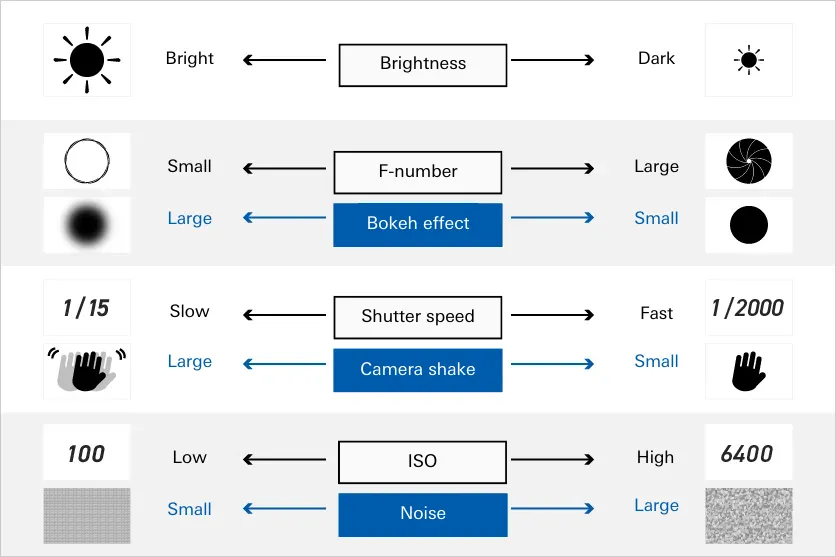
A smaller F-number means a wider aperture, allowing more light to enter the camera. A wide aperture can also create a shallower depth of field and stronger background blur.
For example, shooting a portrait at F2.8 can help separate your subject from the background.
A larger F-number, such as F8, reduces the amount of light entering the camera and increases the depth of field. This can be useful for landscapes where you want both the foreground and background to appear sharp.
Shutter Speed
Shutter speed controls how long the camera’s sensor is exposed to light.
A fast shutter speed, such as 1/500 second, lets in less light but can freeze fast-moving subjects. It is useful for sports, wildlife, and other action photography.
A slow shutter speed allows more light to reach the sensor. However, it can also introduce camera shake or motion blur if the camera or subject moves.
For low-light scenes, a slower shutter speed can help create a brighter image. When using very slow shutter speeds, a tripod can help keep the camera steady.
ISO
ISO controls the camera’s sensitivity to light and is another important part of camera exposure.
A lower ISO, such as ISO 100, generally produces cleaner images with less visible noise. It is ideal when there is plenty of available light.
Increasing the ISO can help you achieve a brighter image when shooting indoors or in low-light conditions. However, very high ISO settings can introduce more image noise.
As a starting point, ISO 100–400 can work well outdoors in bright conditions, while ISO 800–3200 or higher may be useful in darker environments.
How Do Aperture, Shutter Speed and ISO Work Together?
The three exposure settings are closely connected.
For example, if you increase your shutter speed to freeze motion, less light reaches the sensor. You may then need to open the aperture or increase the ISO to maintain a similar exposure.
Likewise, if you stop down the aperture for greater depth of field, you may need to use a slower shutter speed or higher ISO.
There is no single combination that works for every situation. The best settings depend on the subject, available light, and the look you want to create.
What Are Underexposure and Overexposure?
Underexposure
Underexposure occurs when an image does not receive enough light, resulting in a photo that is too dark.
This can happen when photographing a subject against a bright background. For example, a person’s face may appear dark when they are standing in front of a bright window.
You can correct this by changing your exposure settings or using positive exposure compensation.
Underexposure can also be used intentionally. A darker image can create a dramatic or quiet atmosphere, particularly for night scenes and certain portraits.
Overexposure
Overexposure occurs when too much light is recorded, causing an image to appear too bright.
Bright sunlight, reflective surfaces, and white subjects can make overexposure more likely. Important highlight details may become completely white and difficult to recover.
Reducing the exposure or using negative exposure compensation can help preserve detail in bright areas.
Just like underexposure, overexposure can also be used creatively when a brighter, softer look is desired.
What Is Exposure Compensation?
Exposure compensation lets you intentionally make an image brighter or darker than the camera’s standard exposure.
It is especially useful when the camera’s automatic exposure does not produce the brightness you want.
A positive value, such as +1 EV, makes the image brighter. A negative value, such as -1 EV, makes it darker.
For example, if you photograph a person standing in front of a bright sky and their face looks too dark, you can use positive exposure compensation to brighten the subject.
When Should You Use Exposure Compensation?
Backlit Subjects
When your subject is in front of a bright background, the camera may make the subject appear too dark.
Try using positive exposure compensation to brighten the subject and capture more natural-looking skin tones.
Snow and Bright Scenes
Snow can sometimes appear gray instead of bright white because the camera’s metering system is trying to balance the overall brightness of the scene.
Adding positive exposure compensation can help preserve the bright appearance of the snow.
Bright Sunlight
Strong sunlight can cause bright areas to lose detail.
Using negative exposure compensation can help protect highlights, especially when photographing white buildings, reflective surfaces, or bright skies.
Sunsets and Sunrises
Sunsets can look washed out if the exposure is too bright.
Try slightly reducing exposure to deepen the colors of the sky and preserve the contrast between the bright sky and darker foreground.
Camera Modes for Controlling Exposure
Modern mirrorless and interchangeable-lens cameras offer several shooting modes that make controlling exposure easier.
Aperture Priority
Aperture Priority lets you choose the aperture while the camera automatically adjusts the shutter speed.
It is useful when depth of field is important. For example, you can choose a wide aperture for portraits or stop down for landscapes.
Shutter Priority
Shutter Priority lets you choose the shutter speed while the camera adjusts the aperture.
This is particularly useful for moving subjects. Choose a fast shutter speed to freeze action or a slower speed when you want to intentionally capture motion blur.
Manual Mode
Manual mode gives you direct control over aperture, shutter speed, and ISO.
It is useful when you want consistent exposure across a series of images or when photographing scenes with difficult lighting, such as nightscapes and starry skies.
Exposure Settings for Different Shooting Situations
There is no universal exposure setting, but these examples can give you a starting point.
Bright Outdoor Photography
In bright daylight, a lower ISO such as ISO 100 can help maintain image quality. You can then adjust the aperture and shutter speed according to your subject and desired depth of field.
Low-Light Photography
In darker environments, you may need to open the aperture, slow down the shutter speed, or increase ISO.
If your subject is moving, increasing ISO can allow you to maintain a faster shutter speed and reduce motion blur.
Night Photography
Night scenes often contain both very bright lights and deep shadows.
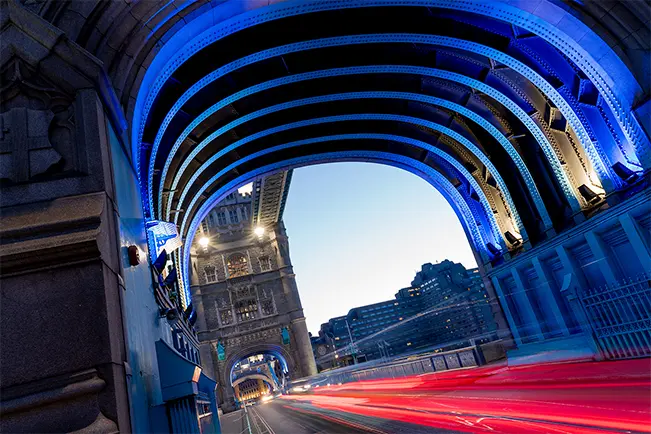
A tripod, low ISO, and slower shutter speed can help produce a clean, detailed image. For light trails, exposures ranging from several seconds to longer can capture the movement of headlights and other light sources.
Use Exposure to Shape Your Photos
Understanding exposure is about more than simply making an image brighter or darker.
Aperture can control depth of field and background blur. Shutter speed can freeze action or create motion blur. ISO helps you work in different lighting conditions.
Once you understand how these settings interact, you can begin using exposure intentionally rather than relying entirely on automatic settings.
Start by experimenting with one setting at a time. Compare your results and see how each change affects the final image.
Key Takeaways
- Exposure is the amount of light recorded by your camera’s sensor.
- The exposure triangle consists of aperture, shutter speed, and ISO.
- A wider aperture lets in more light and can create stronger background blur.
- A faster shutter speed can freeze motion, while a slower shutter speed can create motion blur.
- Higher ISO helps in low light but can increase image noise.
- Exposure compensation lets you intentionally make an image brighter or darker.
- There is no single “correct” exposure. The best exposure depends on the scene and your creative intention.
Take Control of Your Exposure
Once you understand camera exposure, photography becomes much more flexible. Instead of simply accepting the brightness chosen by the camera, you can make deliberate decisions about light, motion, depth of field, and mood.
Experiment with different combinations of aperture, shutter speed, ISO, and exposure compensation. With practice, you’ll develop a better understanding of which settings work best for the way you want to photograph.
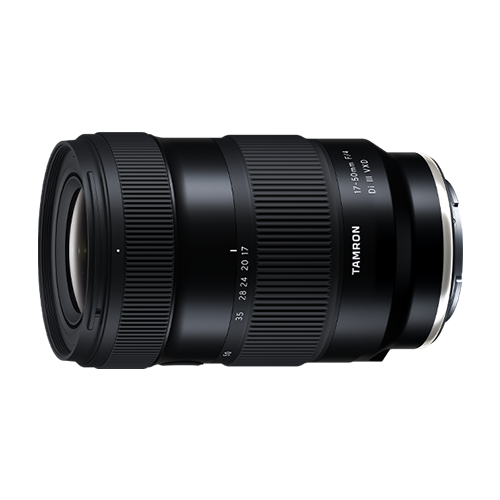
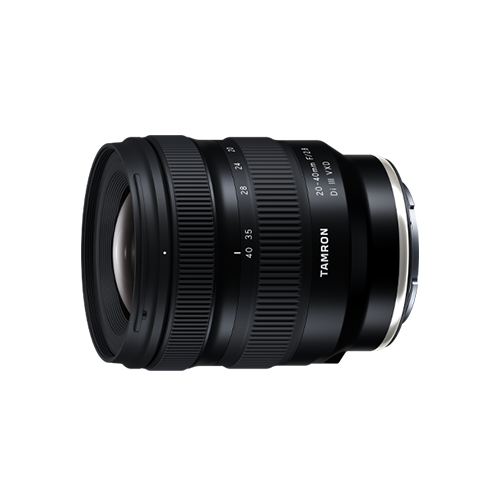
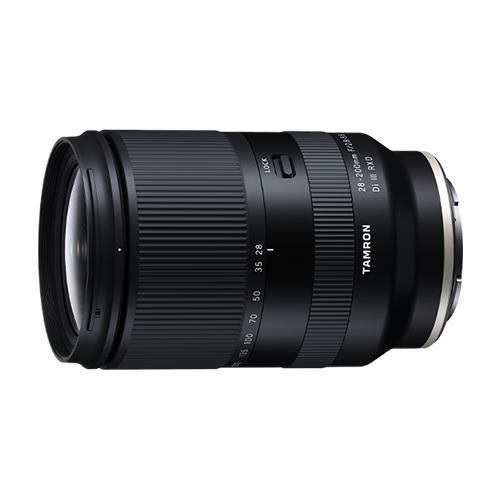
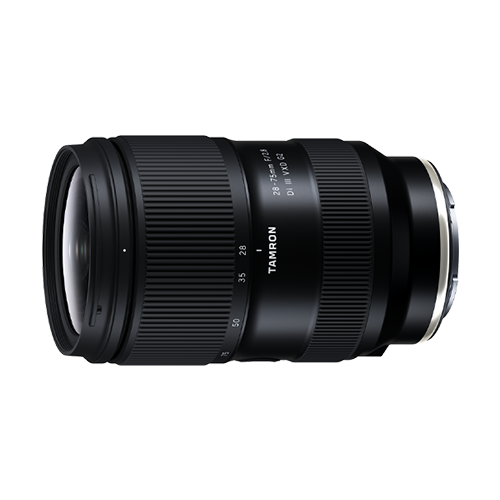
TAMRON products mentioned in this article