Winter Photography Tips: How to Capture Snow and Winter Scenery
Winter transforms familiar landscapes into something completely different. Snow-covered mountains, frozen trees, falling snow, winter wildlife, morning fog, and illuminated city streets can all become compelling photography subjects. Even simple scenes can take on a dramatic or peaceful character when covered in snow.
However, photographing winter scenery also presents some unique challenges. Bright snow can affect exposure, low temperatures can reduce battery life, and changing weather conditions can make focusing and camera handling more difficult.
With the right camera settings, composition techniques, lens selection, and preparation, you can capture winter scenes with detail, depth, and atmosphere.
In this guide, we’ll explore practical winter photography tips, from photographing snowy landscapes and snowflakes to capturing wildlife, winter sports, portraits, and nighttime illuminations.
Snow Photography: Scenes That Stand Out
Snow can be photographed in many different ways. Instead of limiting yourself to wide landscape photographs, look for details, people, reflections, textures, and contrasts that communicate the atmosphere of winter.
Photographing Snowy Landscapes
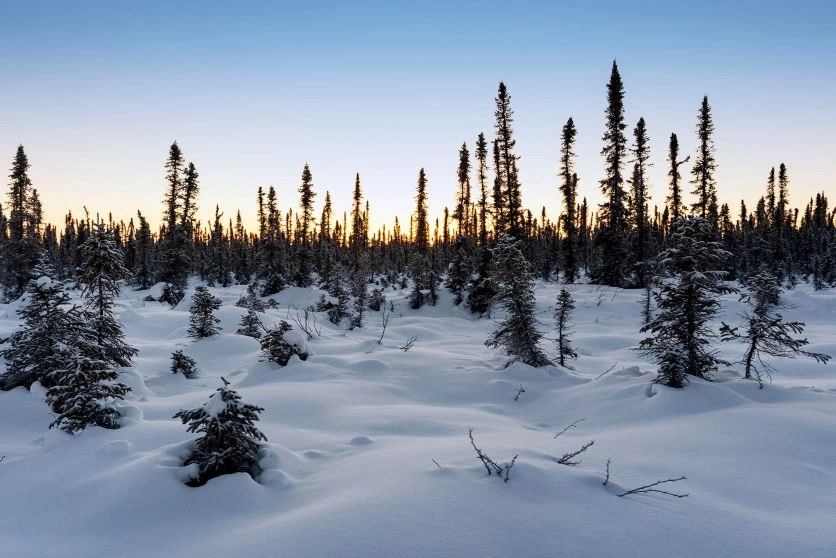
Vast snowfields, snow-covered mountains, forests, and winter cityscapes are classic subjects for winter landscape photography.
A wide-angle lens is useful when you want to show the scale of the landscape and include both foreground and background elements. For expansive scenes, an aperture around F8 to F11 can help keep more of the scene in focus.
On clear days, snow can contrast beautifully with a deep blue sky. Try including both elements in your composition to emphasize the crisp, open feeling of a winter landscape.
Cloudy weather creates a different look. Instead of relying entirely on white snow, look for buildings, trees, rocks, or other elements that introduce color and contrast into the scene.
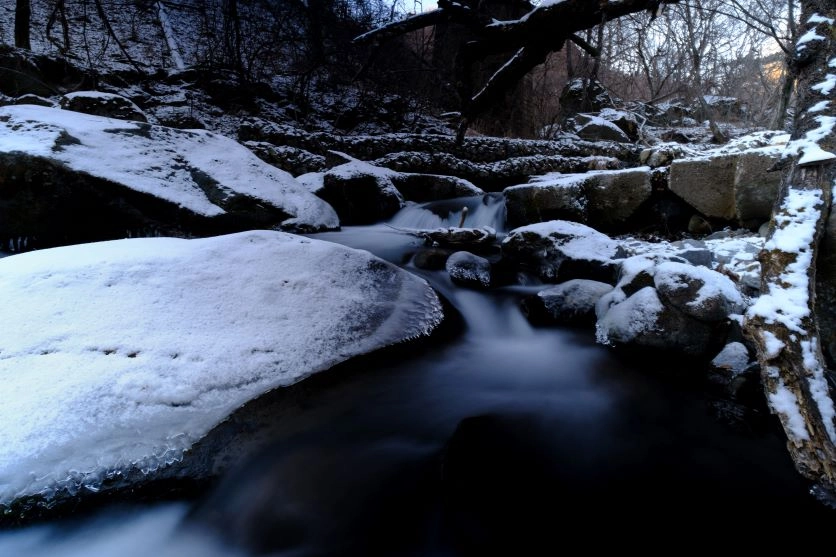
Snow and Water
Snow-covered landscapes reflected in lakes and rivers can create a calm, almost painterly appearance.
A standard or telephoto lens can be useful for isolating reflections and details across the water. An aperture around F5 to F8 can provide a balance between depth of field and image clarity.
A polarizing filter can also help control reflections on water and other reflective surfaces. Depending on the angle of the filter, it can reduce unwanted reflections and change the appearance of the scene.
Look for contrasts between the smooth surface of the water and the texture of snow-covered surroundings. These differences can make a simple winter landscape more visually interesting.
Photographing Snowflakes
Snowflakes can become fascinating subjects when you move closer.
A macro lens is particularly useful for photographing the delicate structures of individual snowflakes. A telephoto zoom lens with good close-up capability can also provide interesting results while giving you more working distance.
Although opening the aperture fully can create attractive background blur, it can also make precise focusing more difficult. Try stopping down slightly to around F5 to F8 when you need more of the subject to remain sharp.
If autofocus struggles to lock onto a small snowflake or another low-contrast subject, switch to manual focus and fine-tune the focus yourself.
A shutter speed of at least 1/100 second can help reduce camera shake when photographing small subjects.
For photographers specifically interested in snow crystals, calm conditions around very low temperatures can provide opportunities to find well-defined crystals.
Photographing Falling Snow
Falling snow can completely change the atmosphere of a photograph.
When photographing snowfall in a city or landscape, a wide-angle or standard lens can help include the environment around the falling snow. An aperture around F8 to F11 can work well when you want the overall scene to remain detailed.
Exposure is especially important when photographing snow.
Because a camera’s metering system can interpret a bright snow-covered scene as requiring less exposure, the resulting image may sometimes appear darker or grayer than expected. In such situations, try positive exposure compensation, such as around +1 EV, and check the result.
However, there are situations where intentionally darkening the exposure can emphasize the texture and shadows across the snow. The right exposure ultimately depends on the mood and texture you want to preserve.
Creating Snow Bokeh
Falling snow can also become part of the background rather than simply an environmental element.
To create large, soft circles of light or blur from nearby snowflakes, try a wider aperture around F2.8 to F4. A telephoto lens can make this effect easier to achieve because of its ability to compress the scene and produce a narrower field of view.
Using a flash during snowfall can also illuminate snowflakes in the foreground. The reflected light can turn individual flakes into bright, soft shapes that add atmosphere to the photograph.
Winter Snapshots
Winter is not only about dramatic landscapes. Everyday scenes can also tell a strong story.
People walking through snowy streets, shops decorated for the season, children playing in the snow, and ordinary city life can all make excellent subjects.
For snapshots, a standard lens provides a natural perspective that works well for everyday scenes. Apertures around F4 to F6 and shutter speeds around 1/100 to 1/200 second can provide a useful starting point.
If snow is falling, a flash can help make nearby snowflakes more visible and add another layer to the image.
Winter Portrait Photography
Snow provides a naturally bright and simple background for portraits.
A standard or telephoto lens with a wide aperture around F2.8 to F4 can help separate the subject from the snowy surroundings. The resulting background blur can make the person stand out while retaining the feeling of the winter environment.
Backlighting can also create attractive silhouettes or atmospheric portraits. If the subject’s face becomes too dark when shooting against a bright background, try positive exposure compensation and check the result on your camera.
Instead of photographing only tightly framed portraits, consider including enough of the environment to show where the photograph was taken.
Other Winter Subjects to Photograph
Snow is only one part of winter photography. The season offers many other subjects and lighting conditions worth exploring.
Clear Winter Skies
Clear winter air can create vivid blue skies that contrast beautifully with snow-covered landscapes.
A wide-angle lens is useful for including a large portion of the sky while still showing the landscape below. Try different compositions rather than automatically placing the horizon in the center.
For example, you can give the sky roughly two-thirds of the frame when the blue sky is an important part of the image. Alternatively, reduce the amount of sky when the landscape itself provides stronger visual interest.
The contrast between blue sky and white snow can create a clean and striking winter photograph.
Icicles and Frost
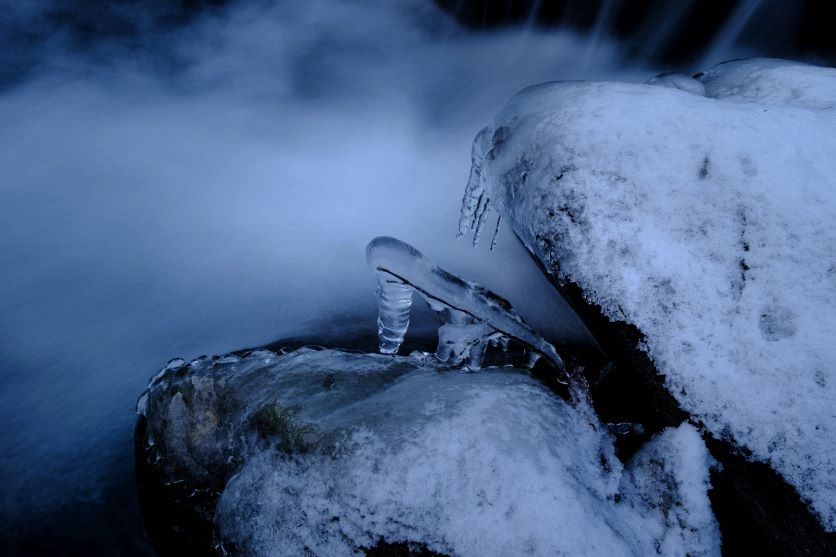
Icicles and frost provide excellent opportunities for detail-oriented photography.
Backlighting can reveal patterns, textures, and translucent areas inside icicles. Positioning the light behind the subject can make these details stand out.
For frost and other delicate textures, a macro lens can help capture fine structures. An aperture around F8 can provide enough depth of field to keep important details sharp while still allowing the background to become less distracting.
Morning Fog
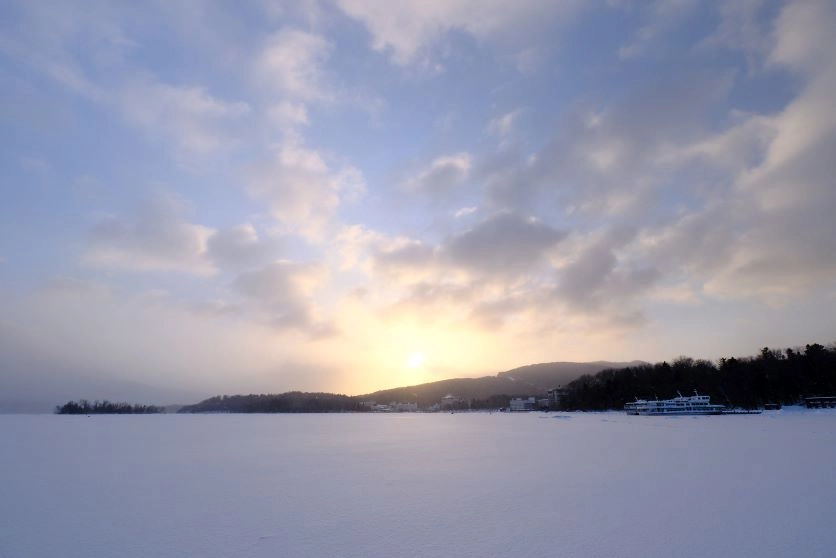
Winter mornings can produce atmospheric fog, particularly around bodies of water.
A wide-angle lens can help capture the surrounding environment and emphasize the sense of space created by the fog.
If you’re photographing near water, early morning conditions can provide opportunities to capture reflections. A tripod and slower shutter speed can also be useful when you want to record the movement of fog or create a smoother appearance.
Night Views and Winter Illuminations
Winter cityscapes and illuminations can look particularly attractive after dark.
A wide-angle lens can capture the entire scene, while settings around F8 to F11 can help keep buildings and lights sharp. A shutter speed between roughly 1 and 10 seconds can be used as a starting point for long-exposure night photography.
A tripod is especially useful for these longer exposures.
If snow is falling, try including both the illuminated scene and the snowflakes. The contrast between bright lights, dark surroundings, and falling snow can create a strong sense of atmosphere.
Mountains and Winter Vegetation
Snow-covered mountains naturally communicate the scale of winter, but smaller subjects can provide an equally compelling story.
Trees, grasses, branches, and other vegetation that remain visible through the snow can introduce texture and contrast.
A telephoto lens can compress distant layers of mountains, trees, and vegetation, making it easier to create compositions with overlapping elements.
For smaller plants and snow-covered details, a macro lens or another lens with strong close-up capability can help reveal details that might otherwise be overlooked.
Winter Wildlife
Winter can provide excellent opportunities for wildlife photography, especially when animals stand out against snowy surroundings.
Because wildlife can be cautious and move quickly, a telephoto or super-telephoto lens allows you to maintain distance while still filling the frame with the subject.
As a starting point, consider an aperture around F5 to F8 and a shutter speed of at least 1/500 second for moving animals. Increase the shutter speed when the subject is moving quickly.
Patience is also important. Understanding where an animal is likely to appear can allow you to position yourself and wait rather than constantly moving toward the subject.
Skiing and Winter Sports
Winter sports such as skiing and snowboarding require fast shutter speeds because of the speed of the subjects.
A shutter speed of around 1/1000 second or faster can help freeze rapid movement.
A telephoto lens can isolate athletes against the mountains, while a wide-angle lens can show both the athlete and the surrounding landscape.
Before the action begins, identify a shooting position and anticipate where the athlete will enter the frame. This can make it easier to capture the decisive moment.
Winter Photography Settings
There is no single camera setting that works for every winter photograph. Snow, sunlight, clouds, movement, and the intended look all influence exposure.
Here are useful starting points.
Shooting Mode
Aperture Priority is convenient for landscapes, portraits, and snapshots because you can control the aperture while the camera adjusts shutter speed to achieve an appropriate exposure.
For fast-moving subjects such as skiing, snowboarding, and wildlife, Shutter Priority can be useful because you can prioritize the shutter speed needed to freeze movement.
Aperture
For snowy landscapes, start around F8 to F11 when you want extensive depth of field.
For portraits and subject isolation, a wider aperture around F2.8 to F4 can produce background blur.
A wider aperture can also be useful when shooting during dusk or in cloudy conditions because it allows more light to reach the sensor.
Shutter Speed
For general landscapes and portraits in good light, around 1/100 second can be a useful starting point.
For falling snow, use a faster shutter speed such as 1/500 second or faster when you want to freeze individual flakes.
For visible snow trails, experiment with slower shutter speeds around 1/50 second or slower.
For winter sports, 1/1000 second or faster can help freeze rapid movement.
ISO
Use the lowest practical ISO when there is plenty of light, such as on a sunny snowy day. ISO 100–400 may be sufficient in bright conditions.
When the light decreases, increasing ISO may be necessary. The original guide suggests moving toward ISO 1600–3200 in darker conditions while checking the resulting brightness and image quality.
Exposure Compensation
Snow can make a scene appear darker than expected because the camera’s metering system may respond to the large amount of bright snow.
If your snow looks gray instead of bright white, try positive exposure compensation, starting around +1 EV.
If your goal is to emphasize shadows, texture, and uneven surfaces, negative exposure compensation can create a darker interpretation.
Always review the image and histogram when possible rather than relying on a fixed value.
White Balance
White balance can significantly affect the mood of a winter photograph.
A daylight or sunlight setting can preserve a cooler appearance, while Cloudy or Shade settings can introduce warmer tones.
If you want maximum flexibility during editing, photographing in RAW allows you to adjust white balance later.
Composition Tips for Winter Photography
Good winter photography is not only about exposure. Composition determines how viewers experience the scene.
One effective approach is to create layers:
- Foreground: snow-covered trees, rocks, people, or other details
- Middle ground: a snowfield, road, river, or building
- Background: mountains, trees, or sky
This creates depth and gives the viewer a stronger sense of scale.
You can also use roads, rivers, paths, fences, and shadows as leading lines. An S-shaped road or river can naturally guide the viewer’s eye deeper into the photograph.
To emphasize the texture of snow, look for directional light. Low morning or evening light creates longer shadows across uneven snow, making its surface easier to see.
Change Your Shooting Angle
Don’t photograph every winter scene from eye level.
Try getting lower to the ground and pointing upward. This can make a snow-covered landscape appear larger and more dramatic.
Alternatively, find a higher viewpoint and photograph downward to show patterns and shapes across the snow.
Moving closer can also reveal details that disappear in a wide landscape photograph. Instead of simply changing focal length, physically change your position and explore different perspectives.
Using Flash in Snowfall
Flash can be useful when photographing falling snow, particularly in darker conditions.
The flash illuminates nearby snowflakes, making them more visible against a dark background. This can create a layered effect, with illuminated snow in the foreground and the winter scene farther away.
At night, this technique can also create an interesting contrast between nearby snow and illuminated buildings or streets.
Experiment with flash power and positioning to control how prominent the foreground snow becomes.
Photograph Winter at Different Times of Day
The same winter landscape can look completely different throughout the day.
During the blue hour, the sky can take on a deep blue appearance, creating a cool and atmospheric image.
During the daytime, strong reflected light from snow can produce bright, high-contrast photographs.
During the golden hour, warm sunlight can add color to snow and create a softer appearance.
Instead of photographing a location once and leaving, consider returning at different times. Changing light can transform the same subject into several completely different photographs.
Protect Your Camera During Winter Photography
Winter conditions can be challenging for photographic equipment as well as photographers.
Prevent Condensation
Rapid temperature changes can cause condensation when equipment moves between cold outdoor environments and warm indoor spaces.
When moving outdoors, allow your camera and lens to gradually adjust to the temperature. When returning indoors, keeping the equipment inside the camera bag while it warms up can help reduce sudden temperature changes.
A rain cover or protective covering can also help protect your equipment from falling snow and moisture.
Watch Your Battery Life
Cold temperatures can cause batteries to drain faster.
Carry spare batteries whenever possible and keep unused batteries in a warmer location, such as an inside pocket close to your body.
Turning the camera off between periods of shooting can also help conserve power.
Protect Yourself
Winter photography can involve long periods outdoors, so your own comfort and safety matter.
Waterproof and wind-resistant clothing can help protect against the elements. Gloves that allow you to operate camera controls without constantly removing them can make shooting more practical.
Warm, waterproof footwear is also important when working in snow for extended periods.
Useful Accessories for Winter Photography
The right accessories can make winter shooting easier and safer.
Tripod
A tripod is useful for night photography, morning fog, long exposures, and other situations where slower shutter speeds are required.
Rain or Snow Cover
A protective cover can help shield your camera and lens from snow and moisture during snowfall.
Lens Heater
A lens heater can help maintain a more stable lens temperature and reduce condensation in appropriate conditions.
Polarizing Filter
A PL filter can help control reflections from water and other surfaces and can change the appearance of colors in the scene.
Neutral Density Filter
An ND filter can reduce the amount of light entering the camera, which can be useful when you want to use a slower shutter speed in bright conditions.
How to Choose a Lens for Winter Photography
The right lens depends on what you plan to photograph.
Wide-Angle Lenses for Landscapes
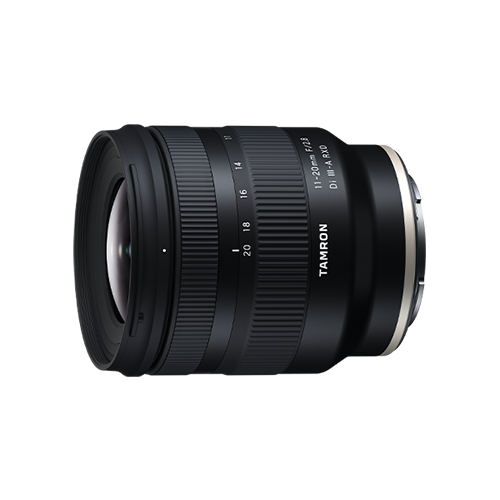
Wide-angle lenses are useful for expansive snowy landscapes, mountains, forests, and cityscapes.
They allow you to include more of the environment and create a stronger sense of scale.
Standard Lenses for Everyday Winter Scenes
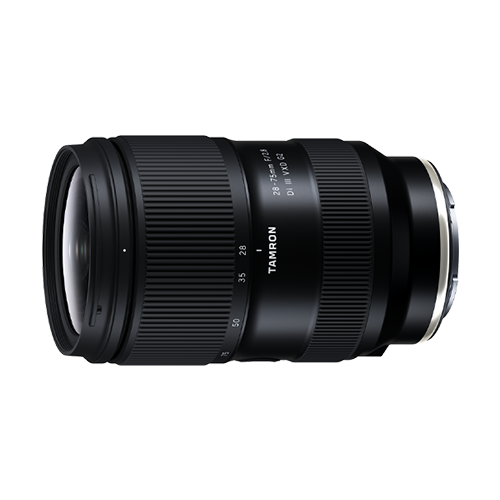
Standard lenses are versatile for portraits, snapshots, and everyday winter photography.
Their natural perspective makes them useful when you want the photograph to feel close to how the scene appeared to you.
Telephoto Lenses for Wildlife and Distant Subjects
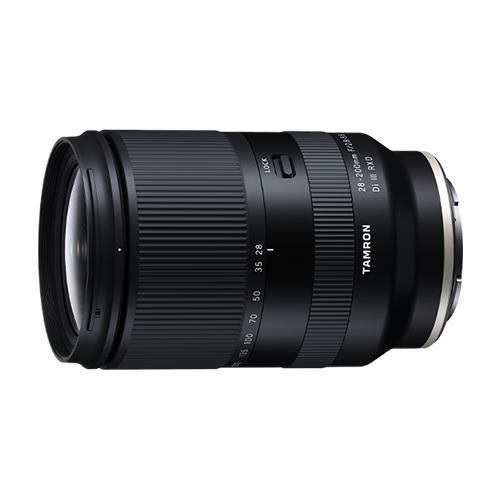
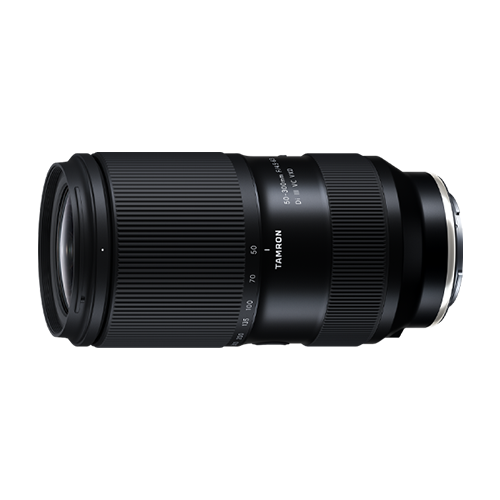
Telephoto lenses are useful for wildlife, winter sports, distant mountains, and isolated details.
They allow you to fill the frame without physically getting close to the subject. Telephoto compression can also help create layered compositions by visually bringing distant elements together.
Consider Maximum Aperture
Winter photography can involve cloudy weather, early mornings, dusk, and other low-light situations.
A lens with a large maximum aperture, such as F2.8, can provide more flexibility in these conditions. It can also help create background blur for portraits and close-up subjects.
Consider Weight and Portability
Winter clothing and equipment can already make outdoor photography more cumbersome.
A lighter, more compact lens can therefore be valuable when you’re walking long distances, hiking, or shooting for extended periods.
If possible, consider how the lens feels in your hands and how easily you can operate it while wearing gloves.
Look for Close-Up Capability
Snow crystals, frost, ice, plants, and other small winter details can become excellent subjects.
A lens with good close-up capability can allow you to photograph these subjects without necessarily carrying a dedicated macro lens.
Consider Autofocus Performance
Snow, fog, and low-light conditions can create situations where autofocus becomes more challenging.
Fast and accurate autofocus can be particularly helpful when photographing moving wildlife or winter sports.
AF tracking performance is also worth considering when your subject is moving quickly through the frame.
Consider Image Stabilization
Thick gloves, cold temperatures, and long shooting sessions can make it harder to keep a camera steady.
A lens with image stabilization can help reduce the effects of camera shake when shooting handheld at slower shutter speeds.
Consider Moisture Resistance
Winter photography can expose your equipment to snow and moisture.
A lens with a moisture-resistant design can provide an additional layer of protection, although it should not be treated as a substitute for proper weather protection.
Always follow the camera and lens manufacturer’s recommendations for use in wet or extreme conditions.
Final Thoughts
Winter offers far more photographic opportunities than simply pointing your camera at a snowy landscape.
Look for the small details in frost and snowflakes, the movement of falling snow, the contrast between blue skies and white landscapes, wildlife against snowy backgrounds, people enjoying winter, and the warm glow of nighttime illuminations.
Start with the fundamentals: choose an appropriate shutter speed, aperture, and ISO, then adjust exposure compensation when the brightness of the snow causes your images to look darker than intended.
Composition is equally important. Change your shooting angle, move closer to your subject, use foreground elements, look for leading lines, and experiment with different times of day.
Finally, remember that winter photography requires preparation. Protect your equipment from snow and condensation, carry spare batteries, and dress appropriately for the conditions.
With the right preparation and a willingness to explore different subjects, winter can become one of the most rewarding seasons for photography.
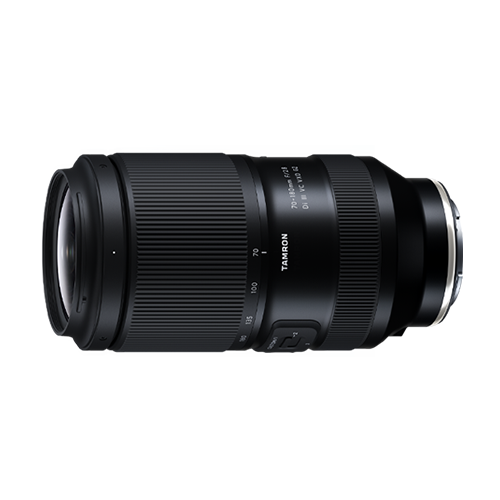
TAMRON products mentioned in this article